Operating your snow thrower, Warning – Cub Cadet 769-03268 User Manual
Page 11
11
4
Operating
Your Snow
Thrower
WARNING
The operation of
any snow thrower
can result in foreign
objects being thrown
into the eyes, which
can damage your
eyes severely. Always
wear safety glasses
while operating the
snow thrower, or while
performing any adjust-
ments or repairs on it.
Be sure no one other
than the operator is
standing near the snow
thrower while starting
engine or operating
snow thrower. Never
run engine indoors or
in enclosed, poorly
ventilated areas. En-
gine exhaust contains
carbon monoxide, an
odorless and deadly
gas. Keep hands, feet,
hair and loose clothing
away from any moving
parts on engine and
snow thrower.
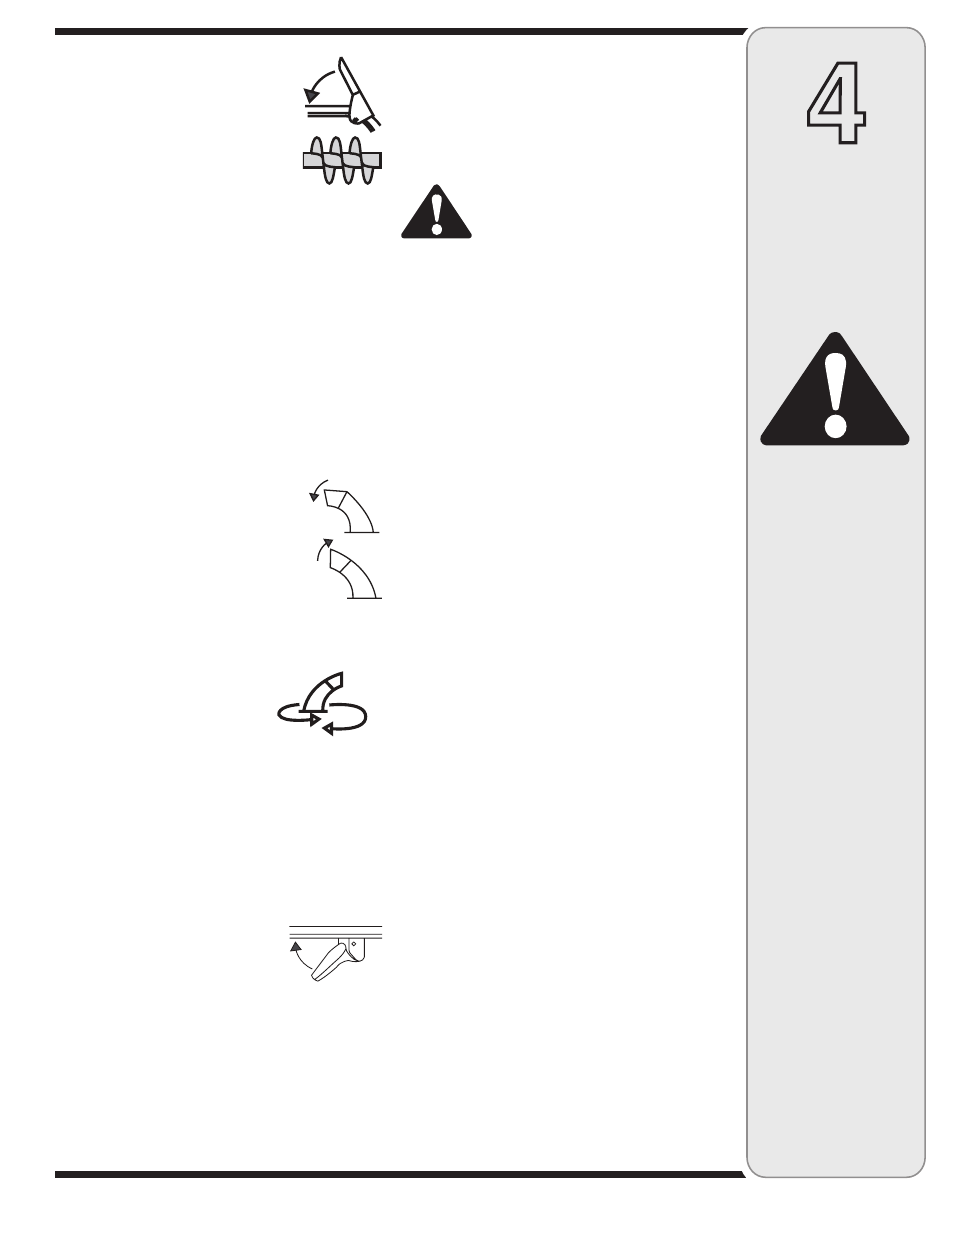
Auger Control
The auger control is located on the left
handle. Squeeze the auger control to
engage the augers. Release to stop the
snow throwing action. The drive control
must also be released in order to stop
auger.
Ignition Key
The ignition key must be inserted and snapped in place
in order for the engine to start. Remove the ignition key to
prevent unauthorized use of equipment. Do NOT attempt
to turn the key.
Chute Clean-Out Tool
WARNING: Never use your hands to
clear a clogged chute assembly. Shut off
engine and remain behind handles until
all moving parts have stopped before
unclogging.
The clean-out tool is conveniently fastened to the rear of
the auger housing with a mounting clip.
1. Release both the auger control and the drive/auger
control lock.
2. Stop the engine by moving the throttle to the stop
position.
3. Remove the clean-out tool from the mounting clip.
4. Use the shovel-shaped end of the clean-out tool to
remove any snow and ice in the chute assembly.
5. Re-fasten the clean-out tool to the mounting clip on
the rear of the auger housing and restart engine.
6. While standing in the operator’s position (behind the
snow thrower), engage the auger control for a few
seconds to clear any remaining snow or ice from the
chute assembly before continuing to clear snow.
Skid Shoes
Position the skid shoes based on surface conditions.
Adjust upward for hard-packed snow. Adjust downward
when operating on gravel or crushed rock surfaces. See
“Making Adjustment” Section.
Headlight
The headlight is on whenever the engine is running.
CLOCKWISE TO
DISCHARGE LEFT
COUNTER CLOCKWISE
TO DISCHARGE RIGHT
Drive Control / Auger Control Lock
The drive control is located on the right handle. Squeeze
the drive control to engage the wheel drive. Release to
stop.
This same lever also locks the auger control so you
can operate the chute crank without interrupting the
snow throwing process. If the auger control is engaged
simultaneously with the drive control, the operator can
release the auger control (on the left handle) and the
augers will remain engaged. Release the drive control to
stop the augers and wheel drive (the auger control must
also be released).
IMPORTANT: Always release the drive control before
changing speeds.
Two-Way Chute Control™)
This two-way control lever is meant to
control the distance of snow discharge
from the chute. Tilt the lever forward or
rearward to adjust the distance snow will
be thrown.
Chute Directional Control
The chute directional control is
located on left side of the snow
thrower.
To change the direction in which
snow is thrown, turn chute direc-
tional control as follows:
• Crank clockwise to discharge to
the left.
• Crank counterclockwise to
discharge to the right.
Wheel Steering Controls
The left and right wheel steering controls
are located on the underside of the
handles. Squeeze the right control to
turn right; squeeze the left control to turn
left.
NOTE: Operate the snow thrower in
open areas until you are familiar with
these controls.