Installing attachment, Hanger, Operating position – Craftsman 944.511580 User Manual
Page 7: Cultivating
Attention! The text in this document has been recognized automatically. To view the original document, you can use the "Original mode".
INSTALLING ATTACHMENT
1
Remove the shaft cap from the at
tachment (if present) and discard.
Position locking/release button of
attachment into guide recess of up
per shaft coupler.
Coupler Primary Hole
"
■ Guide Recess
Upper Locking/ Attachment
Shaft Release
Button
3. Push the attachment into the cou
pler until the locking/release button
snaps into the primary hole.
4. Before using the unit, tighten the
knob securely by turning clockwise.
INSTALLING ATTACHMENT
HANGER
An attachment hanger is provided for
storage when attachment is not in
use.
To install hanger on attachment:
1. Remove the shaft cap from the at
tachment (if present) and discard.
2. Press and hold the locking/release
button.
3. Push hanger onto the attachment
until the locking/release button
snaps into the hole.
OPERATING POSITION
a WARNING;
To avoid personal
injury, never carry the cultivator while
the unit is running.
^WARNING; The gearbox gets
very hot after extended periods of use.
To avoid burns, do not touch the gear
box until it has been allowed to cool.
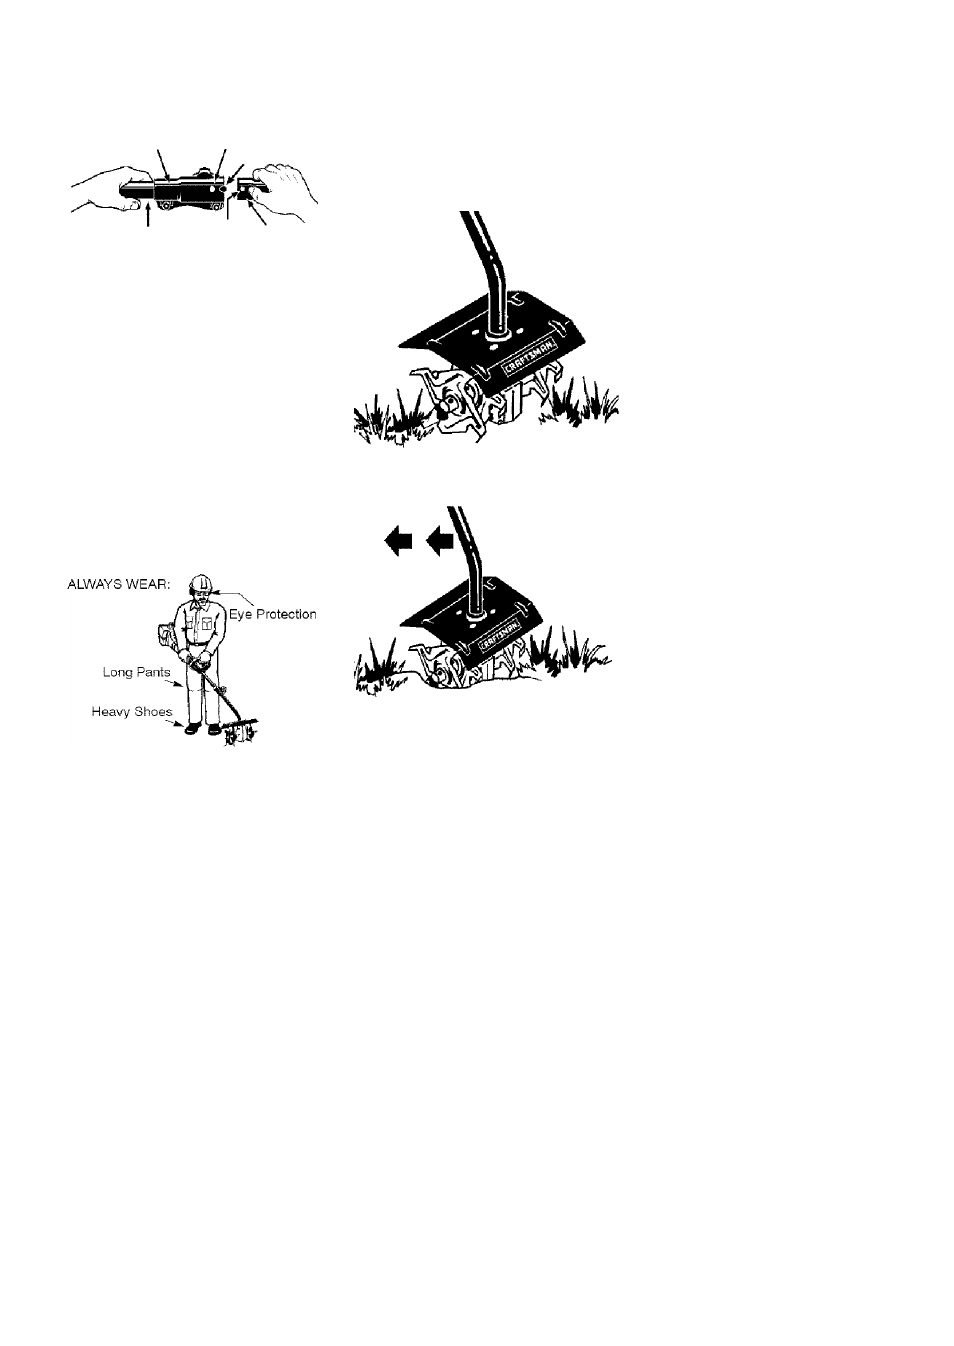
CULTIVATING
1. Move the cultivator to the work area
prior to starting the engine/motor,
2. With the engine/motor running and
the tines off the ground, press the
throttle trigger to increase the en
gine speed.
3. Hold trigger handle and assist han
dle firmly. Siowly lower the cultiva
tor until the tines make contact with
the ground.
4. As unit begins cultivating, pull back
on the unit so that the tines can
penetrate the ground.
Once the ground has been broken,
continue at a moderate pace until
you are familiar with the controls
and the handling of the cultivator.
Pull the cultivator backwards to im
prove the depth of cultivation and
reduce your effort.
To cultivate in confined areas or
narrow rows, remove the left and
right outer tines (see
TINE RE
PLACEMENT).