Pro-Ject Audio Systems Pre Box S User Manual
Page 3
© Audio Trade GmbH · Pro-Ject Pre Box S · Revision 2013.1.15
3
Mains power connection
Connect the low voltage plug from the power supply to the Power 18V
"
socket before connecting the power
supply to the mains.
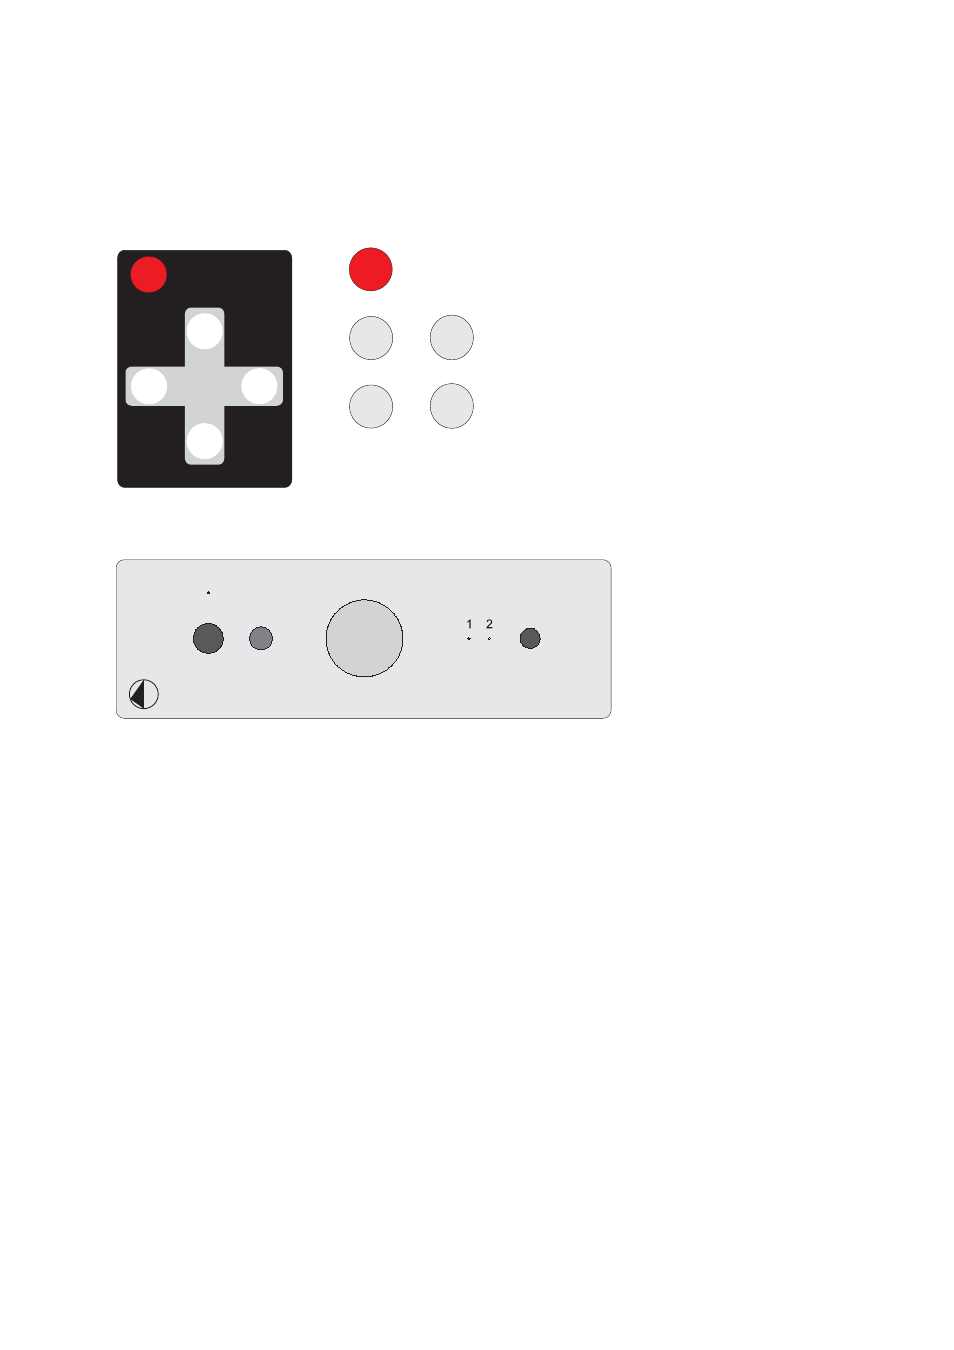
Remote control
1
ON/OFF
turns the unit on or back into standby
0
_
VOL
and
0
+
VOL
adjust the sound volume
CH+
CH-
VOL+
VOL-
ON/OFF
0
_
CH
and
0
+
CH
select the inputs
Front panel controls
Pre Box S
To switch on from standby or to standby
The push button on the front panel turns the unit on or back into standby (press and hold to switch into
standby mode). The blue LED above the stand-by push button shows that the unit is switched on.
Input selector
After the unit is powered on, pressing the grey button next to the two LEDs selects the inputs in turns. The
selected input will be shown by the corresponding LED.
If the optional input expander Pro-Ject Switch Box S is connected, the input selector will also select the
additional inputs provided by the Switch Box S. For further details please see the user guide of the Pro-Ject
Switch Box S.
Volume
Adjust the volume to the desired level, using the large knob on the front panel.