Cortelco Colleague 2200 User Manual
Page 9
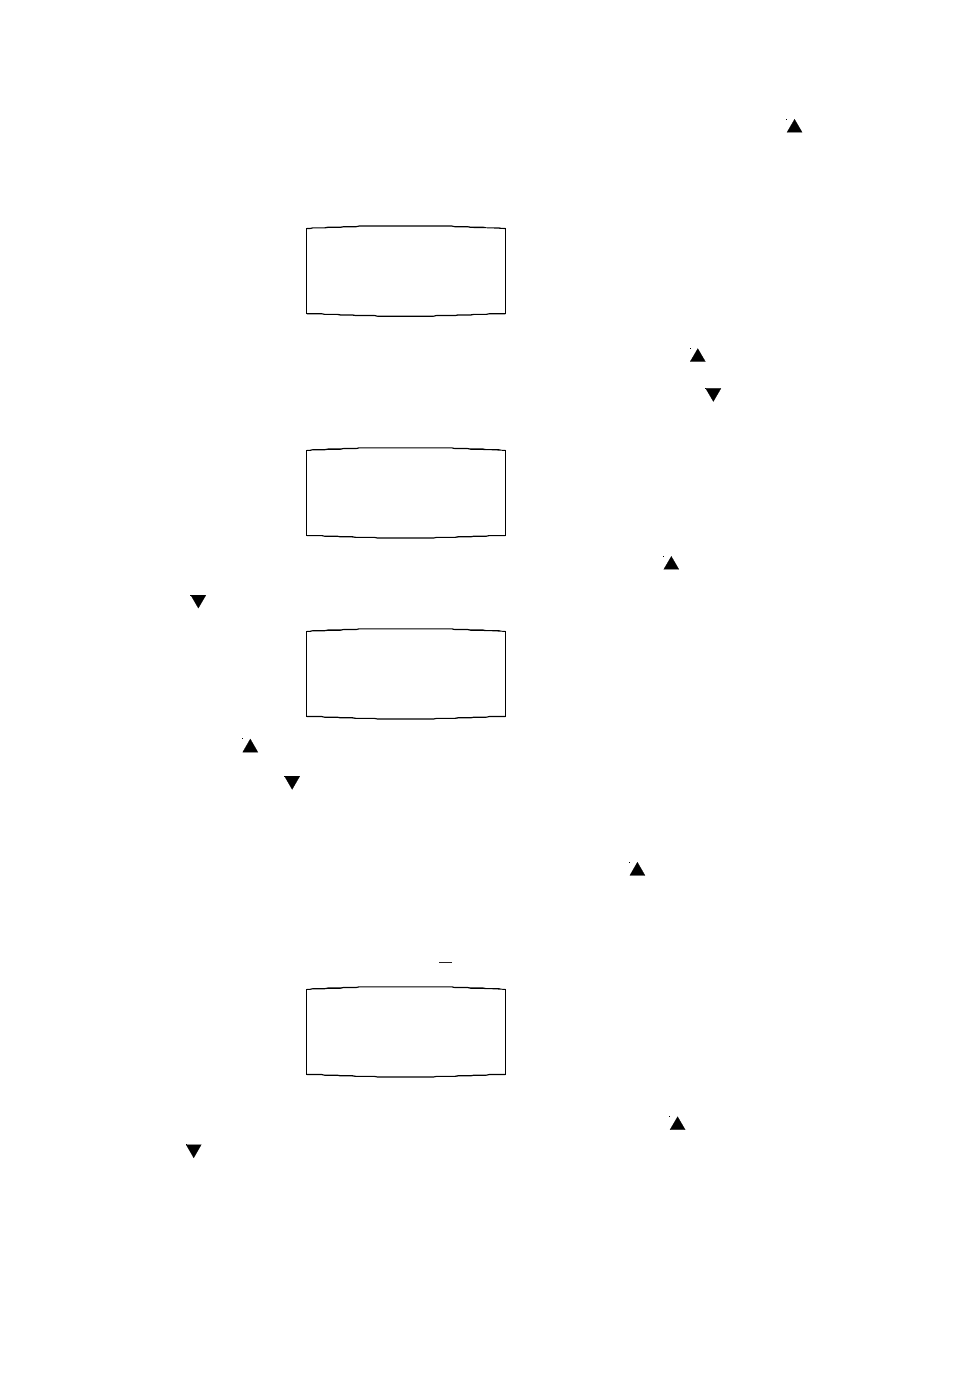
After the adapter is connected, the display will show as indicated below for setting.
1.
[
SET LANGUAGE
]
appears on the display. Press the REVIEW UP ( ) button to
select the language. E - English, F - French, S - Spanish, and then press the DIAL
button to confirm the selection.
2.
When
[
LCD CONTRAST
]
appears, press REVIEW UP (
) button to set the
contrast darker, and then you can press REVIEW DOWN (
) button to set the
contrast back to the preset.
3.
When [SET AREA CODE] appears, use REVIEW UP (
) button and REVIEW
DOWN (
) button to set your local area code.
REVIEW UP (
) button - to change the digit from -. 0, 1, 2, -9
REVIEW DOWN (
) button - to move to the next digit.
When you are finished setting the local area code, press Dial.
4.
When [SET LDS CODE] appears, press REVIEW UP(
) button to change the long
distance code from -, 0, 1, 2, -9. When you are finished, Press DIAL. The display
will indicate as shown (Stand-By Screen) and be ready to receive incoming calls.
You have to set the LDS code as 1 when you are in the USA or Canada.
Stand-By Screen
5.
When [SET ACCESS CODE] appears, use REVIEW UP (
) button and REVIEW
DOWN (
) button to set your access code. The Code can range from _ to 9. The
Access Code is used to obtain an outside line when using a PBX and some Centrex
applications. This feature can be used with Caller ID and Memory Locations.
6.
The time and date are automatically set when a caller ID (CID) number is received.
The unit will keep the current time accurately, and is updated each time a CID
number is received.
6
E
SET LANGUAGE
2
LCD CONTRAST
- - -
SET AREA CODE
1
SET LDS CODE