Camlink Photo/Video 48 LEDs Light User Manual
Page 3
3
©2012 NEDIS BV. Camlink is a registered trademark of NEDIS BV. Although every effort has been made
to ensure the accuracy of the information contained in this manual specifications are subject to change
and therefore NEDIS BV cannot guarantee its correctness and completeness at all times.
GB – English
Technical specifications
Light source:
48 high power LEDs
Colour temperature white filter:
5400 K
Colour temperature orange filter:
3200 K
Colour temperature pink filter:
3200 K
Light intensity:
440 lm
Battery:
2x AA
Safety precautions
To reduce risk of electric shock, this product should ONLY be opened by an authorised
technician when service is required. Disconnect the product from mains and other
equipment if a problem should occur. Do not expose the product to water or moisture.
Installation instructions
1. Diffuser and filter:
Without the diffuser and filter the light has a spotlight effect and is suitable for shooting at a relatively long-distance
range.
With the diffuser the light will have a soft light effect.
Slots are installed on the front surface of the frame to fix the diffuser and filter.
2. Hot shoe adapter:
The hot shoe adapter connects the lamp with the camcorder.
3. Select On to switch the lamp on and Off to switch the lamp off.
4. Battery holder cover:
To secure the battery.
5. Battery: 2x AA
6. Gel holder: to store the diffuser and filter.
User instructions
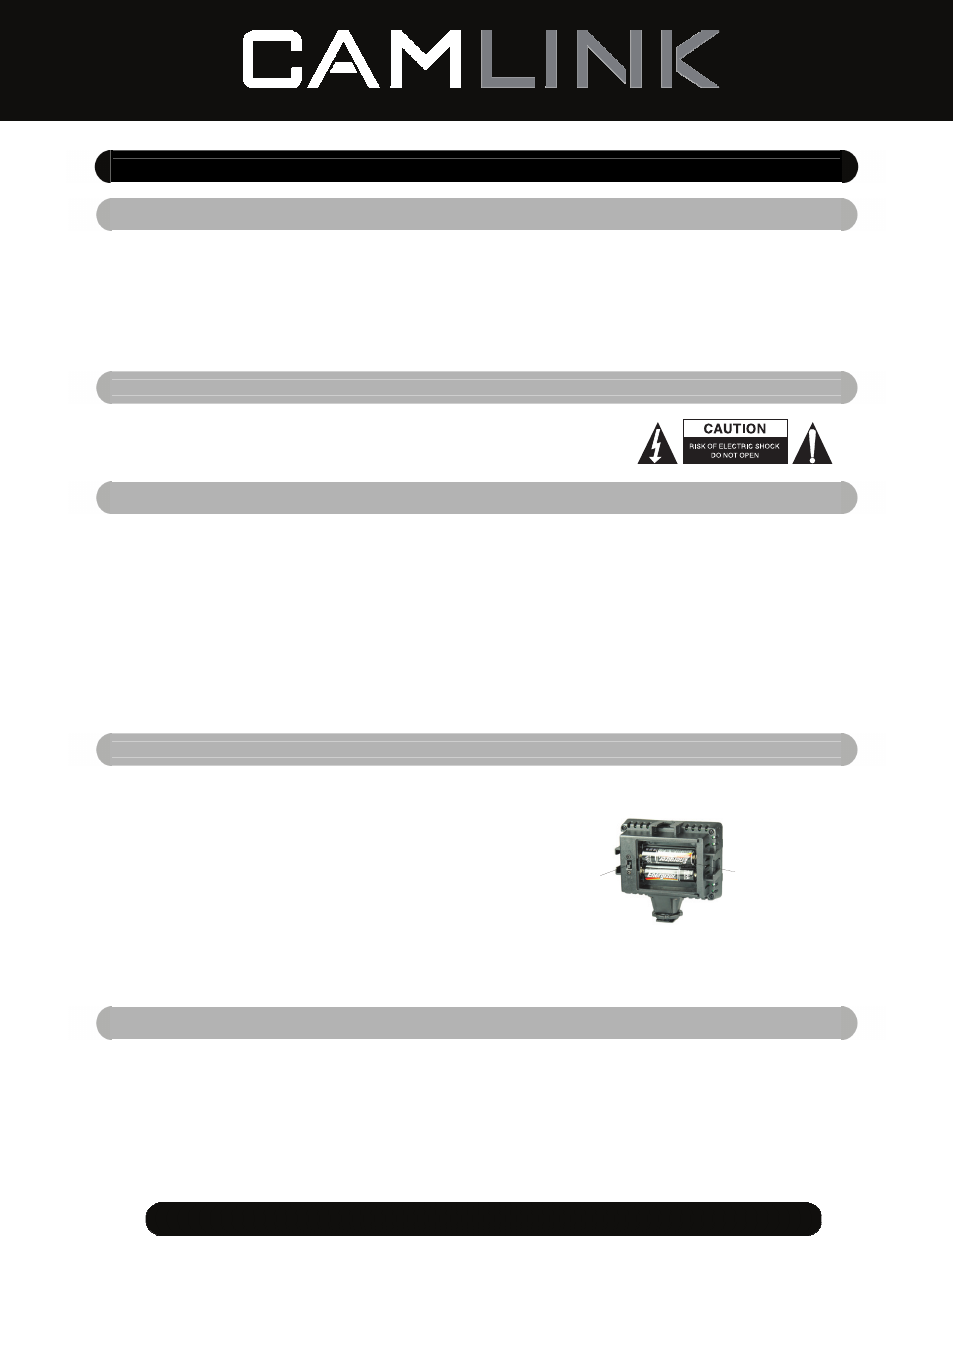
1. Install the AA batteries. Please make sure the positive and negative poles are positioned according to the “+” and “-”
symbols. Place the battery holder cover after the batteries are installed.
2. Mount the LED lamp on a camcorder. Insert the hot shoe adapter into the hot shoe of the camcorder and screw in the
hot shoe knob to place the LED lamp on the camcorder.
3. Switch the lamp on to use it.
4. Switch the lamp off after use.
Maintenance
1. Please turn off the power after use to avoid long time heat generation and a waste of the battery and service life of
the LED bulbs.
2. Remove the batteries when you are not using the LED lamp.
3. Please install the batteries carefully to avoid damage to the battery holder.
Battery holder
Switch