Winchester Repeating Arms 1300 (Historic Manual) User Manual
Page 24
6. Push the pin through sufficiently until it can be grasped
with your fingers. Pull it the rest of the way out. If it
cannot be removed with fingers, make sure your pushing
tool or punch has a diameter small enough so that it
will push the pin completely through without the tool
damaging the hole.
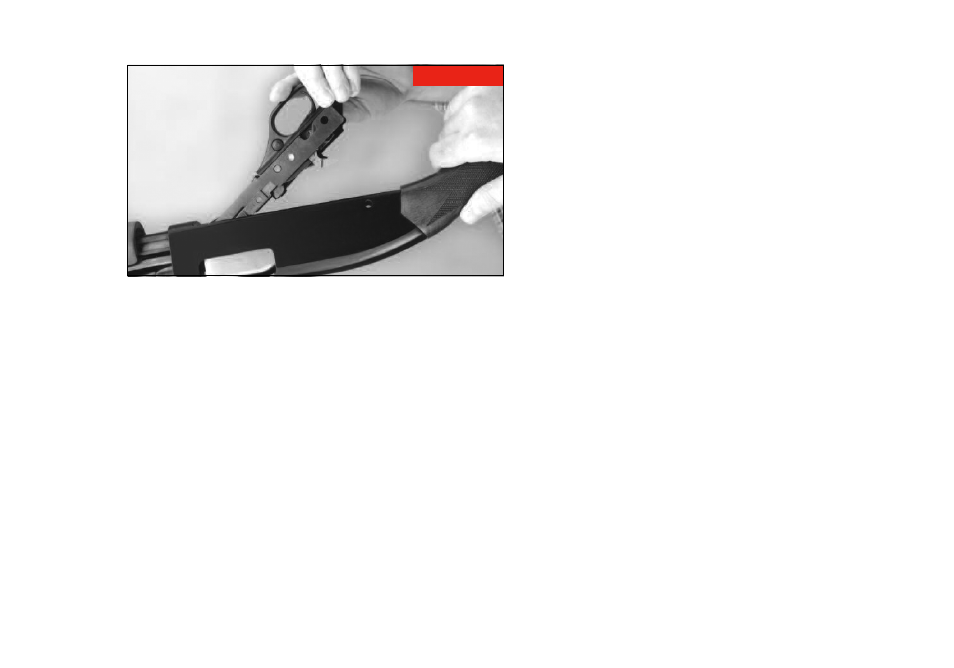
7. With the pin removed, lift the trigger guard group out
of the receiver by lifting upward and pulling rearward
(Figure 13).
D
ISASSEMBLY OF THE
S
LIDE AND
B
REECH
B
OLT
(12 G
AUGE ONLY
) —
1. Remove the barrel and trigger guard group as explained
earlier, but do not replace the magazine cap.
2. With the action slide arms still attached to the slide
arm bridge, simultaneously slide both assemblies
forward and out of the front of the receiver. Note that
as the breech bolt assembly passes by the ejection port,
there may be some resistance from the ejector spring.
Carefully work it past the resistance.
D
ISASSEMBLY OF THE
S
LIDE AND
B
REECH
B
OLT
(20 G
AUGE ONLY
) —
This procedure is necessary because the bolt will not
extract out through the front of the receiver as it does on
the 12 gauge model.
1. Remove the barrel and trigger guard group as explained
earlier, but do not replace the magazine cap.
2. You must disengage the slide arms from the slide arm
bridge. Remove the slide arms through the front of the
receiver. Remove the bolt slide assembly through the
trigger guard group opening.
R
EMOVAL OF THE
F
IRING
P
IN
—
Begin with the breech bolt assembly removed from the gun.
1. Grasp the breech bolt assembly, bottom side up (flat
side), and push the rear of the firing pin forward with
your forefinger. While holding the firing pin in this
position, take your other hand and tilt the front end of
the slide arm bridge and move it slightly forward. Lift
22
FIGURE 13
After removing the pin, tilt
the rear of the trigger guard
group up, then lift it out.