Stealth Cam STC-DASHCAM Dash Cam User Manual
Page 5
5
First,
install
battery.
The
side
with
polarity
marking
should
be
facing
up.
NOTE:
When
the
lithium
battery
power
is
low,
the
screen
will
show
”Low
Battery”
and
DVR
will
power
off
automatically
after
5
seconds.
Charging
Methods
There
are
two
ways
to
charge
the
Li-‐ion
battery
that
came
with
the
camera.
Use
the
5V
DC
adapter
(included
in
the
kit).
Plug
the
5V
DC
adapter
into
your
vehicle’s
cigarette
outlet
or
use
the
USB
cable
(included
in
the
kit)
by
connecting
to
a
computer’s
USB
port.
The
Power
button’s
red
light
will
turn
ON.
Once
the
battery
is
fully
charged,
the
red
indicator
on
Power
Button
will
turn
OFF.
Power Options:
Option
1:
Use
internal
battery
after
it
is
fully
charged.
(See
charging
methods)
Option
2:
Use
the
car
charger
adapter.
Camera
will
begin
recording
automatically
when
you
start
your
car’s
ignition
(must
have
SD
Card
installed).
Once
your
car
ignition
is
turned
off,
the camera will save the last file and turn itself off.
Option
1:
5V
DC
Adapter
Option
2:
USB
Cable
Adapter
2
16
17
10
13
14
15
11
12
10. Suction hole
11. Battery cover
12. Speaker
13. SD card slot
14. DC socket
15. Mic
16. Lens
17. Infrared lamp
User manual
Power supply:
use lithium battery
Charging way: connect to car charger adapter
Note: when use the lithium battery, you need press power button to turn on or
turn off your DVR.
connect 12V/24V car charger adapter
When auto starting, DVR begin to recording automatically, power cut will stop
recoding and save the file to the memory.
Note: just 5V output is available.
A
B
Operation steps
Insert a SD
memory card
correctly into the
SD/MMC card
slot .
Mounting bracket
correctly into the
holder and then
put the suction cup
in a suitable
place ,adjust the
location and
direction.
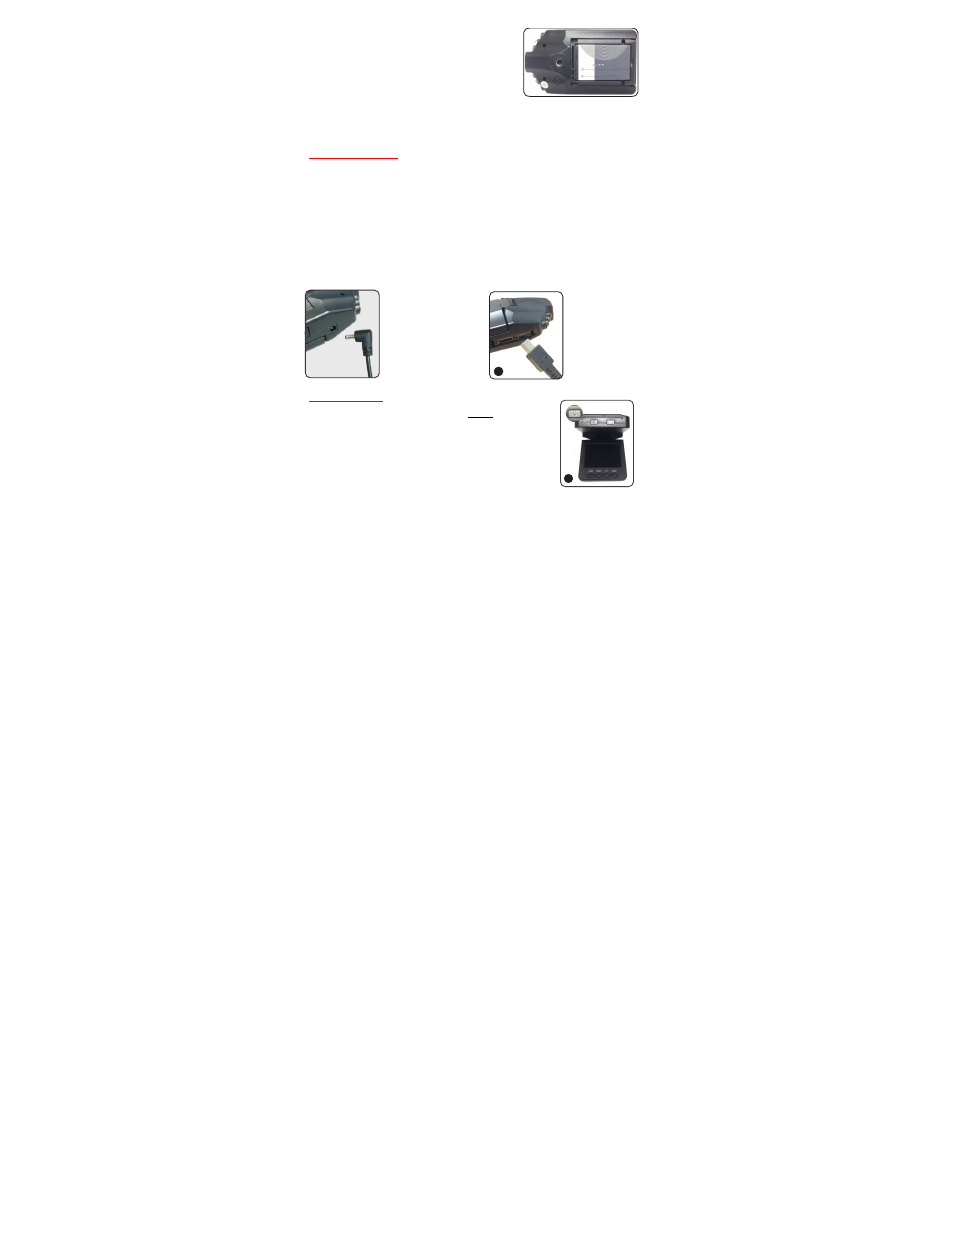
Use 5V output
attaching plug
(car charger
adapter), plug in
the DC 5V
connector.
Hold the
“ON/OFF” button
for 3 seconds
to turn on your
camcorder,
setting specific
parameter,
please refer to
this manual as
below.
13
10
The first step:
Insert a SD
memory card
The second step:
Mounting bracket
The third step:
plug in the car
charger power
The fourth step:
power on
9
6