1 name plate, ce and body markings, 2 tightening torques, Name plate, ce and body markings – Richter SGS/F Series Sight Glasses User Manual
Page 3: Tightening torques, Series sgs

Series SGS
Page 3
9540-055-en
Revision 01
TM 6744
Edition 04/2007
Weight:
Nom.
size
15
20 25 32 40 50 65 80 100
approx.
kg
3
3
4
5
8
10 13 20 30
Installation position:
A direction arrow on the shell indicates the direction of
flow. See Section 6.2.
Dimensions and parts:
See sectional drawing Section 10.
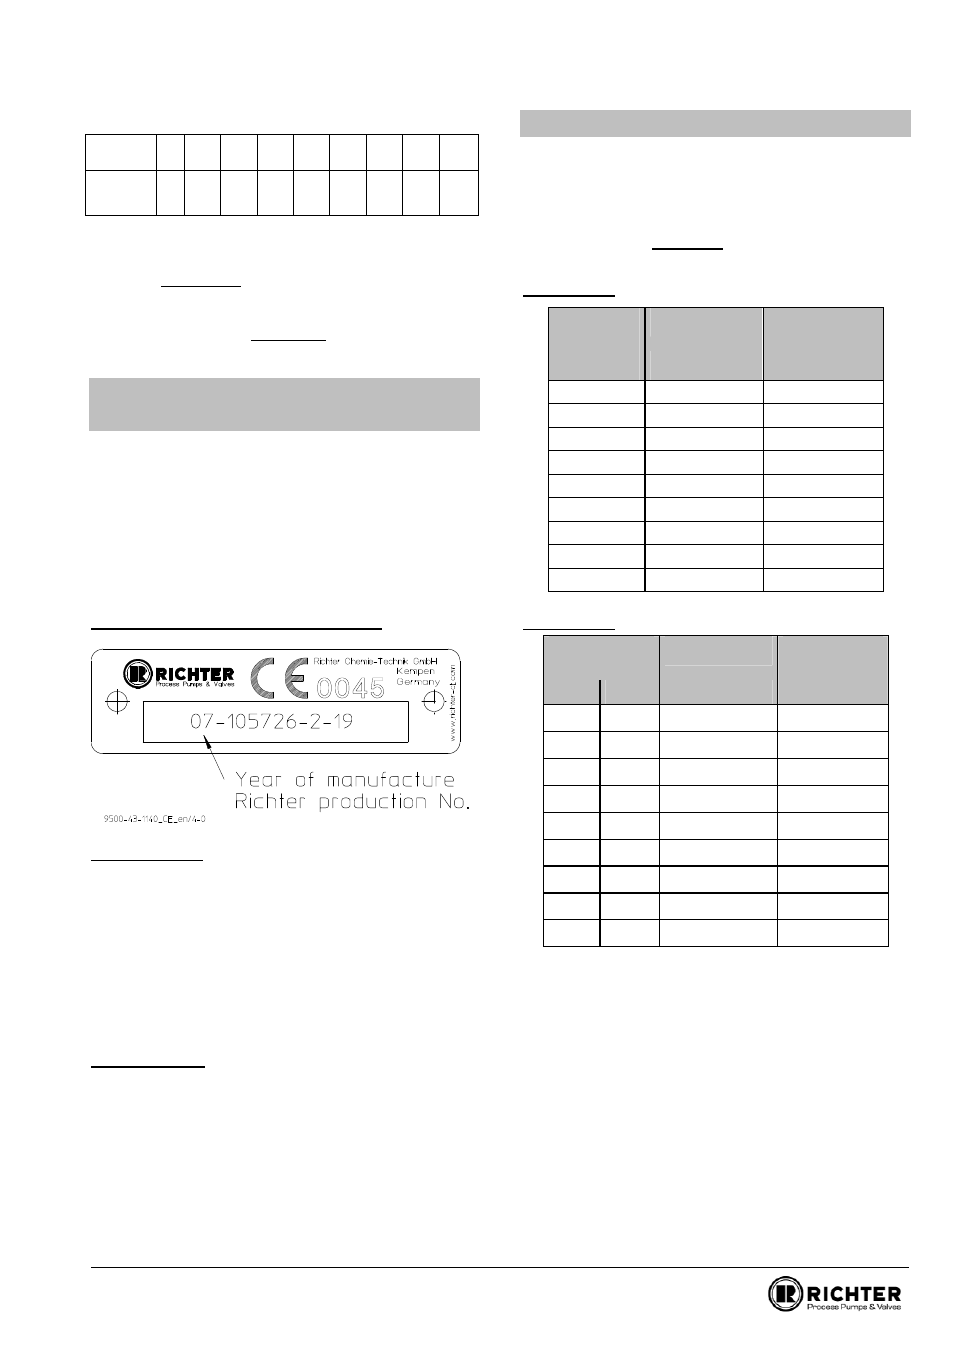
1.1 Name plate, CE and body
markings
The stainless steel name plate is firmly riveted to the
shell.
If the operator attaches his identification, it must be
ensured that the sight glass matches the application in
question.
No CE marking is required for the sizes DN 15, 20 and
25, the name plate is therefore without any CE
marking.
Example: Name plate with CE marking
Body marking:
The following are visible on the shell according to DIN
EN 19 and AD 2000 A4:
Nominal size
Rated pressure
Shell material
Manufacturer's identification
Melt number/Foundry identification
Foundry date
Glass cylinder:
Company name
Operating gauge pressure
Temperature
Arrow for direction of flow
1.2 Tightening torques
All screws greased, tighten in diametrically
opposite sequence!
The tightening torques for pipe screws and cylindrical
glass screws mentioned must not be exceeded. For
an exception, see Section 6.
The following tightening torques are recommended:
Pipe screws, flanges to ISO/DIN
Flange
nom. size
Screws
Tightening
torque
[mm]
[DIN]
[Nm]
15
4 x M12
12
20
4 x M12
12
25
4 x M12
12
32
4 x M16
18
40
4 x M16
22
50
4 x M16
30
65
4 x M16
40
80
8 x M16
25
100 8
x
M16 30
Pipe screws, flanges to ISO/DIN, drilled to ASME
Flange nom.
size
Screws
Tightening
torque
[mm]
[inch]
[ASME]
[in-lbs]
15
½
4 x ½“
106
20
¾
4 x ½“
106
25
1
4 x ½“
106
32
1¼
4 x ½“
106
40
1½
4 x ½“
133
50 2 4
x
5/8
“
221
65 2½ 4
x
5/8
“
266
80 3 4
x
5/8
“
354
100 4
8
x
5/8
“
266
