Statement tt 1 – Clearaudio STATEMENT TT1 (Tangential) User Manual
Page 10
Statement TT 1
User Manual
Page 10
clearaudio electronic GmbH 2014
Please note:
You might have to readjust the leveling of the Statement turntable, when finished with the
complete setup.
The following steps must be done with a lot of caution !
Take the precision glastube and the armwand / carriage assembly and slide it into the
glastube. The headshell mounting area is facing into the direction that the cut out gap of the
tube in the back.
Please note: There is no tension force allowed to the very fine/ thin tonearm cable.
Damage can occure !
Place the glastube assembly kit as described:
first the piece with the round rubber at the right end of the glastube in position (inserting),
then the round stopper into the left side of the glastube.
Now slide the glastube into the machined precision tube holder (at the back of the TT1
tonearm) and place it into the buffer by pushing it into the left rubber ring
Attention: Put the glastube flat into the cut out, then push it leftwards!
Damage can occure !
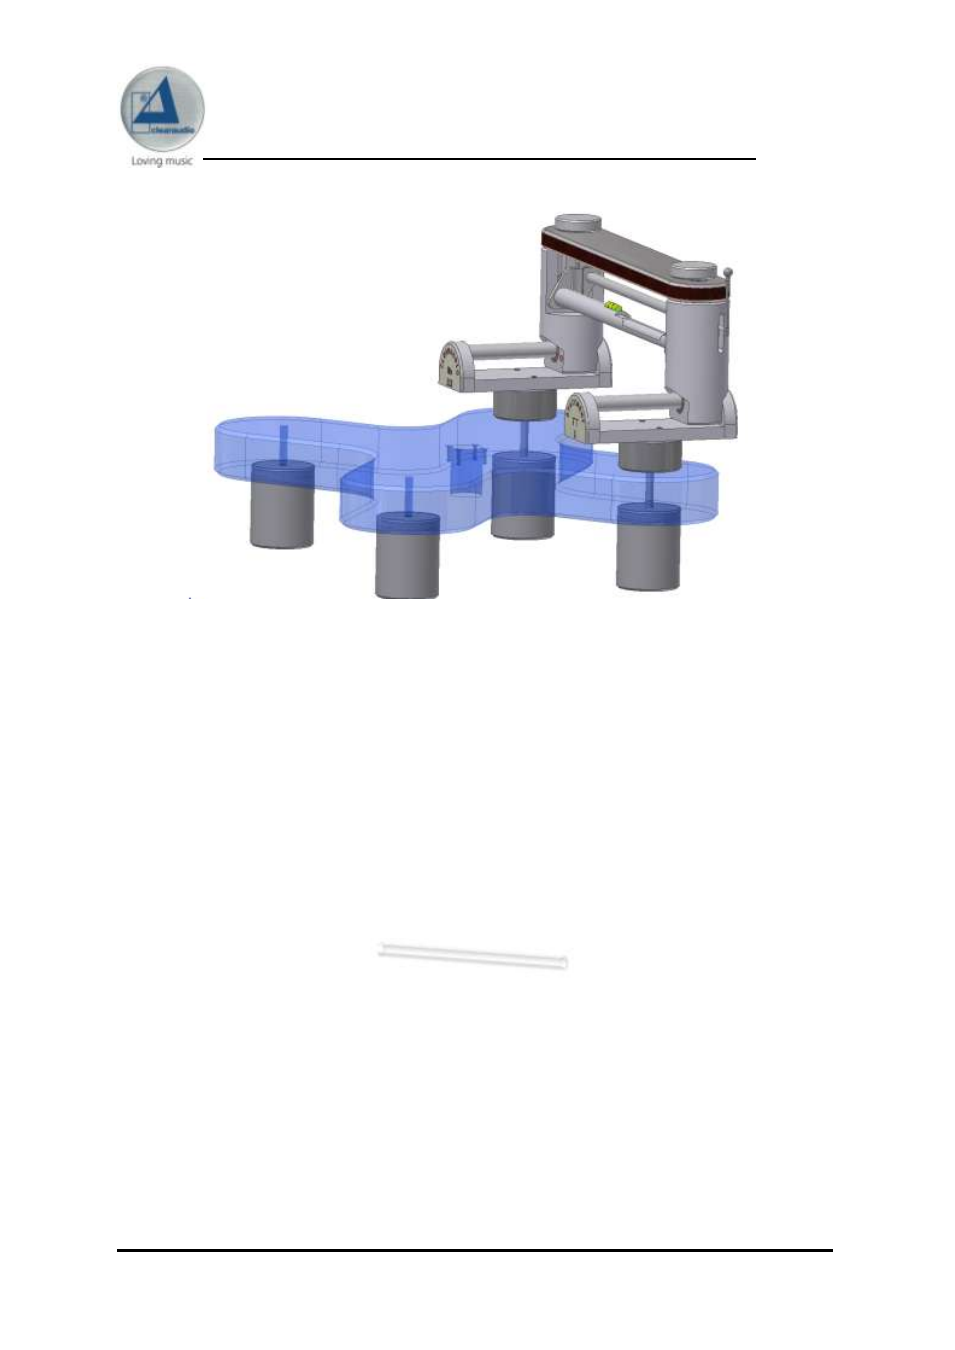
Picture 10: Finished view of the tonearm installation
Picture 11: Precision glastube