Clay Paky ALPHA WASH 1200 (C61072) User Manual
Page 16
ALPHA WASH 1200
16
Rainbow effect
Permette l’abilitazione dell’effetto rainbow (rotazione conti-
nua del disco colori).
1) Premere ENTER - sul display appare l’impostazione cor-
rente (On o Off).
2) Con i tasti UP e DOWN abilitare (On) o disabilitare (Off)
l’effetto rainbow.
3) Premere ENTER per confermare la selezione (il display
lampeggia per alcuni istanti), oppure SELECT per mante-
nere l’impostazione corrente.
Colour optimization
Permette di ottimizzare il tempo di cambio colore in quanto il
disco ruota nel verso che richiede lo spostamento minore.
1) Premere ENTER - sul display appare l’impostazione cor-
rente (On o Off).
2) Con i tasti UP e DOWN abilitare (On) o disabilitare (Off)
l’ottimizzazione del cambio colore.
3) Premere ENTER per confermare la selezione (il display
lampeggia per alcuni istanti), oppure SELECT per mante-
nere l’impostazione corrente.
Shutter on Dimmer
Abilita la chiusura automatica dello strobo quando il dimmer è
completamente chiuso.
1) Premere ENTER - sul display appare l’impostazione corrente
(On o Off).
2) Con i tasti UP e DOWN abilitare (On) o disabilitare (Off) la
chiusura automatica dello strobo.
3) Premere ENTER per confermare la selezione (il display lam-
peggia per alcuni istanti), oppure SELECT per mantenere
l’impostazione corrente.
Lamp on mode
Permette di selezionare la modalità di accensione della lampa-
da.
1) Premere ENTER - sul display appare l’impostazione corrente
(PwUp, Dly, No o Auto).
2) Con i tasti UP e DOWN selezionare una delle seguenti impo-
stazioni:
Power up
Alimentando il proiettore la lampada si accende con un ritardo
fisso di 10 secondi.
Power up with delay
Alimentando il proiettore la lampada si accende con un ritardo
fisso di 10 secondi più un ritardo variabile proporzionale all’indi-
rizzo DMX del proiettore stesso. Il ritardo variabile vale 50ms
per ogni canale, di conseguenza il ritardo fra l’accensione della
lampada di un proiettore ed il successivo è di circa 0.8 secondi
(es: 50ms x16chs. = 0.8sec).
No lamp on
Alimentando il proiettore la lampada rimane spenta.
Auto DMX
La lampada si accende quando viene collegato un segnale
DMX (sempre con il ritardo fisso di 10 secondi). Si spegne se in
seguito il segnale DMX resta assente per più di 15 minuti.
3) Premere ENTER per confermare la selezione (il display lam-
peggia per alcuni istanti), oppure SELECT per mantenere
l’impostazione corrente.
Lamp Off mode
Permette lo spegnimento automatico della lampada se lo
stop/strobe e/o il dimmer rimangono chiusi per un tempo supe-
riore ai 5 minuti. La lampada si riaccende all’apertura dello
stop/strobe e/o dimmer.
1) Premere ENTER - sul display appare l’impostazione corrente
(No o Shut).
2) Con i tasti UP e DOWN abilitare (Shut) o disabilitare (No) lo
spegnimento automatico della lampada.
3) Premere ENTER per confermare la selezione (il display lam-
peggia per alcuni istanti), oppure SELECT per mantenere
l’impostazione corrente.
Enable lamp control dmx channel
Permette l’abilitazione del canale di controllo remoto della lampada.
1) Premere ENTER - sul display appare l’impostazione corrente
(On o Off).
2) Con i tasti UP e DOWN abilitare (On) o disabilitare (Off) il
canale di controllo remoto della lampada.
3) Premere ENTER per confermare la selezione (il display lam-
peggia per alcuni istanti), oppure SELECT per mantenere
l’impostazione corrente.
Enable encoder
Permette l’abilitazione degli encoder Pan / Tilt.
1) Premere ENTER - sul display appare l’impostazione corrente
(On o Off).
2) Con i tasti UP e DOWN abilitare (On) o disabilitare (Off) gli
encoder Pan / Tilt (ad ogni nuova accensione del proiettore
questa opzione assume il valore On).
3) Premere ENTER per confermare la selezione (il display lam-
peggia per alcuni istanti), oppure SELECT per mantenere
l’impostazione corrente.
Rainbow effect
Used for enabling the rainbow effect (continual rotation of
the color disc).
1) Press ENTER – the current settings appear on the
display (On or Off).
2) Use the UP and DOWN keys to enable (On) or disable
(Off) the rainbow effect.
3) Press ENTER to confirm the selection (the display blinks
for several seconds), or SELECT to keep current
settings.
Color optimization
Used for optimizing color change time so that the disc turns
in the direction that requires shorter movement.
1) Press ENTER – the current settings appear on the
display (On or Off).
2) Use the UP and DOWN keys to enable (On) or disable
(Off) color change optimization.
3) Press ENTER to confirm the selection (the display blinks
for several seconds), or SELECT to keep current
settings.
Shutter on Dimmer
Enables automatic strobe closing when the dimmer is comple-
tely closed.
1) Press ENTER – the current settings appear on the display
(On or Off).
2) Use the UP and DOWN keys to enable (On) or disable (Off)
automatic strobe closing.
3) Press ENTER to confirm the selection (the display blinks for
several seconds), or SELECT to keep current settings.
Lamp on mode
Used for selecting lamp lighting mode.
1) Press ENTER – the current settings appear on the display
(PwUp, Dly, No or Auto).
2) Use the UP and DOWN keys to select one of the following
settings:
Power up
When the projector is turned on the lamp lights with a fixed 10
second delay.
Power up with delay
When the projector is turned on the lamp lights with a fixed 10
second delay plus a variable delay proportionate to the projec-
tor’s DMX address. The variable delay is 50ms for each chan-
nel, consequently the delay between one projector lamp lighting
and the next is about 0.8 second (i.e.: 50ms x 16chs. = 0.8sec).
No lamp on
The lamp remains off when the projector is turned on.
Auto DMX
The lamp turns on when a DMX signal is connected (always
with the 10 second fixed delay). It turns off if there is no DMX
signal for more than 15 minutes.
3) Press ENTER to confirm the selection (the display blinks for
several seconds), or SELECT to keep current settings.
Lamp off mode
Used for automatically turning off the lamp if the stop/strobe
and/or dimmer are shut for more than 5 minutes. The lamp
turns on again when the stop/strobe and/or dimmer opens.
1) Press ENTER – the current settings appear on the display
(No or Shut).
2) Use the UP and DOWN keys to enable (Shut) or disable
(No) the lamp to automatically turn off.
3) Press ENTER to confirm the selection (the display blinks for
several seconds), or SELECT to keep current settings.
Enable lamp control dmx channel
Used for enabling lamp remote control channel.
1) Press ENTER – the current settings appear on the display
(On or Off).
2) Use the UP and DOWN keys to enable (On) or disable (Off)
the lamp remote control channel.
3) Press ENTER to confirm the selection (the display blinks for
several seconds), or SELECT to keep current settings.
Enable encoder
Used for enabling the Pan / Tilt encoders.
1) Press ENTER – the current settings appear on the display
(On or Off).
2) Use the UP and DOWN keys to enable (On) or disable (Off)
Pan / Tilt encoders (every time the projector is turned on this
option is set to On).
3) Press ENTER to confirm the selection (the display blinks for
several seconds), or SELECT to keep current settings.
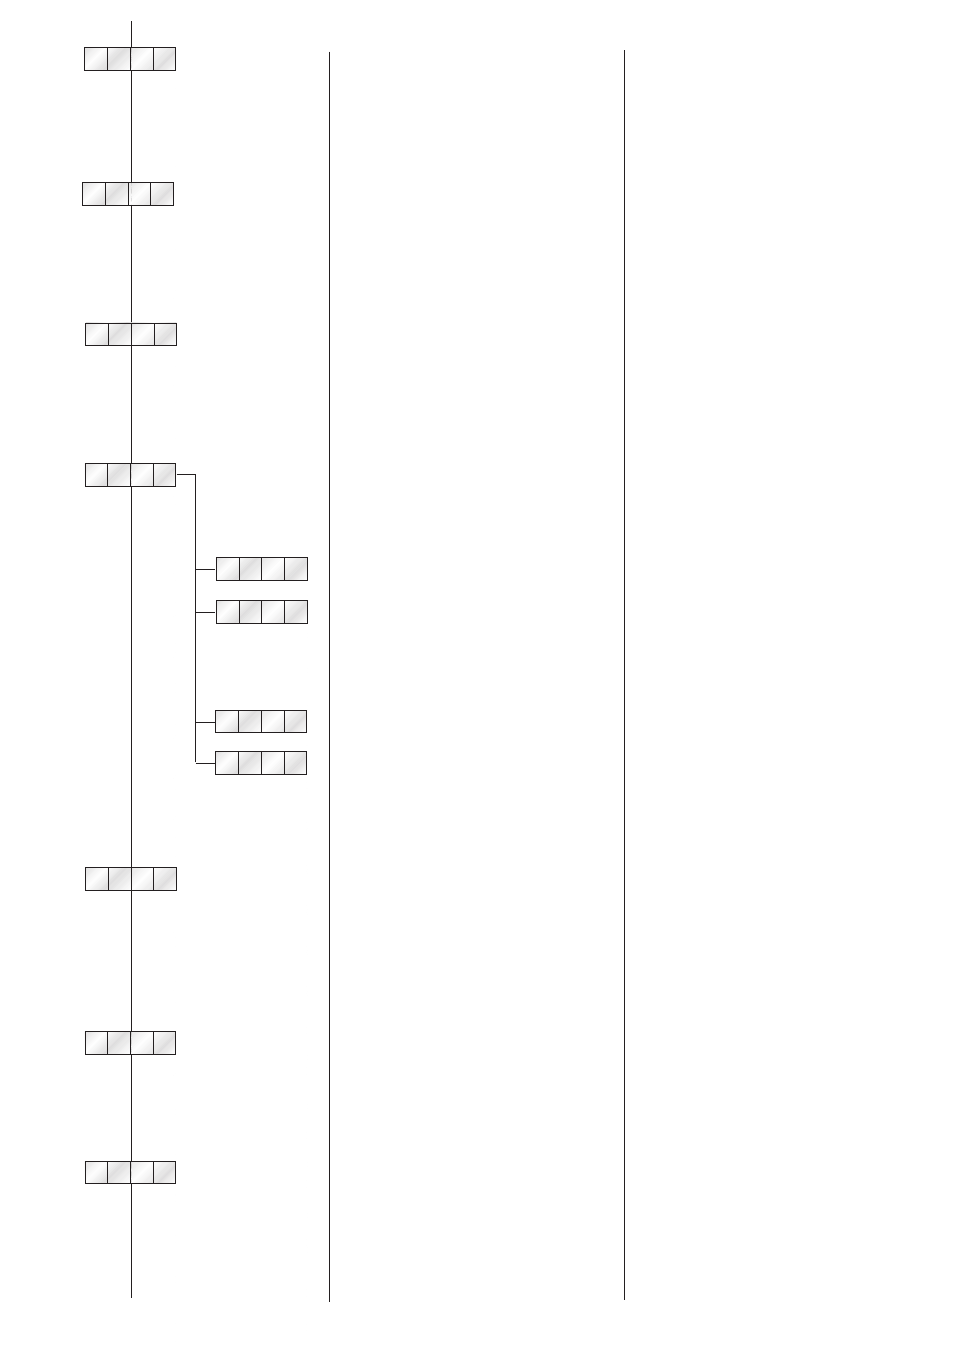
P w U p
D l y
N o
A u
o
t
L o n
S h D i
L o f f
L D m x
E n c
C O p t
R
i n
a