Vortex Optics VIPER PST 1-4X24 RIFLESCOPE User Manual
Page 10
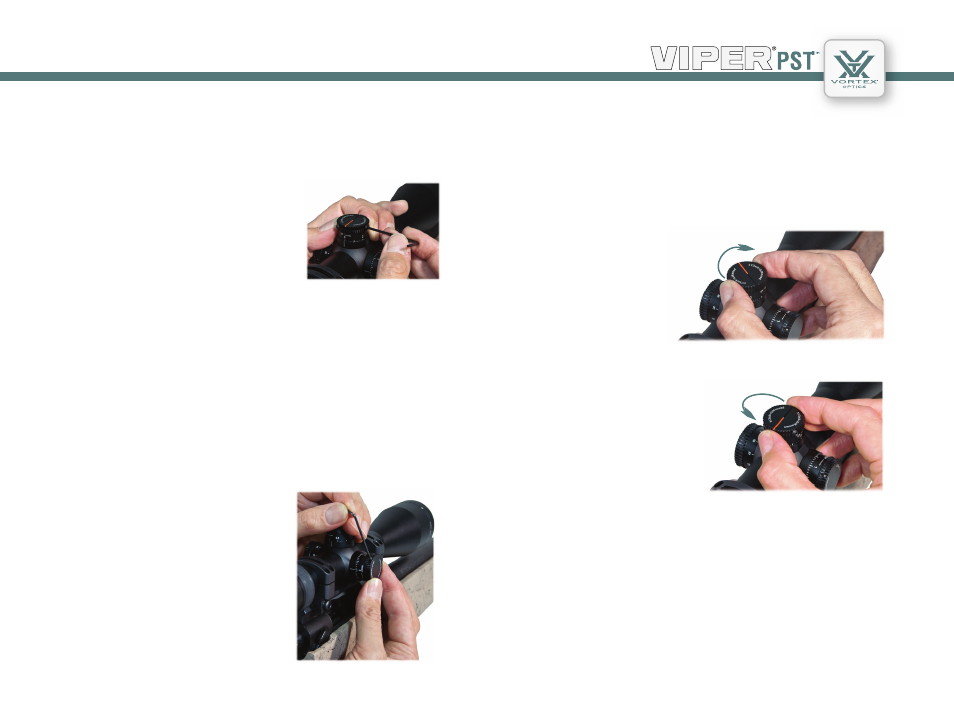
Align the elevation turret cap.
Align the windage turret cap.
3. After filling the center gap on the post with shims, replace the elevation
cap.
4. Align the turret cap so the “0” mark on the cap matches up with
the “0” reference line on the turret shroud.
Again, be sure not to rotate the actual turret
mechanism in the process.
5. Re-tighten the retaining screws, but do not
overtighten. Use of thumb and forefinger on
the short end of the hex wrench will provide
sufficient force.
1. Loosen the three retaining screws on windage turret cap.
2. Carefully rotate the cap until the “0” mark on the cap matches up with
the “0” reference line on the turret post. Be sure that the cap is freely
turning and that you don’t rotate the actual turret mechanism.
3. Re-tighten the windage knob retaining screws, but do not overtighten.
Use of thumb and forefinger on the short end of the hex wrench will
provide sufficient force.
Once the windage and elevation knobs
are correctly indexed to the zero mark,
temporary corrections can be safely dialed
into the scope without worry of losing the
original zero.
Indexing the Windage Knob
Once the CRS shims are installed, the elevation dial will stop turning
shortly past the original zero point when being returned (turning
clockwise direction) from a temporary elevation adjustment.
Note: If re-zeroing at a
future time, be sure to
remove all CRS shims
before sight-in.
Correct alignment for zero point.
Using the CRS Zero Stop
Turn the elevation knob a partial turn in a counter-clockwise direction
until the Radius Bar is
correctly aligned with scope
axis and zero marks match.
This setting will match the
original zero point.
Point at which the knob stops turning.
19
18
RIFLESCOPE