Thrush Double Wall Steam to Water U-Tube Heat Exchanger User Manual
Thrush Equipment
9636-0760
8/08
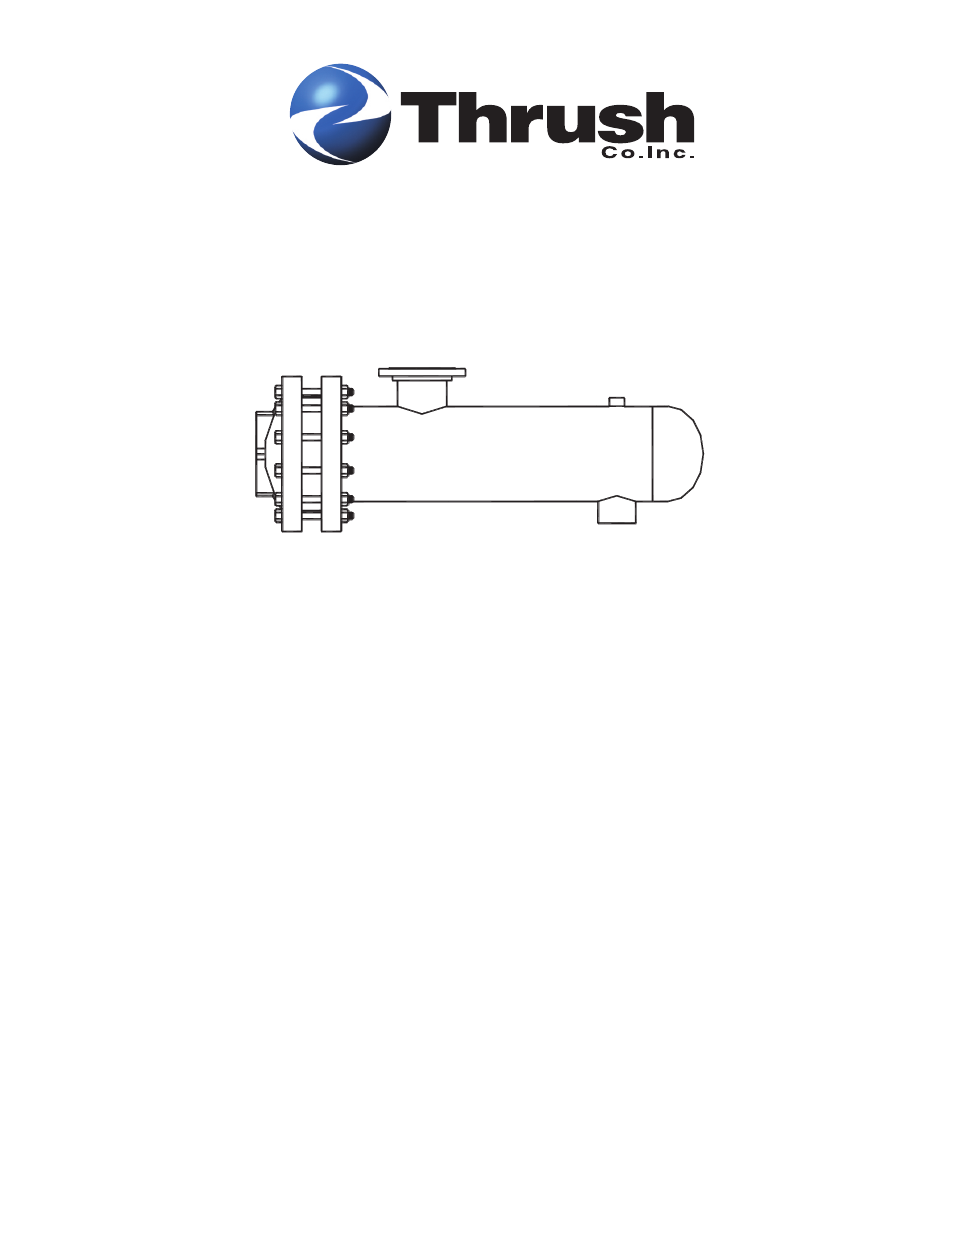
Shell and Tube Heat Exchanger - U-tube style
The THRUSH Heat Exchanger has been carefully assembled and factory tested to provide years of
trouble-free service. In order to assure the service intended, the following information is provided to
enable proper installation, operation and maintenance of the Thrush Heat Exchanger.
LOCATION
The heat exchanger should be located in a clean, open area, where it is easily accessible for
inspection, service and repair. Allowance should be made for the clearance required to remove the
tube bundle.
PIPING
Long radius elbows should be used in place of standard elbows wherever possible, because of their
superior flow characteristics. Liberal use of shut off valves is recommended to enable inspection
and service.
INSTALLATION
1.
To move or lift the heat exchanger, place a sling around the unit's inlet and outlet
connections. Verify that all equipment, including the sling, is certified to handle the total
weight of the heat exchanger. Carefully lift to piping site. Avoid slinging at the bolted gasket
head joint area.
2.
Install unit level and square so pipe connections can be made without force. During
installation and operation, unit should be adequately supported to prevent settling that could
cause piping strains.
3.
Provide sufficient clearance at channel end for removal and replacement of tube bundle.
(Minimum clearance = one length of the shell)
4.
Provide positive shutoff valves and by-pass to permit both shell and tubeside to be shut off for
inspection and service.
5.
After installation and prior to startup all head flange bolts should be re-tightened.
OPERATING & MAINTENANCE INFORMATION
FOR
HEAT EXCHANGERS