Care and cleaning – Black & Decker DDCM200 User Manual
Page 4
6
5
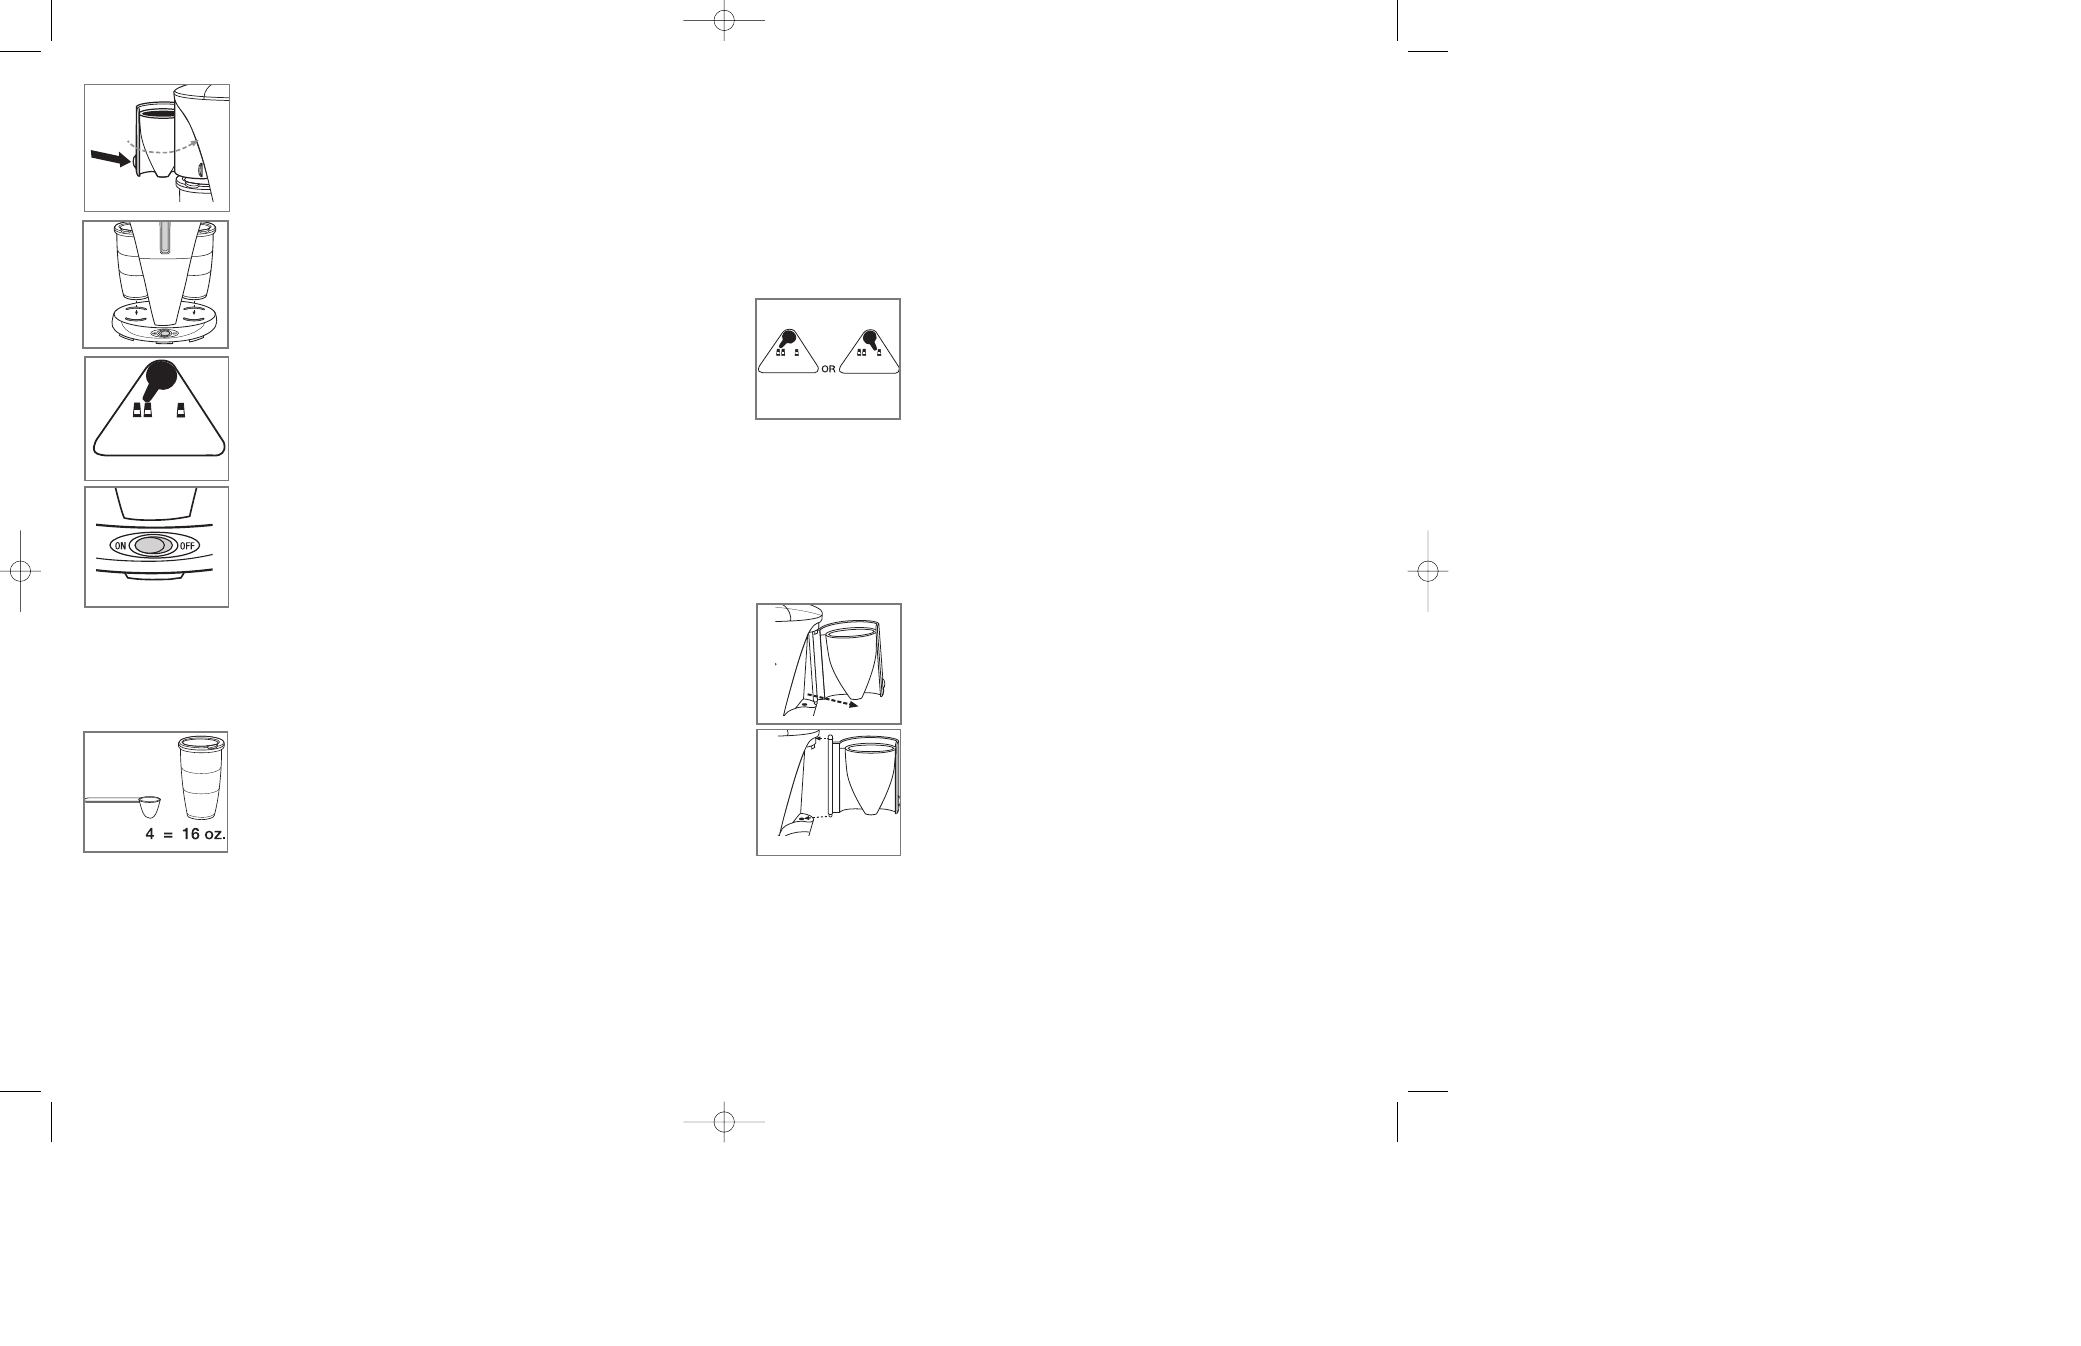
6. Close brew basket by pushing toward the unit until it
clicks into place (E).
7. Place both thermal mugs in position with lids tightly
closed. The ridges on the base indicate exactly where to
position the mugs (F).
Important: To ensure that water brews right into the mug,
make sure you place the mug inside the ridges.
8. Select the 2 MUGS setting (G).
9. Plug unit into electric wall outlet and press On/Off switch
to On position (H). Indicator light illuminates red.
10. When brewing cycle is finished, press On/Off switch
to Off position. If not, unit will shut off automatically.
11. Discard water from mugs.
BREWING COFFEE
1. Turn unit Off.
2. Wait for unit to cool.
3. To open brew basket, grasp small handle and swing open (refer to fig. C).
4. Insert permanent filter into brew basket (refer to fig. D).
5. Add desired amount of coffee depending on whether you
are making one or two mugs of coffee. We recommend 4
tablespoons for every 16-oz. mug (J), but you can use
more or less coffee to suit your taste.
6. Close brew basket by pushing inward until it clicks in
place (refer to fig. E).
7. Open water reservoir cover and fill with water up to the appropriate marking
depending on amount of coffee you are making.
Tip: Use less water for brewing if you will be adding milk or cream.
CAUTION:
a. If brewing one mug only:
• Make sure to fill with water up to the 1 MUG level ONLY.
• Place mug on the left side.
• Set MUG selector to 1 MUG.
b. If you fill up to the 2 MUGS (MAX) level with mug on the wrong side and
mug selector on the wrong setting, it will cause water to over flow.
8. Close the water reservoir cover.
9. Place mug with lid tightly closed inside the base ridges (refer to fig. F). The
ridges on the base indicate exactly where to position the mugs.
Important: You must position the mug inside the ridges to ensure coffee brews
right into the mug and avoid an overflow.
10. If you want to brew only one mug, you must place mug on left side of unit.
THIS SIDE IS FOR JUST ONE MUG SERVING. If you place the mug on the
wrong side, it will cause an overflow.
11. Select number of mugs to brew by moving the selector
to 2 MUGS or 1 MUG setting (K).
12. Make sure unit is plugged into electrical outlet.
13. Press On/Off switch to On position. Indicator light
illuminates red.
14. Once brewing cycle is finished, press On/Off switch
to Off. If not, unit will shut off automatically.
Coffee is Ready to Go!
CAUTION: To remove thermal mug, always grasp it by the anti-slip rubber grip.
Care and Cleaning
This appliance contains no user-serviceable parts. Refer service to qualified
service personnel.
CLEANING
1. Be sure the unit is turned off, unplugged and is cool.
2. Grasp small handle on brew basket and swing open.
3. To remove brew basket, pull out pivoting hinge from brew
basket holder (L).
4. To replace, insert pivoting hinge into brew basket
holder (M).
5. Remove permanent filter and discard coffee grounds.
6. Wash thermal mugs, mug lids, permanent filters and brew
baskets in the dishwasher (top rack) or by hand with warm
soapy water. Rinse and dry all parts.
7. Wipe the exterior of the unit with a soft damp cloth. Do not use abrasive
cleaners or scouring pads.
8. Do not clean the water reservoir with a cloth as it can leave lint residue inside
the reservoir.
9. Never immerse the unit in water.
k
E
k
F
k
G
k
K
k
L
k
M
k
H
k
J
DDCM200PUB100002992R1 9/13/06 10:23 AM Page 6