Crank arm removal and installation, Bottom bracket removal and installation – Bontrager Race XXX Lite User Manual
Page 5
crank arm removal and installation
To remove a crankarm with self-extracting crank bolts, turn the crank bolt until
the crank bolt threads disengage from the crankarm. The arm will then slide off
the bottom bracket splines.
For cranks without self-extracting bolts, remove the standard bolts and use a
crank puller to remove the cranks.
to install a crankarm
1. Lubricate the threads and the bottom bracket axle splines.
2. Align the splines of the axle with the crank arm, and slide the arm onto the
axle.
When installing a crankarm, note the alignment of the opposite crank arm.
3. Carefully engage the splines, then start the threads of the crank bolt.
4. Tighten as in
Inspect the crankset and bottom bracket.
bottom bracket removal and installation
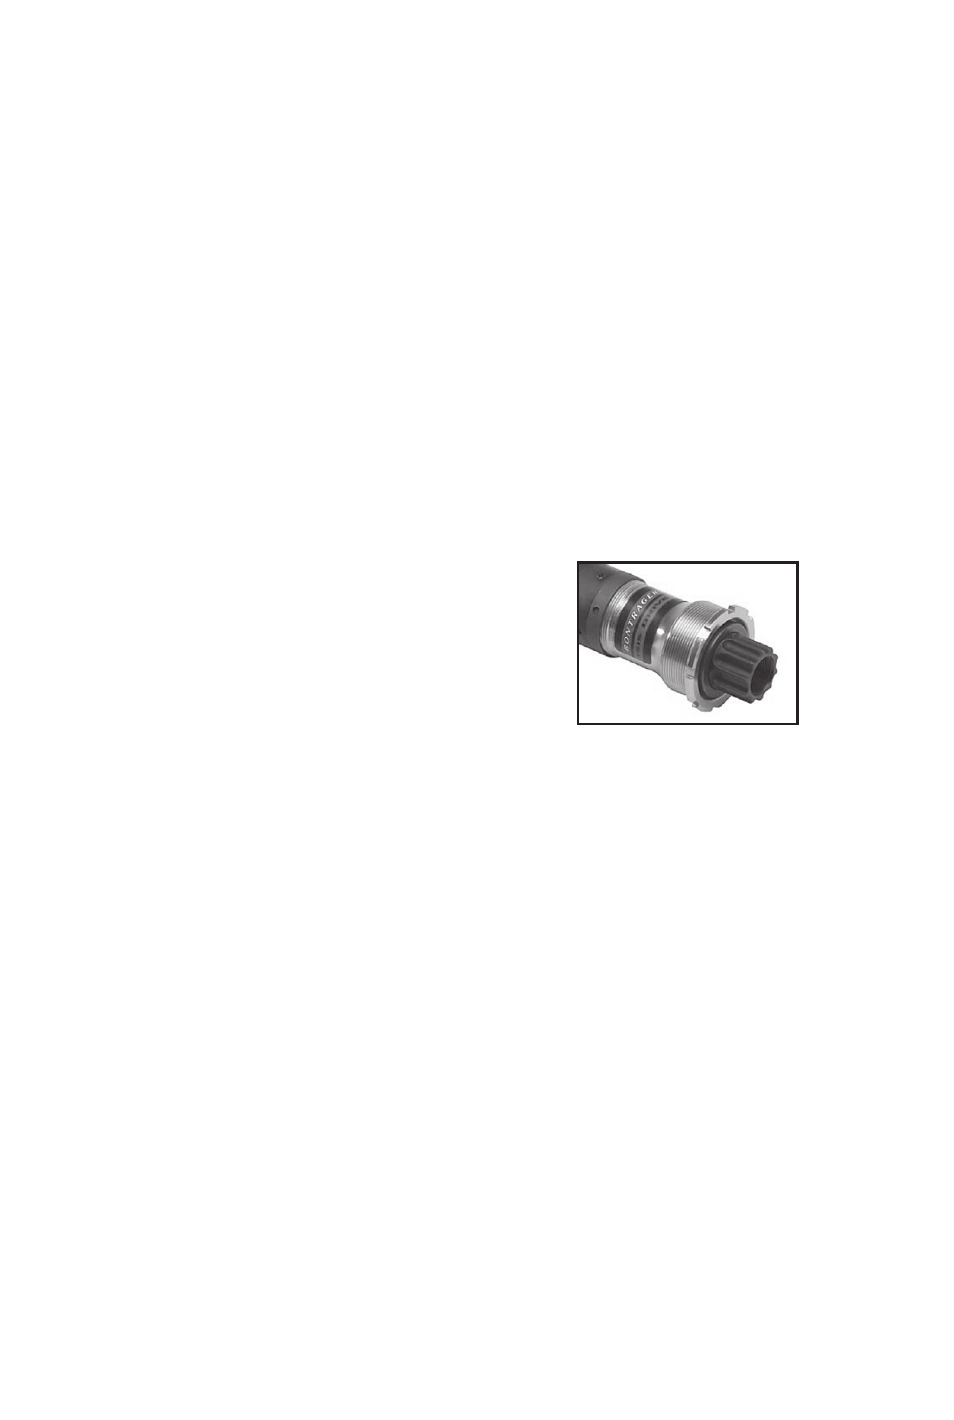
A conventional crankset is comprised of a left crankarm, right crankarm, and
bottom bracket (Figure 5).
to remove a bottom bracket
1. Remove the crankarms.
2. Using the proper tool, loosen and remove the left
("adjustable") bottom bracket cup.
The left cup is right-hand threaded, and the right cup is
left-hand (reverse) threaded.
3. Using the proper tool, loosen and remove the
right ("fixed") bottom bracket cup.
to install the bottom bracket
Make sure the bottom bracket threads of the frame
are clean and in good condition. If necessary, chase
and face the threads.
Lubricate all threaded surfaces, the bearing surfaces of the crank bolts, the
interfaces between the bearings and axle, and the axle splines. Torque sepcifica-
tions are on page 2.
1. Install the right bottom bracket cup with the axle, and tighten.
2. Install the left bottom bracket cup, and tighten.
3. Attach the crankarms and tighten the crank bolts.
4. Check the left crankarm for play.
If there is play, remove both crankarms, grease the contact between the bottom
bracket axle and the bearings, and reinstall. It may require installing the cranks
several times to eliminate all play.
additional steps
After installing a crankset, check that there is at least 3mm between any part of the
crankset and any part of the frame. If not, a longer bottom bracket axle is required
to provide adequate clearance. Also check the adjustment of the front derailleur.
Figure 5- Splined bottom
bracket axle