Settings for each track, Specifying how the track will play (play mode), Playing a track backward (reverse) – Boss Audio Systems Boss Loop Station RC-300 User Manual
Page 17: Specifying how the track will stop (stop mode), Track1:play mode loop, Track1:reverse off, Track1:stop mode immediate, Track1:playlevel 100
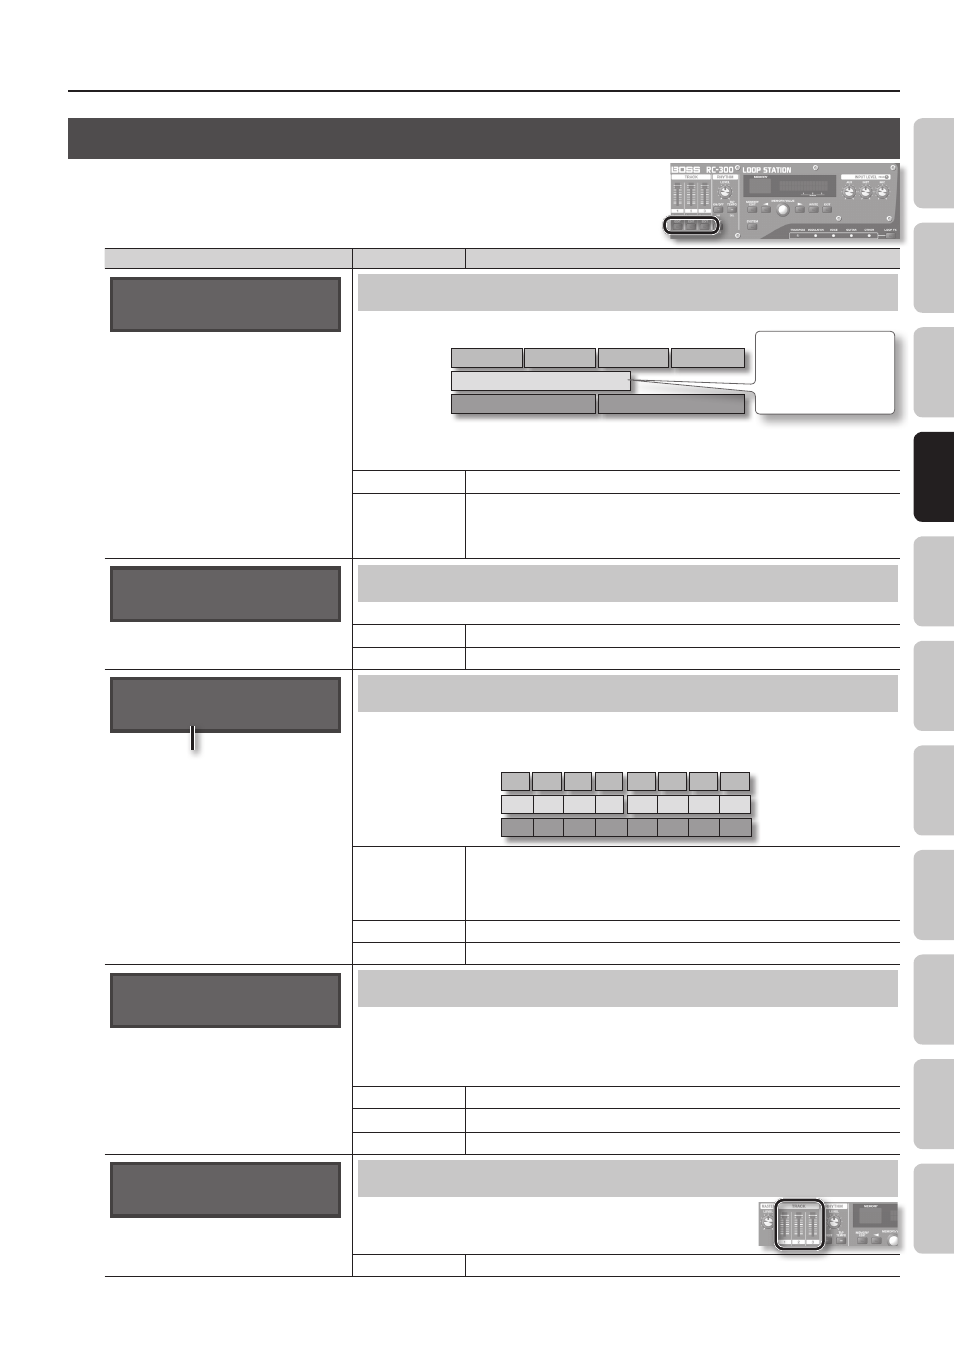
Settings for Each Track
17
O
ver
vie
w
Basic O
per
ation
Sa
ving
Phr
ase M
emor
y
Rh
ythm
LOOP FX
Sy
st
em S
ettings
USB
MIDI
A
ppendix
Track
Settings for Each Track
Here you can specify the playback method and other settings individually for each track.
First press the [EDIT] button of the track that you want to edit.
For details, refer to “Basic Editing Procedure” (p. 9).
Parameter
Value
Explanation
Track1:Play Mode
LOOP
Specifying How the Track Will Play (Play Mode)
This specifies whether the track playback will be looped or one-shot (i.e., not looped).
Loop
One Shot
Loop
Track 1
Track 2
Track 3
If one-shot playback is
selected, playback will
stop when it reaches the
end of the phrase (it will
not loop).
* Recording/overdubbing cannot be carried out with respect to tracks that are set to “ONE SHOT.” To create a track
intended for one-shot playback, you first need to carry out recording/overdubbing while it is set to “LOOP” and save
it. Then, you should change its setting to “ONE SHOT.”
LOOP
Conventional loop playback.
ONE SHOT
The phrase will play only once from the beginning to the end of the track, and then stop
automatically.
If you press the [REC/DUB/PLAY] pedal during playback, playback will begin again from the
beginning of the track (Retrigger Playback).
Track1:Reverse
OFF
Playing a Track Backward (Reverse)
This specifies whether the track will play forward in the conventional manner, or play backward in time (reverse playback).
OFF
Playback is normal.
ON
Playback is reversed.
Track1:Measure
(BPM120.0) AUTO
Original Tempo (p . 19)
Specifying the Number of Measures in a Track (Measure)
You can specify the number of measures for each track. When recording rhythm sounds or when recording along
with other tracks, it’s convenient to specify the number of measures before you record, so that looping will occur at
the specified measure length, even if you don’t operate the pedal when you’ve finished recording.
One measure
Four measures
Eight measures
Track 1
Track 2
Track 3
AUTO
Tracks that are set to AUTO will have the same number of measures. The number of
measures is determined by the first-recorded track of the tracks that are set to AUTO. For
example, if all tracks are set to AUTO, the value set as the number of measures for the
second and subsequent tracks will be identical to the number of measures in the first track
that was recorded.
FREE
The number of measures will be set automatically, corresponding to the length of the recording.
1, 2, 3...
The number of measures will be set manually.
Track1:Stop Mode
IMMEDIATE
Specifying How the Track Will Stop (Stop Mode)
This specifies how the track will stop when you press the [STOP] pedal.
• The PLAY indicator will blink until playback stops.
• If you press the [STOP] pedal once again before playback stops, playback will stop immediately.
* You can’t overdub during the time until playback stops.
IMMEDIATE
Playback will stop immediately.
FADE OUT
Playback will fade out and then stop.
LOOP END
Playback will continue to the end of the loop, and then stop.
Track1:PlayLevel
100
Adjusting the playback level of the Tracks (Play Level)
You can adjust the playback level of the tracks. You can also change this value
with the TRACK [1]–[3] sliders.
0–200
Playback level of the track.