Gamber-Johnson SM-212 User Manual
Page 2
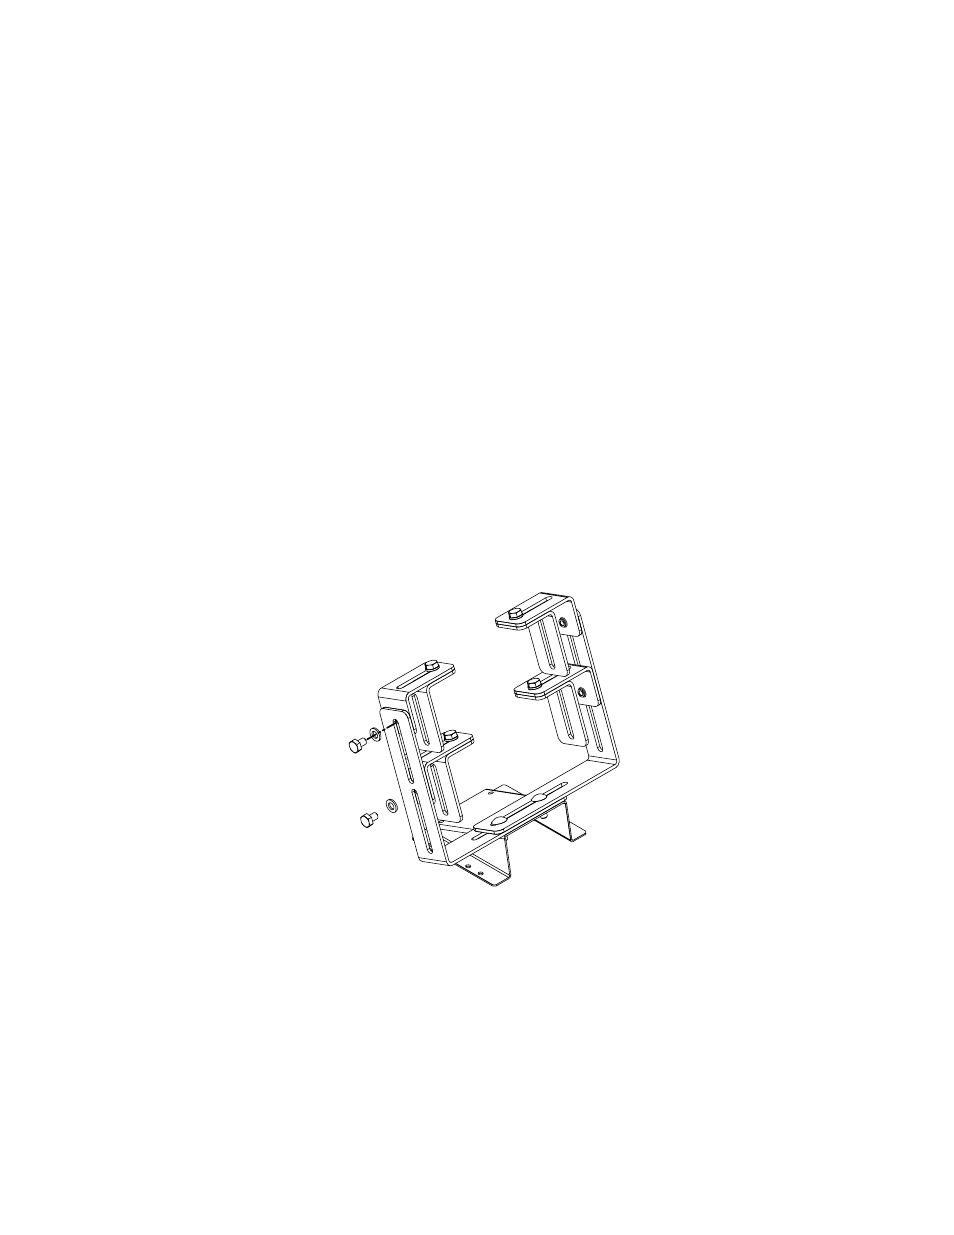
3. See Fig. 2. Fasten another pair of equipment mounting brackets to the tapped hole of each
side bracket, installed in step 2, - or to the equipment tray furnished with your equipment -
using 1/4-20 x 3/8" hex head bolts and washers. Before tightening, adjust the outside width
across the brackets to equal width "W", so that the assembly will fit the opening in the
mounting frame (shown in Fig.1). If the unit is to narrow to do this, turn one or both of the
brackets installed in step 2 to face outward, instead of over the equipment.
Final Assembly
4. Fasten the mount to the vehicle floor using appropriate screws, (not furnished with the
mount).
IMPORTANT: Before drilling holes or fastening the mount to the vehicle floor, check
underneath the vehicle to be sure you will not damage the transmission housing or other
parts under the floor pan.
5. Mount the equipment in the frame, begining with the bottom unit. Equipment can be
tilted forward or back as desired. Use one 1/4-20 x 3/8 hex head bolt and washer into each
hole in the mounting brackets. See figure 4.
Fig. 4