Specifications audio connection, Operation – Bogen LUAMFMT User Manual
Page 4
Power – Press the front panel POWER switch to apply power. Adjust the volume to the appropriate level using the
amplifier volume controls.
To Select a Band – Press the button marked BAND. The current band appears on the display: FM
1
, FM2, FM3, AM
1
or AM2. You can preset up to six stations on each band for a total of 30 preset stations (
1
8 FM and
1
2 AM). To tune
a station, press the UP or DOWN buttons.
To Preset Stations
1
. Select a band and tune the first desired station.
2. Press the ME button and then one of the "M" buttons; for example, M
1
. (The preset number appears
on the display as: CH
1
.)
3. Tune the next station, press ME and the M2 button, etc., and continue for the 2nd through 6th presets.
To Scan Preset Stations
1
. Select a band. The first preset station (CH
1
) will appear on the display.
2. Press the button marked MSCAN. Each preset station will play for a few moments in turn while scanning.
3.To select a station during scanning, press the "M" button that corresponds to the CH number on the display.
AM Band Coverage . . . . . . . . . . . . . . . . . . . .530 – 1620kHz
FM Band Coverage . . . . . . . . . . . . . . . . . . . .87.5 – 107.9MHz
Tuning . . . . . . . . . . . . . . . . . . . . . . . . . . . . . .PLL Synthesizer
Channel Indicator . . . . . . . . . . . . . . . . . . . . .LCD Panel
Station Tuning . . . . . . . . . . . . . . . . . . . . . . . .Pushbutton
Preset Memory . . . . . . . . . . . . . . . . . . . . . . .FM-18/AM-12
Memory Scan . . . . . . . . . . . . . . . . . . . . . . . .Preset Stations
Antenna Connectors . . . . . . . . . . . . . . . . . . .FM – 75
Ω,
300
Ω,
AM
Audio Output . . . . . . . . . . . . . . . . . . . . . . . . .1V, Stereo Out
Output Terminals . . . . . . . . . . . . . . . . . . . . . .RCA Jacks
Specifications
Audio Connection
Two audio patch cords are provided to make audio connections. One cord is a mono patch cord (one RCA plug at
each end) and the other is a stereo-to-mono cord (2 RCA plugs at one end,
1
RCA connector at the other end).
1
. Connect the stereo end (two RCA plugs) of the stereo-to-mono cord to the R and L OUTPUT terminals on the
unit (see connector panel diagram on page 3).
2. Connect the other end (one RCA connector) of the stereo-to-mono cable to one end of the mono-to-mono cable.
Then connect the other end of the mono-to-mono cable to the high level input (AUX, HI-Z TUNER) of an audio pre-
amplifier.
Note: Mono operation is appropriate for most paging applications. If mono operation is selected via the front panel,
use the supplied mono-to-mono connecting cable only (connecting either L or R OUTPUT to audio pre-amplifier).
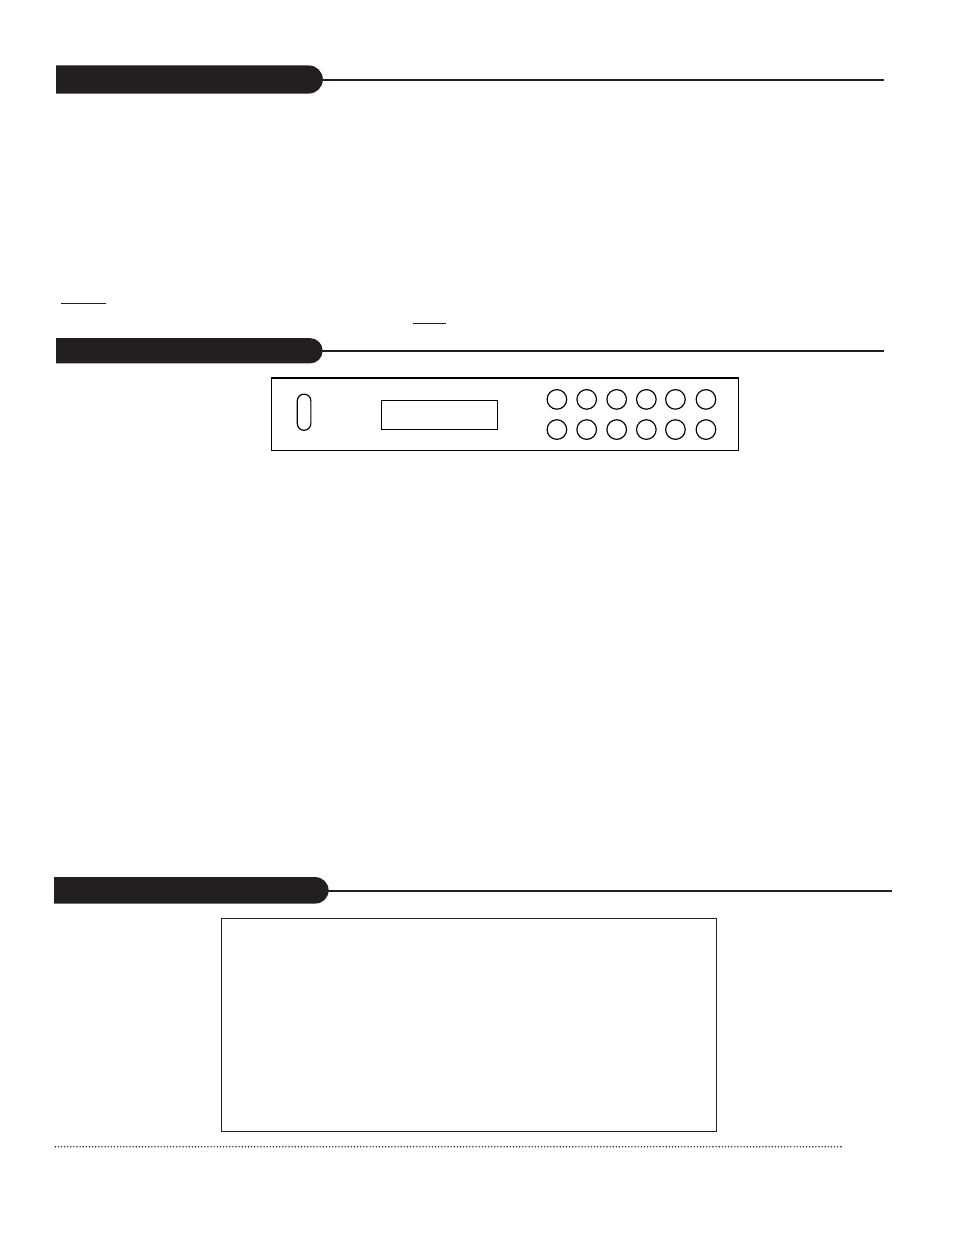
FRONT
VIEW
TP30D DIGITAL TUNER
POWER
UP
DOWN
BAND
MONO
MSCAN
ME
M1
M4
M2
M5
M3
M6
Page 4 of 4
Operation