Warning, Important – Echo SC3240 User Manual
Page 2
Instruction Sheet
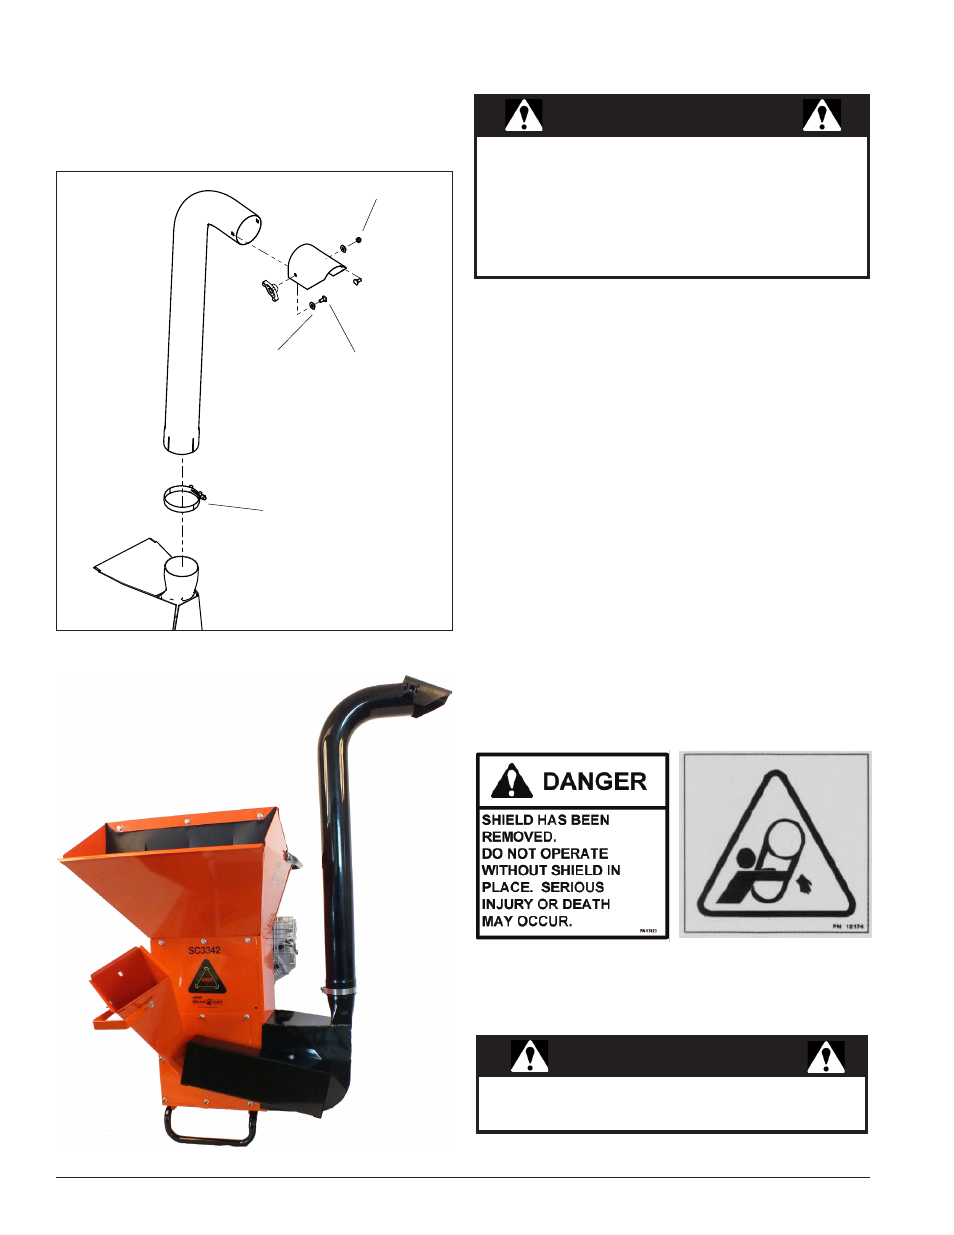
7. Install the blower deflector on the blower tube using
two 5/16" x 3/4" carriage bolts, two 5/16" flat washers,
one knob, and one nylock nut.
8. Install the blower tube onto the blower. Fasten with
the T-bolt clamp.
5/16” NYLOCK
NUT
3/4” CARRIAGE
BOLT
5/16”
WASHER
T-BOLT CLAMP
OPERATION
1. Test run the machine after installing the blower and
check the belt guard to make sure the belts do not
rub, adjust if needed. Check bolt torque after a few
hours of use.
2. Feed materials slowly into the chipper and shredder
chutes to get used to the rate of discharge. The
machine may discharge materials slightly slower with
the blower and discharge tube installed.
3. To rotate the blower discharge tube, loosen the clamp
around the base of the tube, reposition the tube, and
tighten the clamp.
Read and follow all safety instructions in your machine
owner's manual. Failure to operate the machine in
accordance with the safety instructions MAY RESULT
IN PERSONAL INJURY!
Before inspecting or servicing any part of this machine,
shut off power source and make sure all moving parts
have come to a complete stop.
WARNING
SAFETY DECALS
The blower comes with the safety decals pictured below.
Familiarize yourself with all of the safety and operating
decals on the machine and the associated hazards.
Make certain that all safety and operational decals on this
machine are kept clean and in good condition. Decals
that need replacement must be applied to their original
locations.
IMPORTANT
Keep these instructions with the Owner's manual from
your chipper/shredder as a reference.
PART NO. 17423
PART NO. 12174
The blower installed on a non-towable chipper/shredder