Wheel assembly, Parts replacement cycles and tolerances – MBW UV-10K User Manual
Page 12
- 9 -
WARNING
See Specifications, page 3 for weight of your
machine. If unit is lifted improperly, it may fall and
cause serious injury or death.
4.
Loosen and remove the 12 bolts (#13) that secure the
wheel hubs to the frame.
5.
Carefully lift the machine off the wheel. To avoid
binding, be sure it lifts straight up. Move the machine
away so that work on the drum can be preformed
safely.
6.
Remove the socket head cap screws (#9) and Axle
limiter caps (#6).
7.
Pull the hubs (#4) off the axle.
8.
Clean the bore, and then remove the bearings (#5)
from the hubs.
Wheel Assembly
Refer to Wheel Assembly, page 18.
1.
Remove the seal from one side of the bearing (#5).
2.
Insert bearing, seal-less side first, into the hub (#4).
3.
Assemble the bearing and hub subassembly onto the
axle.
4.
Tighten the axle limiter cap (#6) on to the axle with
the three socket head cap screws (#9). Use a
medium strenth threadlocker, such as Loctite 242.
5.
Rotate the hubs so that the grease fittings (#1) are
straight down.
6.
Carefully lift the frame assembly onto the wheel and
align the bolt patterns on the frame and hubs.
7.
Insert and tighten the hex head cap screws (#16).
8.
Grease both zerks.
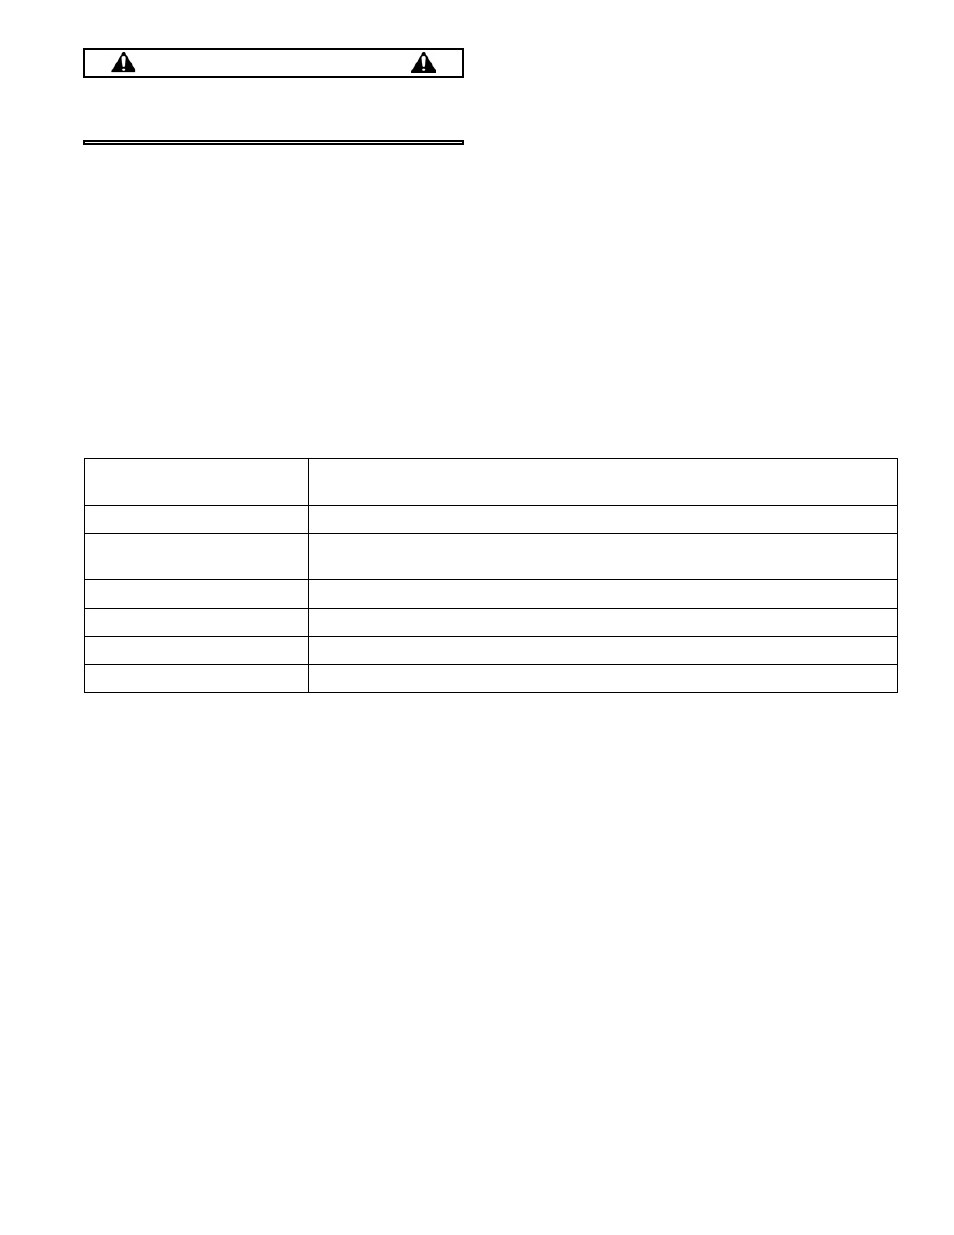
Parts Replacement Cycles and Tolerances
Bearings
Replace anytime a bearing is rough, binding, discolored or removed from housing or
shaft.
Engine Components
Refer to your engine manufacturer’s Owner’s Manual.
Hardware
Replace any worn or damaged hardware as needed. Replacement hardware should
be grade 5 and zinc plated unless otherwise specified.
Safety Decals
Replace if they become damaged or illegible.
Seals & Gaskets
Replace if a leak is detected and at every overhaul or tear down.
Shock Mounts
Replace every 6 months.
Isolation mats
Replace every 6 months.