Philips 6900LC-41 User Manual
Page 8
14
ENGLISH
ENGLISH
15
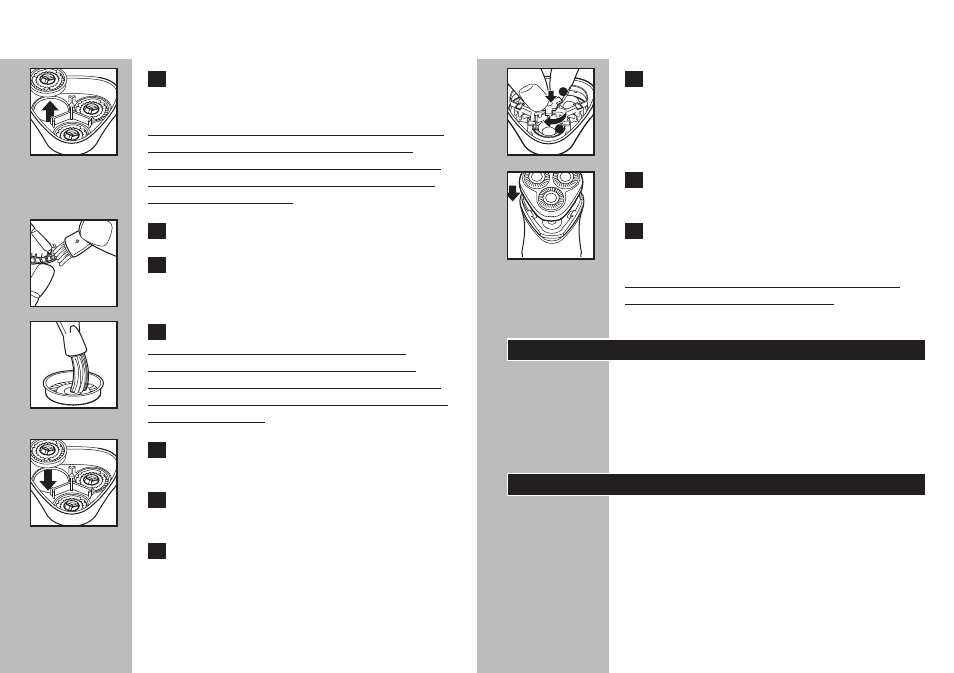
C
14
Turn the wheel clockwise until it locks into
place.
C
15
Replace the Razor Head Assembly back on
razor.
16
Put the Protective Cap on the razor to
protect heads.
This razor has no other user-serviceable parts.
For assistance call 1-800-243-3050.
Replacing the Razor Heads
◗
Replace the razor heads once a year for
optimal shaving results.
◗
Replace damaged or worn razor heads with
model HQ56 Philips Norelco razor heads
only.
Storage
◗
Be sure razor is turned off. Remove cord
from outlet and razor before storing in a safe,
dry location where it will not be crushed,
banged, or subject to damage.
◗
Do not wrap power cord around razor when
storing.
◗
Store power cord in a safe location where it
will not be cut or damaged.
15
C
7
Remove and clean one cutter and comb at
a time.
Do not clean more than one cutter and comb at
a time, since they are all matching sets. If you
accidentally interchange the cutters and combs, it
could take several weeks before optimal shaving
performance is restored.
8
Separate the cutter from the comb.
C
9
Only brush the cutter in an upward motion.
Use the short bristled side of the brush.
C
10
Brush the slots of the comb.
For optimum performance, razor cutters and
combs should be cleaned in a degreasing liquid
(e.g. Philips Norelco Shaving Head Cleaning Spray,
model HQ110 or alcohol). This helps prevent wear
of the shaving heads.
C
11
Replace the cutter and comb into the
Razor Head Assembly.
12
Repeat the process for the other two sets
of cutters and combs.
13
Replace the frame.
1
2