Change the internal wi-fi settings of, Ad7000w based on the settings you, Wrote on paper at step 1 – Philips AD7000W-37 User Manual
Page 18
18
• Follow the on-screen instructions to
change and confirm the internal Wi-Fi
settings of AD7000W.
»
After a while, the indicator on the back
of AD7000W stops blinking and stays
green, and the unit beeps.
»
AD7000W is connected to your existing
home Wi-Fi network successfully.
Note
•
If the WI-FI SETUP indicator on AD7000W does not
stay green steadily, it means that the Wi-Fi connection
has failed. Please power off both your Wi-Fi router
and AD7000W and then power on them again to see
whether AD7000W can be connected to your home
Wi-Fi network. If the problem remains, try the above
procedures again.
•
After you finish the above changes or power-off and
power-on of AD7000W, the new Wi-Fi network
created by AD7000W will disappear.
Tip
•
If you like, you can change the name of your AD7000W
in Advanced settings -> AirPlay Device Name on the
AD7000W configuration web page. This is helpful when
you have multiple Philips AirPlay-enabled devices in
your house and you need to distinguish between them.
•
If you want to enter the network name (SSID) manually
(for example, if you want to hide your SSID), go to
Advanced settings -> CONFIGURE MANUALLY on
the AD7000W configuration web page.
192.168.1.1
2
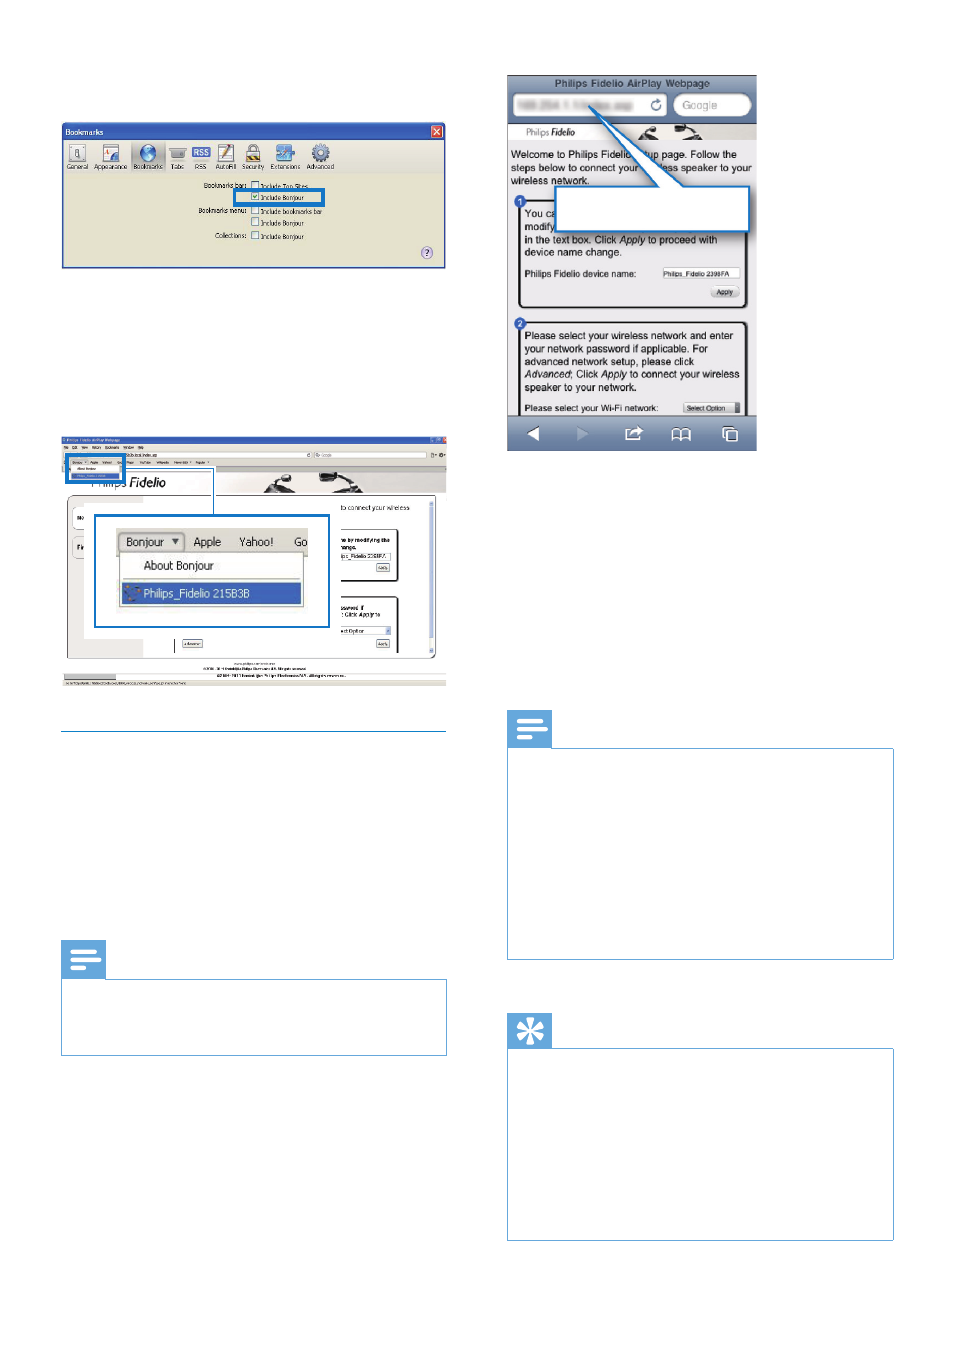
Tick
Include Bonjour for Bookmarks bar.
3
Select ‘Philips_Fidelio XXX’ from the
Bonjour pull-down list shown at the
bookmarks bar.
»
The AD7000W configuration web
page is displayed.
Change the internal Wi-Fi settings of
AD7000W
On the AD7000W configuration web page,
you can change the internal Wi-Fi settings of
AD7000W for connection of AD7000W to
your existing home Wi-Fi network.
Note
•
Make sure that the settings on the configuration web
page match your home Wi-Fi network settings that you
wrote on paper.
EN