Philips BDP3306-F7 User Manual
Page 43
EN
EN - 43
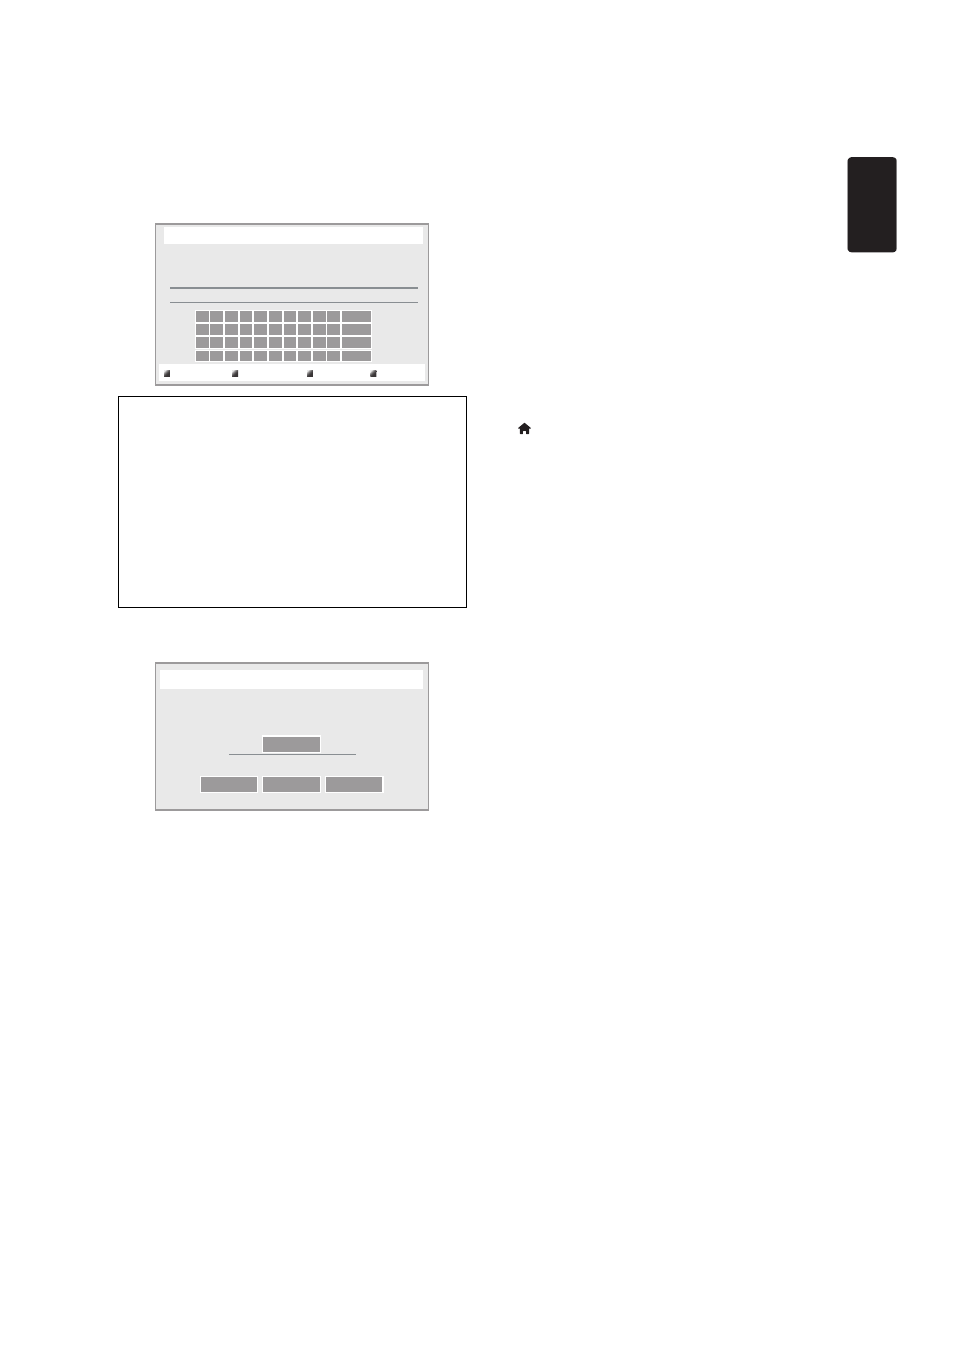
10. “Proxy Address” setting screen will appear. Enter
proxy address with cursor buttons, number buttons
and color key.
11. Press [Red] to go to the “Proxy Port” setting screen.
Enter proxy port number with number buttons.
12. Use [K / L / s / B] to select “Done”, then press
[OK].
13. Connection speed setting screen will appear. Use
[K / L] to select the desired setting, then press [OK].
(The default setting is “Auto”.)
14. BD-Live™ setting screen will appear. Use [K / L] to
select the desired setting, then press [OK].
(The default setting is “Allow”.)
“Allow”:
Internet access is permitted for all BD-Live™ contents.
“Limited Allow”:
Internet access is permitted only for BD-Live™
contents which have content owner certificates.
Internet access without the certificates is prohibited.
“Prohibit”:
Internet access is prohibited for all BD-Live™ contents.
15. Connection test confirmation screen will appear. Select
“Yes” to start the connection test and the test result
will appear right after the connection test finishes.
16. Press [OK] to go back to the setup menu, or press
[
(home)] to exit.
D Note for “IP Address”, “Subnet Mask”,
“Default Gateway”, “Primary DNS” and
“Secondary DNS”
•
The range of input numbers is between 0 and 255.
•
If you enter a number larger than 255, the number will
automatically be reset to 255.
•
When you enter a wrong number, select “Clear” to
clear. (The number will be reset back to “0”.)
•
If you want to enter a 1 or 2-digit number in one cell,
press [B] to move on to the next cell.
D Note for “Proxy Address” and “Proxy Port”
•
The range of input numbers for the port number is
between 0 and 65535. (If you enter a number larger
than 65535, it will be regarded as 65535.)
•
For proxy port, certain ports might be closed, blocked
or unusable depending on your network environment.
•
Choose a connection speed in accordance with your
network environment.
•
When the settings are changed, the network
connection may be disabled depending on the device.
[K / L / s / B] : Move the highlight.
[the Number buttons] : Enter numbers or letters.
[OK] : Enter the highlighted number /
letter.
*[Red] : Set the entered number or
letter.
[Green] : Cancel the network setting.
*[Blue] : Clear the entered number or
letter.
[Yellow] : Switch between abc, ABC and
@!?.
* These buttons can be used in other network settings.
http://xxxxx.xx.xx
a/A/@
Proxy Address
Please input the Proxy Address with keypad or software keyboard.
Done
Cancel
Clear
xxxxxx
Proxy Port
Please input the Proxy Port.
Cancel
Clear
Done