Step 7: connecting the photoframe to a computer, Engl is h – Philips SPF4480X-G7 User Manual
Page 25
Philips Digital PhotoFrame
Getting started
EN - 20
E
ngl
is
h
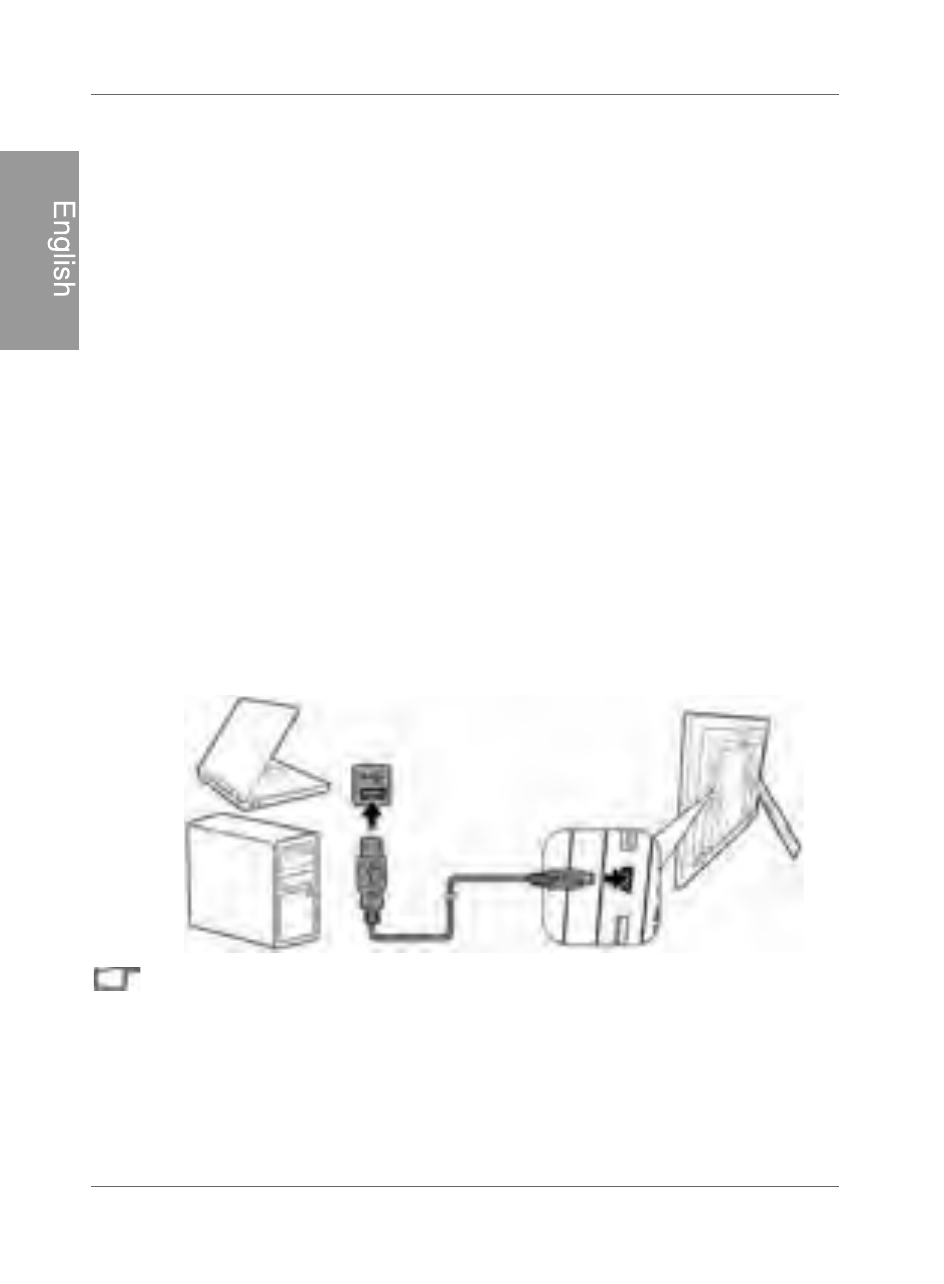
Step 7: Connecting the PhotoFrame
to a computer
You can connect the PhotoFrame to a computer using the mini
USB cable (included) to easily manage the files in the internal
memory of the PhotoFrame.
1. Start the computer and turn on the PhotoFrame.
2. Connect the smaller end of the USB cable to the mini USB port
of the PhotoFrame.
3. Connect the other end of the USB cable to a USB port on the
computer, making sure the connectors are fully inserted.
4. Once connected, the PhotoFrame will enter PC transfer mode
automatically.
5. When the computer has detected the PhotoFrame, the
PhotoFrame will appear in “My Computer” as “removable disk”.
Now you can freely transfer the files in the PhotoFrame as
you would on other disk drive.
PhotoF
UDPHDQGYLFHYHUVD
7KHILOHVLQWKHPHPRU\FDUGVDQG86%IODVKGULYHFDQQRWEH
YLHZHGHGLWHGYLD86%FRQQHFWLRQ
7RFRS\YLGHRVRQWRWKHLQWHUQDOPHPRU\\RXPXVWWUDQVIHUYLD
FRQQHFWLRQWR3&
- Home Cinéma 5.1 (2 pages)
- téléviseur stéréo (96 pages)
- Téléviseur à écran large (2 pages)
- Téléviseur à écran large (3 pages)
- Téléviseur à écran large (172 pages)
- Téléviseur à écran large (4 pages)
- TV Widescreen (116 pages)
- Téléviseur (62 pages)
- Téléviseur à écran large (3 pages)
- Téléviseur à écran large (2 pages)
- SHC8585-00 (150 pages)
- Perfect replacement Télécommande universelle (108 pages)
- Perfect replacement Télécommande universelle (72 pages)
- Microchaîne (2 pages)
- Microchaîne (21 pages)
- Microchaîne (10 pages)
- MultiLife Chargeur de piles (2 pages)
- MultiLife Chargeur de piles (2 pages)
- Lecteur de CD (21 pages)
- Lecteur de disques Blu-ray (2 pages)
- Lecteur de disques Blu-ray (72 pages)
- Lecteur de DVD (2 pages)
- Lecteur de DVD (2 pages)
- Barre de son (26 pages)
- Barre de son (12 pages)
- Barre de son (14 pages)
- Barre de son (6 pages)
- Barre de son (16 pages)
- Barre de son (21 pages)
- Barre de son (16 pages)
- Barre de son (26 pages)
- Système Home Cinéma DVD (2 pages)
- Fidelio Chaîne sans fil (2 pages)
- Minichaîne hi-fi (21 pages)
- Antenne TV numérique (93 pages)
- Enceinte sans fil (1 page)
- Enceinte sans fil (21 pages)
- Enceinte sans fil (2 pages)
- GoGEAR Baladeur MP4 (2 pages)
- Microchaîne DVD (21 pages)
- Fidelio Home Cinéma avec enceintes arrière sans fil E5 (21 pages)
- Home Cinéma 5 enceintes (8 pages)
- Home Cinéma 5 enceintes (2 pages)
- Home Cinéma 5 enceintes (18 pages)
- Home Cinéma 5 enceintes (2 pages)