Exploring the pages : options and settings – Bushnell ONIX 400 364000 User Manual
Page 14
14
exPloring the Pages : options and settings
a bearing, unlike GPS driven compasses. The digital compass is self-calibrating
(no user- initiated calibration routine is required).
The view options (hold the MENU button, then press UP to see this list) of the
NAV page include (Fig. 12-previous page):
•Heading Arrow-if user selected. Small arrow “head” only. Indicates the
direction you are actually moving in.
•North Arrow-if user selected-points to true or magnetic north (user options).
Identified by “N” circle at head of arrow.
•True North-direction to the earth’s geographic north pole.
•Magnetic North- direction to the earth’s magnetic north pole Note: you
can select True or Magnetic North, but not both together-they are mutually
exclusive.
•Bearing Arrow (Pg.8, Fig. 2)-only appears during active navigation. This will
be seen as a long black line with an arrow head. It indicates where you should go
to get to your navigation destination, and is only valid while navigating.
NAV data boxes (2, at top of screen) as described previously in the MAP Page
View section.
The user selected options are accessed by holding down the MENU button for
2 seconds, then press the Down button, followed by the Up button. The left data
box at the top of the screen will be highlighted. Press OK, then select from the
list and press OK to check (select) the type of data you wish to be displayed in
this box. Then press the Right button and repeat to change the other data box.
Next, press the Down button if you want to change the items displayed in the
Info Boxes at the bottom of the screen. Follow the same procedure to see and
select from the lists of options, and repeat for the other Info Boxes.
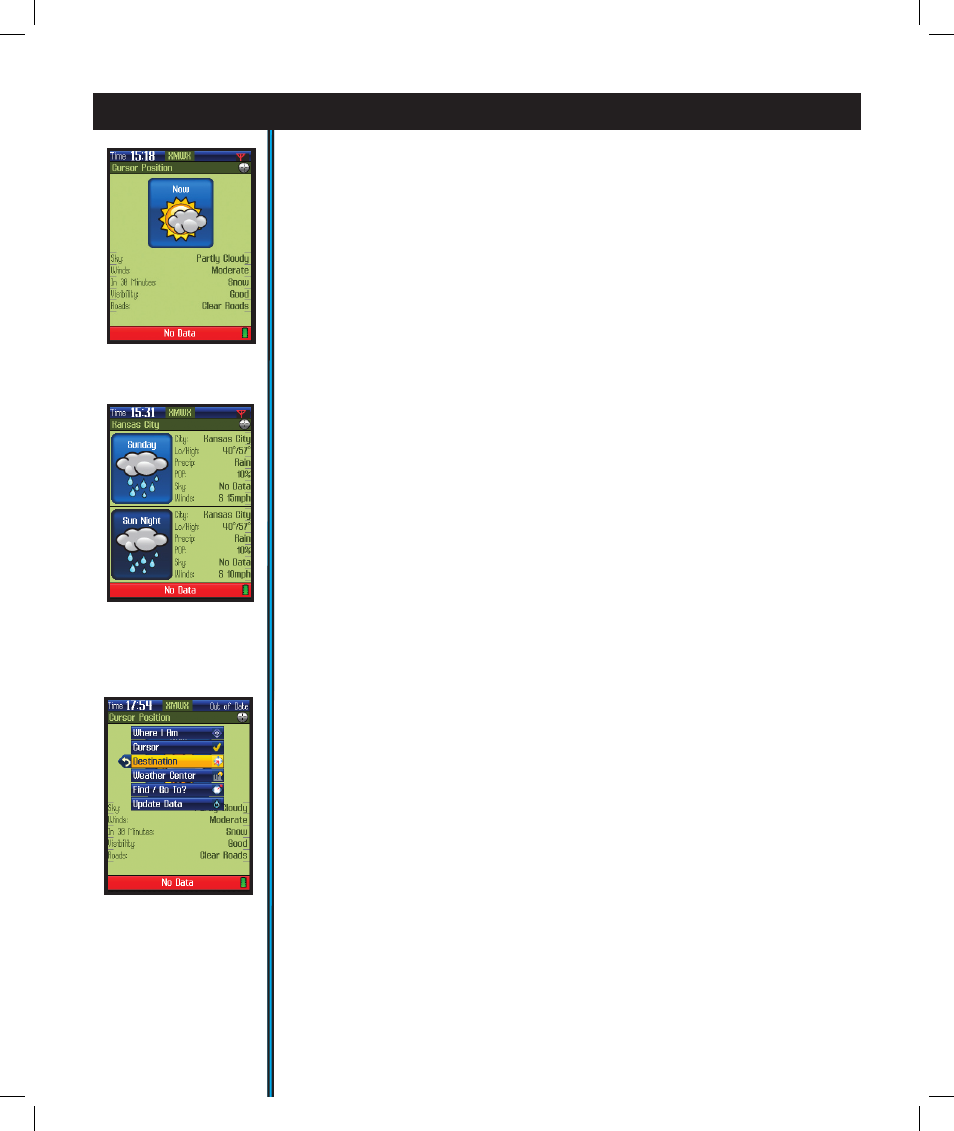
3. The XM Weather Page
After selecting the XM Weather Page you will see a display showing the various
weather conditions and weather related information for a selected location
(Fig. 13). Use the OK or Hot buttons to change the “When” or “Where” for the
weather info.
Press the OK button on the 5-way pad to select and see the forecast for the
current day, or any of up to 6 days later (Fig. 14).
Press the Hot button to make the conditions and forecast relevant to these
location options (Fig. 15):
• “Where I Am”-your current location
• Cursor-use the 5 way button first to place the MAP page crosshair on a different
location on the map, then use this option to see the weather there.
• Destination-useful when navigating to a waypoint, photo, POI, etc to view
weather conditions near that location.
• Weather Center-select from a list of major cities (alphabetical order)
• Find/Go To-pick from the standard list (same as this option in the MAP page
menu) of locations and places to see the weather there.
Fig 13. Weather Page
“Current Weather”
Fig 15. Weather Page
Weather at
Destination
(Press HOT button to
choose “Where”)
Fig 14. Weather Page
Next Day Forecast
(Press OK button to
choose “When”)
ONIX400 1LIM QS Guide-Feb08 Revi14 14
2/20/08 8:56:02 PM