Fuel recommendations, Starting, Stopping – Briggs & Stratton 247400 User Manual
Page 5: Maintenance
GB
3
FUEL RECOMMENDATIONS
THE GASOLINE ENGINE IS CERTIFIED TO OPER-
ATE ON GASOLINE. Exhaust Emission Control Sys-
tem: EM (Engine Modifications).
Use clean, fresh, lead-free gasoline with a minimum of
85 octane. Leaded gasoline may be used if it is
commercially available and if unleaded is unavailable.
Purchase fuel in quantity that can be used within 30
days. See Storage.
In U.S.A. leaded gasoline may not be used. Some
fuels, called oxygenated or reformulated gasolines, are
gasolines blended with alcohols or ethers. Excessive
amounts of these blends can damage the fuel system
or cause performance problems. If any undesirable
operating symptoms occur, use gasoline with a lower
percentage of alcohol or ether.
Do not use gasoline which contains Methanol. Do not
mix oil with gasoline.
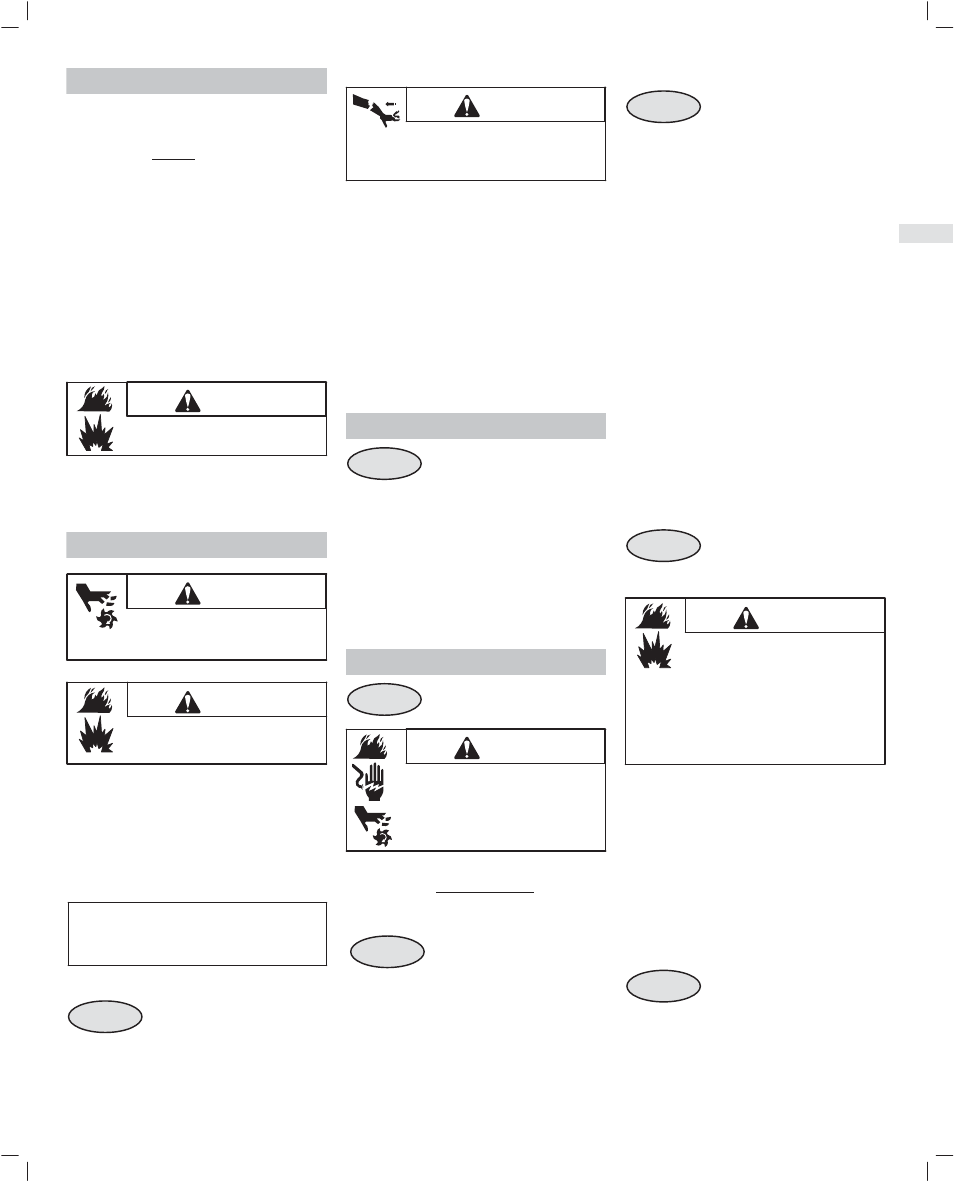
Check fuel level
WARNING
• Before refueling, allow engine to cool 2
minutes.
Clean around fuel fill before removing cap to refuel. Fill
tank to approximately 1-1/2 inches below top of neck to
allow for fuel expansion. Be careful not to overfill.
STARTING
WARNING
ALWAYS KEEP HANDS AND FEET
CLEAR OF EQUIPMENT MOVING
PARTS.
WARNING
• Do not use pressurized starting fluid.
Vapors are flammable.
Check oil level.
Open fuel shut-off valve, if equipped.
OIL GARD
If engine is equipped with OIL GARD, and if engine runs
low on oil and cannot be started or has stopped and
cannot be restarted, add oil. Fill to FULL mark on
dipstick. Do not over-fill.
CAUTION: OIL GARD will shut down a running
engine. Engine damage may occur if oil level is not
properly maintained and will void warranty cover-
age.
STARTING
Fig. 3
1. Move choke control
Ê
to CHOKE position.
2. Move throttle control
Ë
to FAST position.
3. Turn on fuel shut-off valve
Ì
.
4. Move stop control
Í
to ON position, if equipped.
Rewind starter
WARNING
• Grasp rope handle and pull slowly until
resistance is felt. Then pull cord rapidly to
overcome compression, prevent kickback
and start engine.
Repeat if necessary with choke in RUN position and
throttle in FAST. When engine starts, operate in FAST
position.
Electric starter, if equipped
Turn key
Î
to START position. Repeat if necessary
with throttle control in FAST position. When engine
starts, operate in FAST position.
Note: If equipment manufacturer has supplied battery,
charge it before trying to start engine, as equipment
manufacturer recommends.
Note: Use short starting cycles (15 secs. per min.) to
prolong starter life. Extended cranking can damage
starter motor.
STOPPING
Fig. 3
Do not move choke control to CHOKE position to stop
engine. Backfire or engine damage may occur. Move
throttle control
Ï
to IDLE or SLOW position, if
equipped. Then turn key
Ð
to OFF
or move stop
control
Ñ
to OFF position. Close fuel shut-off valve
Ò
.
Note: Always remove key from switch when equipment
is not in use or left unattended.
Note: When engine is transported, close fuel shut-off
valve to prevent leakage.
MAINTENANCE
Fig. 4
WARNING
• To prevent accidental starting, remove spark
plug wire
Ê and ground it before servic-
ing,and disconnect battery at negative
terminal, if equipped.
See Maintenance Schedule. Follow the hourly or
calendar intervals, whichever occur first. More frequent
service is required when operating in adverse conditions.
Oil service
Fig. 2
Check oil level regularly.
Be sure correct oil level is maintained. Check every 8
hours or daily, before starting engine. See oil filling
procedure under Oil Recommendations.
Change oil.
Change oil after first 5 hours of operation. Change oil
while engine is warm. Refill with new oil of recom-
mended SAE viscosity grade.
Air cleaner service
Fig. 6
Replace pre-cleaner
Ë
, and/or cartridge
Ì
if very dirty
or damaged.
1. Loosen screws. Remove cover and air cleaner
assembly from base.
2. Remove cartridge retainer
Í
, (if equipped) and
pre-cleaner.
To service pre-cleaner, wash in liquid detergent and
water. Squeeze dry in a clean cloth. Saturate in engine
oil. Squeeze in clean, absorbent cloth to remove ALL
EXCESS oil.
To service cartridge, clean by tapping gently on a flat
surface. Do not use petroleum solvents, e.g., kero-
sene, which will cause cartridge to deteriorate. Do not
use pressurized air, which can damage cartridge. Do
not oil cartridge.
3. Reinstall pre-cleaner on retainer, if equipped.
4. Install pre-cleaner in cover with mesh side toward
cartridge. Install cartridge in cover or on base.
5. Seat cover and air cleaner assembly squarely
onto base (tabs
Î
into slots
Ï
, if equipped).
6. Tighten cover screws securely.
Check valve clearance:
intake is .05 mm and exhaust .10 mm.
Spark plug service
Fig. 5
WARNING
•
DO NOT check for spark with spark
plug removed. Use only Briggs &
Stratton Spark Tester
Ë, to check for
spark.
•
DO NOT crank engine with spark
plug removed. If engine is flooded,
place throttle in FAST and crank until
engine starts.
Spark plug gap
Ì should be .76 mm or 0.030 in.
Replace spark plug every 100 hours or every season,
whichever occurs first. Spark tester and spark plug
wrench are available from any Authorized Briggs &
Stratton Service Dealer.
Note: In some areas, local law requires using a resistor
spark plug to suppress ignition signals. If this engine
was originally equipped with resistor spark plug, use
same type of spark plug for replacement.
Keep engine clean
Fig. 7
Periodically remove chaff and debris build-up from
engine. Do not spray engine with water to clean
because water could contaminate fuel. Clean with a
brush or compressed air.
To assure smooth operation, keep governor linkage,
springs and controls free of debris
Л
.