Labeling video input sources, Digital audio output, Labeling video input sources digital audio output – Toshiba VL963 User Manual
Page 75
75
CONTROLS AND FEATURES
Engl
ish
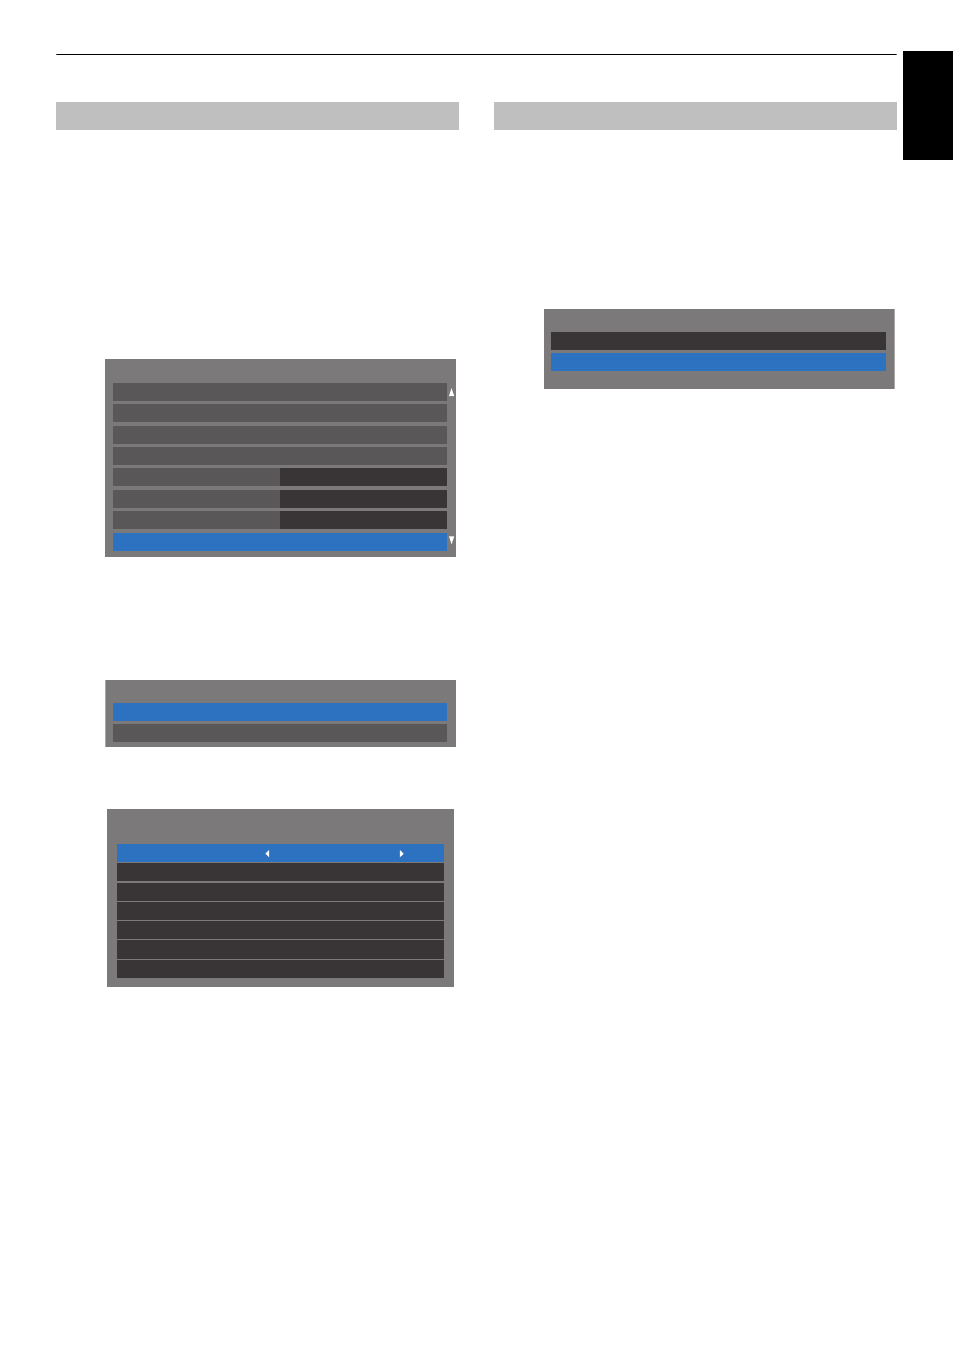
These input labels are shown in the input selector. You can label
video inputs according to the devices you have connected to the
TV.
a
Press MENU /
C
c
to highlight Setup icon.
b
Press
B
/
C
c
to highlight Preferences icon and
press OK.
c
Press
B
or
b
to select AV Connection.
d
Press OK to display the AV Connection menu.
e
Press
B
or
b
to highlight Input Labeling and press
OK.
f
Press
B
or
b
to select Input Labeling and press OK.
g
Press
B
or
b
to select the item you want to label, and
then press
C
or
c
to select --, Amplifier, Cable, DVD,
Game, PC, Recorder or Satellite.
h
Repeat step 7 for other video inputs.
When connecting a surround sound amplifier to the digital audio
output (Sony/Philips Digital Interface Format [S/PDIF]), the
following options can be selected or adjusted.
a
In the Preferences menu, press
B
or
b
to select AV
Connection and press OK.
b
Press
B
or
b
to select Digital Audio Output.
c
Press OK to display Digital Audio Output menu and
press
B
or
b
to select an option.
Audio Format:
Press
C
or
c
to select PCM or Auto.
PCM: This mode outputs PCM format to the digital
audio output socket.
Auto: This mode outputs Dolby Digital (if available)
or PCM to the digital audio output socket.
Dolby Digital
S
Dolby Digital
Dolby Digital Plus
S
Dolby Digital
MPEG
S
PCM
HE-AAC
S
Dolby Digital
Audio Delay:
Press
C
or
c
to select Auto or Manual.
Auto:
This mode automatically adjusts the audio
timing to meet the video timing.
NOTE: The time lag might be large between
the image and sound depending on the
connected equipment (amplifier etc.). In that
case, select Manual.
Manual:You can manually adjust the audio signal
timing to meet the video signal timing.
Delay Adjustment:
Press
C
or
c
to adjust the audio signal timing
(0 – 250ms) to meet the video signal timing.
NOTE:
• This feature is grayed out when Audio Delay is in Auto.
• A time lag will occur when the video signal or audio
signal is changed. Adjust the timing accordingly.
• When adjusting the timing, turn down the volume
of the AV equipment used as far as possible.
Depending on the equipment, noise etc. may occur
when the signal is changed.
• Depending on the connected equipment (amplifier,
etc.), adjustment may not be possible.
• When the optical digital output setting (Auto
t
PCM)
is changed, it may be necessary to adjust the timing
again.
• Do not use other than for audio output from the AV
amplifier, etc. (Malfunction may occur)
Labeling video input sources
REGZA-LINK Setup
Panel Lock
Off
Auto
Network Setup
Teletext
Guide Type
Network Device Setup
Off
Network Lock
Preferences
AV Connection
AV Connection
Input Labeling
Digital Audio Output
Input
Label
--
--
--
--
--
--
--
Input Labeling
EXT 1
EXT 2
HDMI 1
HDMI 2
HDMI 3
HDMI 4
PC
Digital Audio Output
AV Connection
Input Labeling
Digital Audio Output