Using the photo frame feature, Setting the features – Toshiba MV732 User Manual
Page 46
46
CONTROLS AND FEATURES
En
g
li
sh
Using the Photo Frame feature
You can use the TV screen as a digital picture frame. One
image (pre-installed or user-installed) can be displayed. Date
info can also be superimposed, if desired.
You can overwrite the photo file with a file from a USB storage
device or SD card.
NOTE: This photo file cannot be imported from a DLNA
CERTIFIED™ Server.
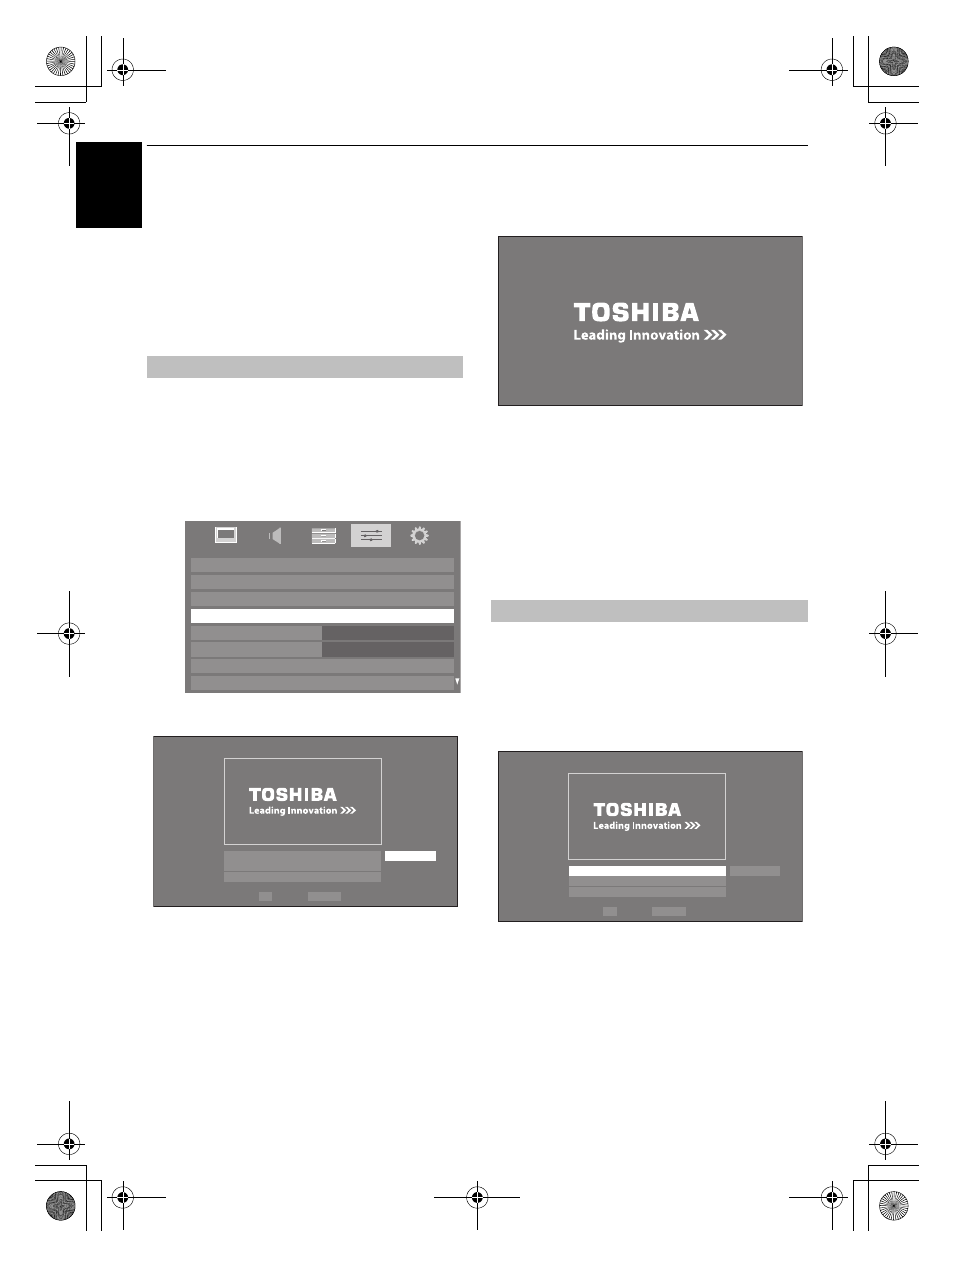
Open from Menu
a
Press MENU and
C
or
c
to select the PREFERENCES
menu.
b
Press
b
to select Photo Frame Setup, and then press
Q
.
The preview screen will appear.
c
Press
c
to select Start, and then press
Q
to open
Photo Frame.
To open from the Quick Menu
a
Press QUICK to open the Quick Menu.
b
Press
B
or
b
to select Photo Frame, and then press
Q
to open Photo Frame.
To close the Photo Frame:
a
Press EXIT.
In the preview screen, you can set various settings for Photo
Frame.
Photo Select
a
In the Photo Frame Setup menu, press
B
or
b
to
select Photo Select, and then press
Q
.
b
If the device selection screen appears, press
B
or
b
to
select the appropriate device, and then press
Q
.
To open Photo Frame
Network Setup
Media Renderer Setup
Display Settings
AV Connection
Photo Frame Setup
REGZA-LINK Setup
Teletext
Auto
Panel Lock
Off
PREFERENCES
Photo Frame Setup
Photo Select
Photo Edit
Settings
Start
Back
Enter
OK
RETURN
Setting the features
Photo Frame Setup
Photo Select
Photo Edit
Settings
Start
Back
Enter
OK
RETURN
RVXVMV73_WebOM_UK.book Page 46 Monday, April 19, 2010 10:46 AM