A tour of the imultimix usb – ALESIS iMultiMix 8 USB User Manual
Page 11
2
A Tour of the iMultiMix USB
9
In this chapter, you’ll learn all about the iMultiMix’s components
(except for the digital effects processor, which is explained in the
next chapter). Please refer to the diagrams as you read each section
to see which components we’re talking about.
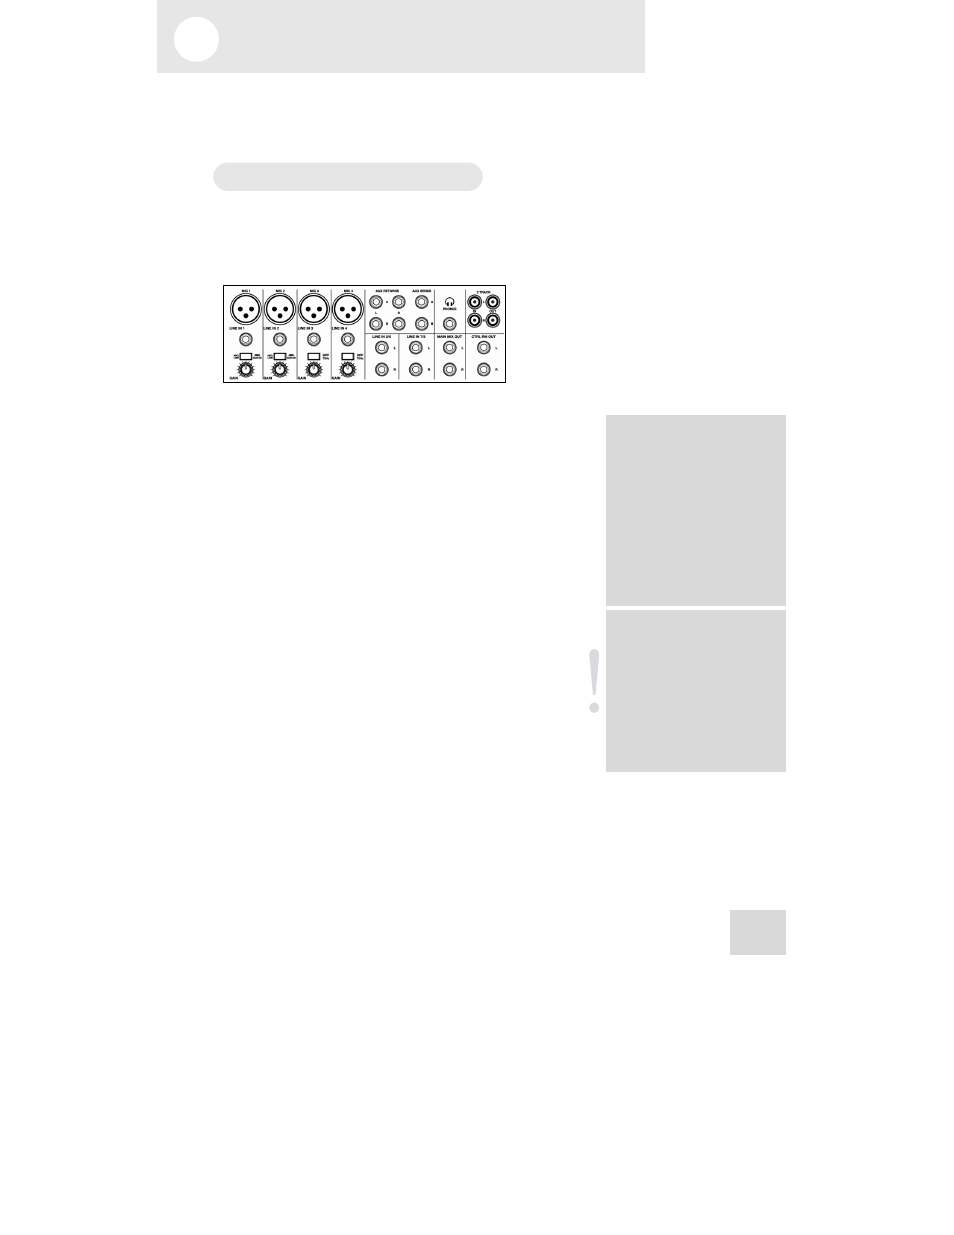
Patchbay
At the rear portion of the top of the iMultiMix 8 USB, you’ll find
the patchbay. This is where you plug in instruments, signal
processors, multitrack recorders and other devices. In the
following paragraphs, we tell you all about the inputs, outputs,
switches and knobs you see in this section of the mixer.
Mic Inputs (Channels 1 – 4)
The iMultiMix uses standard XLR-type mic inputs. These provide
+48V phantom power that you can turn on and off with the
Phantom On switch located on the rear of the mixer. You
probably will have to turn on the phantom power when you’re
using most condenser mics, as these usually require the extra
voltage (unless the mic has its own power source, such as a
battery). Dynamic mics don’t require phantom power and are
unaffected when the power is on.
These high-quality mic inputs also feature up to 50dB of preamp
gain that you can adjust with the Gain knob.
Another useful feature of mic inputs 3 & 4 is a high-pass filter
(HPF) that can be turned on and off with the HPF switch. When
you activate this switch, all frequencies below 75Hz are cut from
the signal. This is useful for mic or line signals that don’t have
much bottom end, such as vocals, snares, cymbals and electric
guitar. You’ll want to leave this inactivated for instruments like
basses and kick drums.
Line Inputs (Channels 1 – 4)
The line inputs, marked LINE IN, are balanced 1/4” jacks that
offer the same 50dB of preamp gain and the high-pass filter
provided by the mic inputs (however, phantom power does not
apply to line inputs). These inputs accept line-level instruments
such as keyboards and drum machines. If you find that your
instrument has a weak line signal, just plug it into channels 1 – 4
and crank it up with the Gain knob.
You will also notice that channels 1 & 2 feature a Mic/Line |
Guitar switch. These two inputs can be used as switchable high-
impedance inputs, specifically designed for plugging electric guitars
and basses directly into the mixer.
Although chances are your
microphones will work fine
with these mic inputs, we
recommend that you do some
checking up on the type of
microphone you’re using,
especially if it’s one of the
older vintage models. Verify
that your microphone
requires phantom power and
make sure its output is low
impedance, balanced and
floating.
Always connect your
microphones before
activating phantom power.
Microphones tend to be very
sensitive, and the sudden
power surge can do
permanent damage to the
mic’s circuitry. It’s also a
good idea to lower mixer
levels before you activate
phantom power.