Myron L ARH1 User Manual
Page 7
correct icon, “µS” or “ppm”, should be shown on the right side of
the display.
5. Replace bottom, ensuring the sealing gasket is installed in the
groove
of the top half of case. Tighten screws securely.
(Do NOT overtighten)
6. Recalibrate as necessary. See Calibration,
below
.
VI.
CALIBRATION
A. Calibration Intervals
Generally, calibration is recommended about once per month with
Conductivity or TDS solutions. Calibration with pH solutions should be
checked twice a month.
B. Rules for Calibration of the ARH1
1. Calibration Steps
Each calibration is accomplished by a Calibration Control located under
the respective cap plug on the bottom of the instrument.
After pressing the respective key, the reading is changed/adjusted to
match the known standard or buffer value.
Depending on what is being calibrated, there may be 1, 2 or 3 steps to
the calibration procedures.
2. Calibration Limits
In Conductivity or TDS, the inability to calibrate may indicate improper or
contaminated calibration solution, or a damaged conductivity cell.
In pH, the inability to calibrate may indicate improper or contaminated
buffer solution or a damaged pH Sensor.
C. Calibration Procedures
1. Conductivity /TDS Calibration
a.
Rinse conductivity cell three times with proper standard (KCl,
NaCl or 442) (ref. Conductivity/TDS Standard Solutions, pg. 18).
b.
Refill conductivity cell with same standard solution.
c.
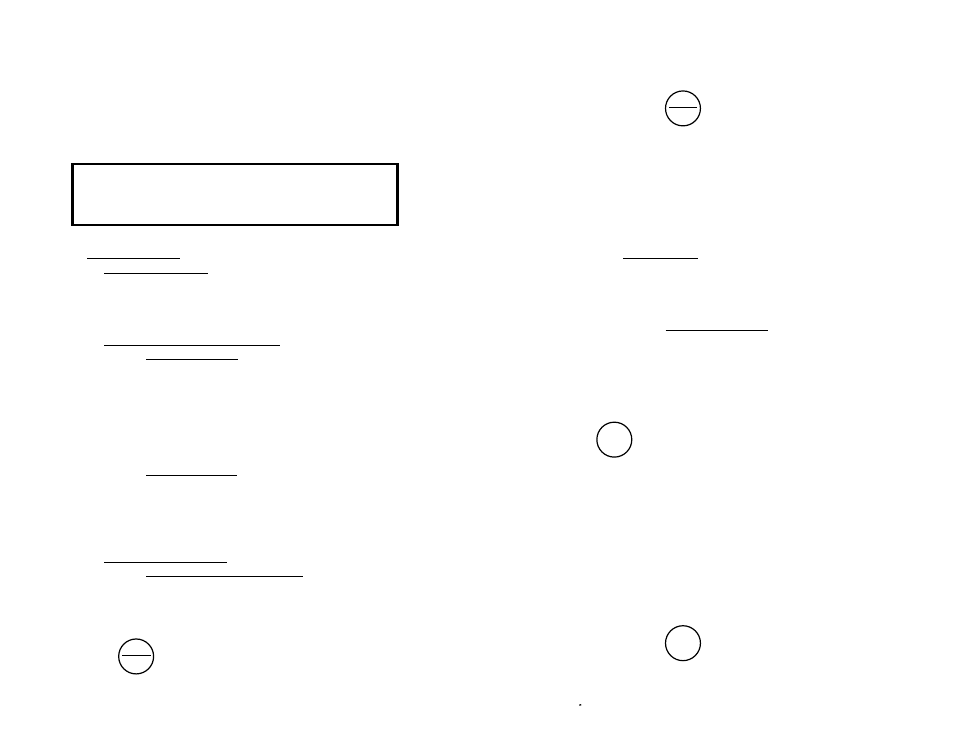
Press
key. If reading is acceptable, end procedure. If
reading is unacceptable, continue.
d.
Remove cap plug labeled COND CAL on bottom of Instrument.
e.
Refill conductivity cell with same standard solution.
f.
While pressing the
key, adjust COND CAL Control with
finger until the display agrees with the value on the standard
solution bottle.
g.
Repeat steps b. & c. to verify the setting.
h.
Replace bottom cap plug securely to maintain water resistance.
The COND/TDS Calibration procedure is now complete.
2. pH Calibration
IMPORTANT: Always “zero” your ARH1 with a pH 7 buffer solution
before adjusting the gain with acid or base buffers, i.e., 4 and/or 10, etc.
a. pH Zero Calibration
1.
Remove protective cap.
2.
Rinse sensor well 3 times with 7 buffer solution.
3.
Refill sensor well with 7 buffer solution.
4.
Press
to verify the pH calibration. If the display reads 7.00,
skip the pH Zero Calibration and proceed to section b. pH Gain
Calibration. If reading is not acceptable, continue.
5.
Remove cap plug labeled ZERO CAL on bottom of Instrument.
N O T E : If the pH reading displayed will not adjust to the proper reading,
the sensor well needs additional rinsing or fresh buffer solution, or the pH
sensor is bad and needs to be replaced (ref. Troubleshooting Chart, pg.
17).
6.
Refill sensor well again with 7 buffer solution.
7.
While pressing the
key, adjust ZERO CAL Control with
finger until the display reads 7.00.
10
11
COND
TDS
pH
pH
In the first five sections, you have learned all
you need to make accurate measurements.
The following sections contain calibration,
advanced operations, and technical information.
COND
TDS