Vertical outside corners, Vertical inside corners, Horizontal floor and ceiling joints – Crane Composites CLEANROOM WALL SYSTEM User Manual
Page 9
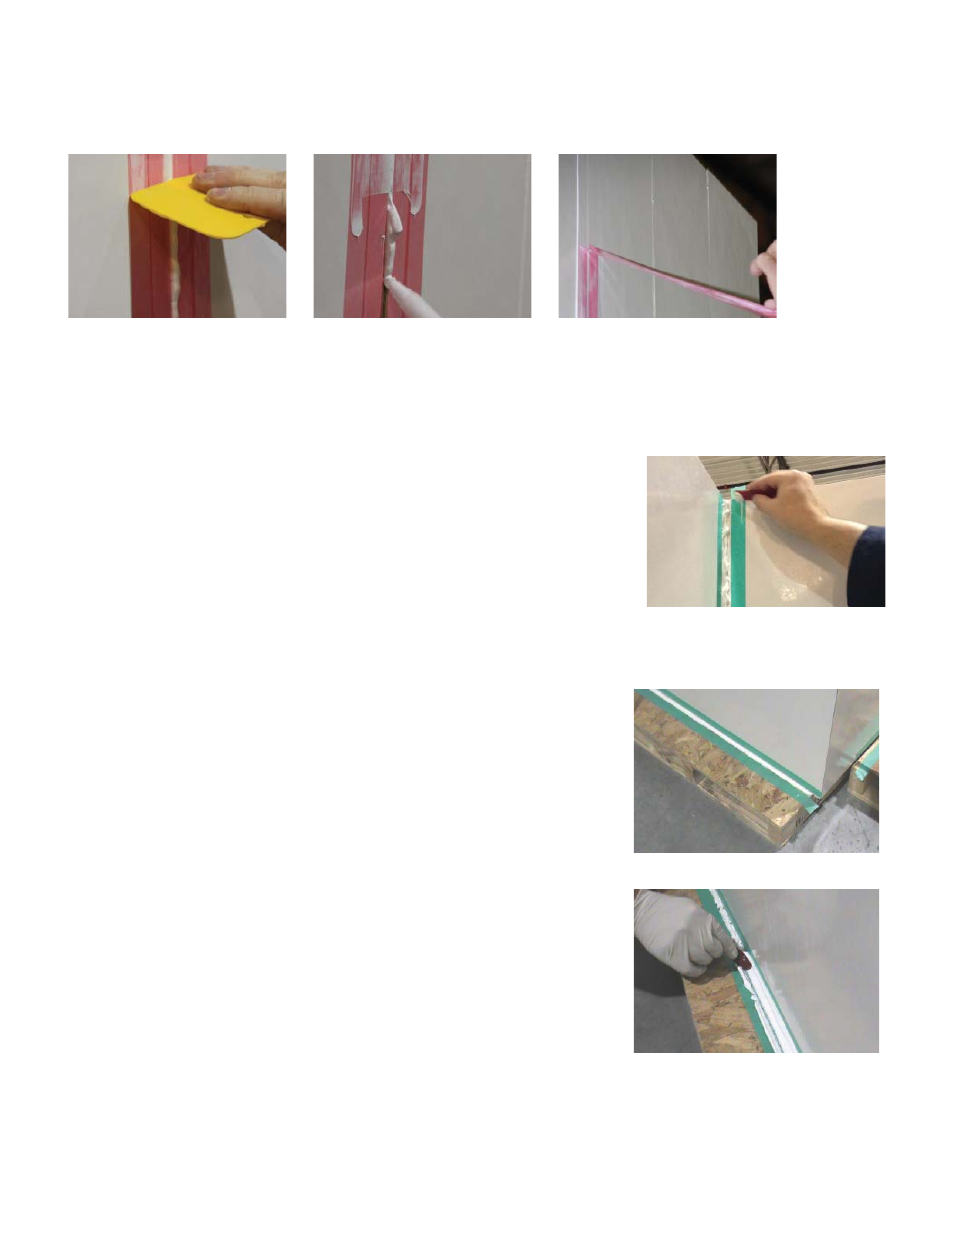
7. Remove horizontal tape and begin next 3’ section. A good technique is to apply the sealant below the previous section and “bump
up” the sealant into the previous section
(Figure 19)
.
8. Once the all sections of the wall are completed, remove the vertical painters tape. Remove Any excess sealant on panels can be
cleaned using a solvent dampened rag
Vertical Outside Corners
For Vertical outside Corners, repeat process steps 1-8 as listed in Vertical Flat Panel Seams
Vertical Inside Corners
1. Repeat process listed in Vertical Flat Panel Seams except for the format to smooth the
sealant
2. Smoothing the Sealant
A. After the sealant has been dispensed, smooth the sealant beads fl ush with the panel
surface using the Radial Seam Finisher if a rounded corner joint is desired.
B. The Inline Seam Finisher can also be used if a fl at inside corner bead is desired.
C. Finishing/smoothing tools and techniques to be at the discretion of the operator and/or
the end user.
D. Smoothing of the sealant must occur within the open time of the sealant.
E. As soon as the smoothing of the sealant is complete, remove the painters tape. Any
excess sealant on panels can be cleaned using a solvent dampened rag.
Horizontal Floor and Ceiling Joints
1. Material should be dispensed into each seam at a rate such that the seam is
completely fi lled with sealant but completed within the necessary open time for the
sealant.
2. It is recommended to pull dispensing gun away from bead during application.
3. Ensure vertical seams are cured prior to processing horizontal seams.
4. It is also recommended that operators ensure that there is enough sealant in the
cartridge to complete a full seam. Performing a cartridge change in the middle of a
seam application could increase the risk of exceeding the open time of the sealant.
5. If the seam has a large gap and/or cannot be fi lled by the sealant in one pass, an initial
“fi ller bead” can be applied and then a secondary bead can be applied over the top of
the initial bead after the initial bead has reached full cure. Mechanical fi ller, such as
weather-strip putty, may also be used to fi ll large gaps prior to the application of the
urethane sealant.
6. Smoothing the Sealant:
A. After the sealant has been dispensed, smooth the sealant beads fl ush with the
panel surface using the radial seam fi nisher if a rounded corner joint is desired.
B. The inline seam fi nisher can also be used if a fl at inside corner bead is desired.
C. Finishing tools and techniques to be at the discretion of the operator and/or the
end user.
D. Smoothing of the sealant must occur within the open time of the sealant.
E. As soon as the smoothing of the sealant is complete, remove the painters tape.
Any excess sealant on panels can be cleaned using a solvent dampened rag.
Figure 18: Removing excess sealant
Figure 20: Removing Painter’s tape
Figure 19: Bump adhesive in to previous section
Figure 21: Using Radial Seam Finisher for
rounder corner joint
Figure 22: Horizontal seam fi lled completely
with sealant
Figure 23: Horizontal fi nish with rounded corner
9