Listening to the radio – Panasonic SCPT85 User Manual
Page 9
Getting S
tarted
9
RQ
T
X
11
41
E
N
GLIS
H
Quick Start
Gu
ide
The EASY SETUP screen assists you in making necessary
settings.
≥Language
Select the language used on menu screen.
≥TV aspect
Select the aspect to suit your TV.
≥Speakers position
Select “5.1ch layout” mode or “2.1ch layout” mode according to your
speaker layout (B 7, Positioning).
≥Speaker check
Listen to speaker output to confirm speaker connections.
≥Speaker output
§
Make surround sound setting for speaker output.
§Only when “5.1ch layout” mode is selected in “Speakers position”
above.
≥TV audio
Select the audio input connection from your TV.
For AUX connection (B 8): Select “AUX”.
For OPTICAL IN connection (B 8): Select “DIGITAL IN”.
This will be the TV audio setting for VIERA Link “HDAVI Control”. (B 15)
[Note]
≥ If this unit is connected to a “HDAVI Control 3 or later” compatible TV
via HDMI cable, the menu language and TV aspect information will be
retrieved via VIERA Link.
≥ If this unit is connected to a “HDAVI Control 2” compatible TV via
HDMI cable, the menu language information will be retrieved via
VIERA Link.
≥ Settings in the EASY SETUP can also be changed in the player
settings (e.g. language, TV aspect and TV audio (B 17)).
Up to 30 stations can be set.
≥ “SET OK” is displayed when the stations are set, and the radio tunes
to the last preset station.
≥ “ERROR” is displayed when automatic presetting is unsuccessful.
Preset the stations manually (B below).
≥ The FM setting is also shown on the TV display.
Press and hold [PLAY MODE]2 to display “MONO”.
To cancel the mode, press and hold the button again until “AUTO ST” is
displayed.
≥ The mode is also cancelled when you change the frequency.
Up to 30 stations can be set.
A station previously stored is overwritten when another station is stored
in the same channel preset.
step 6
EASY SETUP
Preparation
Turn on your TV and select the appropriate video input mode (e.g.
VIDEO 1, AV 1, HDMI, etc.) to suit the connections to this unit.
≥ To change your TV’s video input mode, refer to its operating
instructions.
≥ This remote control can perform some basic TV operations (B 4).
1
Press [Í]1 to turn on the unit.
≥ When the EASY SETUP screen appears automatically, skip steps
2 to 6.
2
Press [DVD]@ to select “DVD/CD”.
3
Press [SETUP]; to show the setup menu.
4
Press [3, 4]9 to select “OTHERS” and press [OK]9.
5
Press [3, 4]9 to select “EASY SETUP” and press
[OK]9.
6
Press [OK]9 to select “SET”.
7
Press [3, 4]9 to select “Yes” and press [OK]9.
8
Follow the messages and make the settings with
[3, 4, 2, 1]9 and [OK]9.
(B below, EASY SETUP settings)
9
Press [OK]9 to finish EASY SETUP.
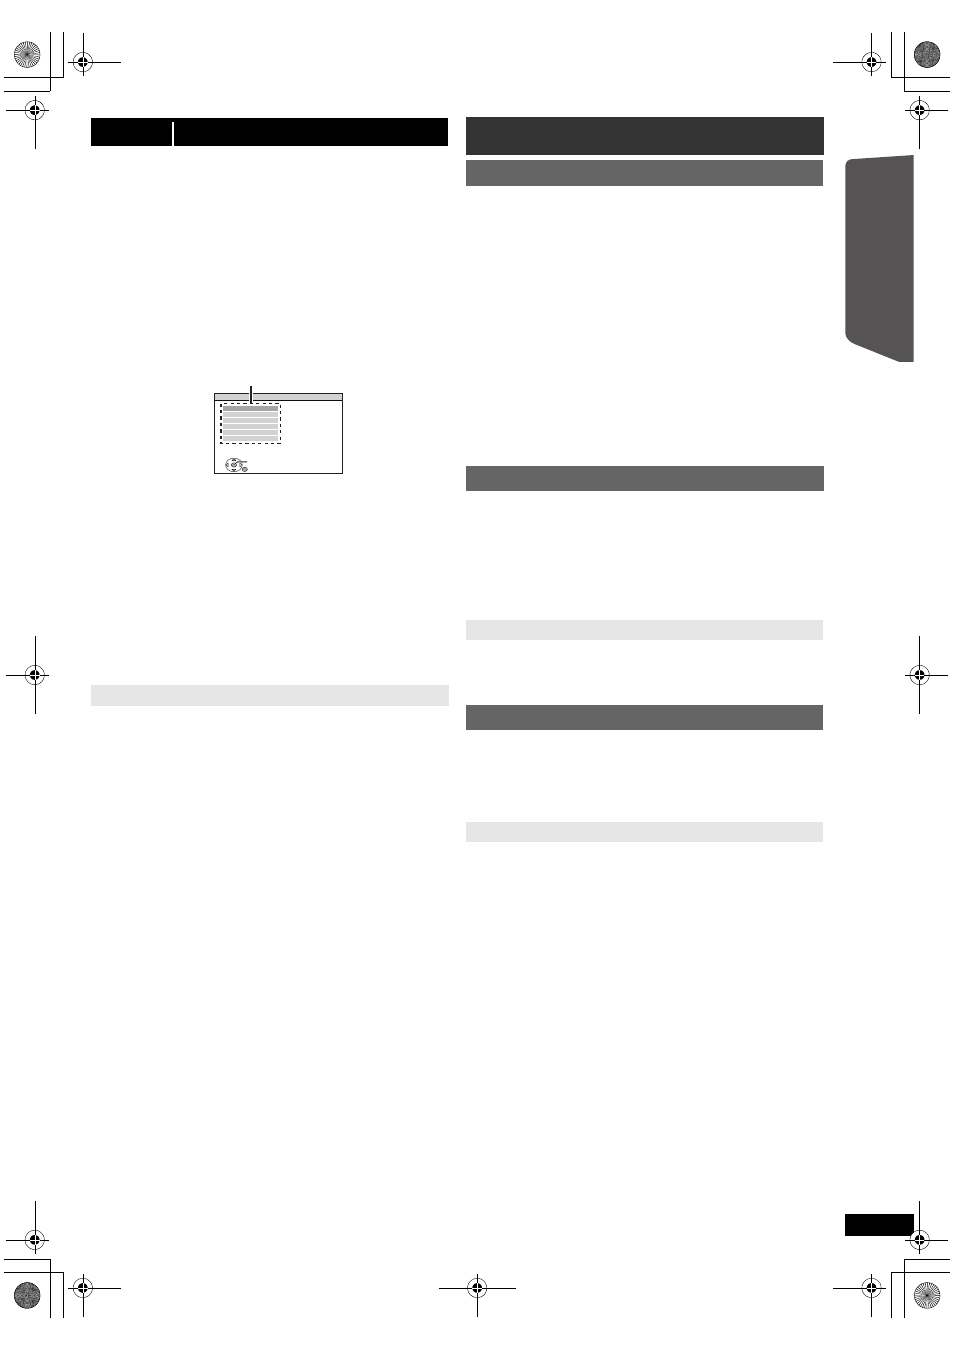
EASY SETUP settings
SET
MAIN
DISC
VIDEO
AUDIO
DISPLAY
HDMI
OTHERS
EXIT : SETUP
RETURN
Menu
Listening to the radio
Presetting stations automatically
1
Press [RADIO]@ to select “FM”.
2
Press [MENU]:.
Each time you press the button:
LOWEST (factory preset):
To begin auto preset with the lowest frequency.
CURRENT:
To begin auto preset with the current frequency.
§
§ To change the frequency, refer to “Manual tuning” (B below).
3
Press and hold [OK]9.
Release the button when “FM AUTO” is displayed.
The tuner starts to preset all the stations it can receive into the
channels in ascending order.
Listening/confirming the preset channels
1
Press [RADIO]@ to select “FM”.
2
Press the numbered buttons to select a channel.
≥ To select a 2-digit number
e.g. 12: [S10]3 B [1] B [2]
Alternatively, press [X, W]6.
If noise is excessive
Manual tuning
1
Press [RADIO]@ to select “FM”.
2
Press [6, 5]A to select the frequency.
≥ To start automatic tuning, press and hold [6, 5]A until the
frequency starts scrolling. Tuning stops when a station is found.
Presetting stations manually
1 While listening to the radio broadcast
Press [OK]9.
2 While the frequency is flashing on the display
Press the numbered buttons to select a channel.
≥ To select a 2-digit number
e.g. 12: [S10]3 B [1] B [2]
Alternatively, press [X, W]6, and then press [OK]9.
9
SC-PT85EP-RQTX1141-Z_eng.book Page 9 Friday, January 8, 2010 3:40 PM