Connecting the ac power cord (mains lead), Auto standby function, Connecting the ac power cord – Sony HT-CT60 User Manual
Page 13: Mains lead), Setting up the sound output of, The connected equipment
13
US
G
e
tti
n
g
Started
3
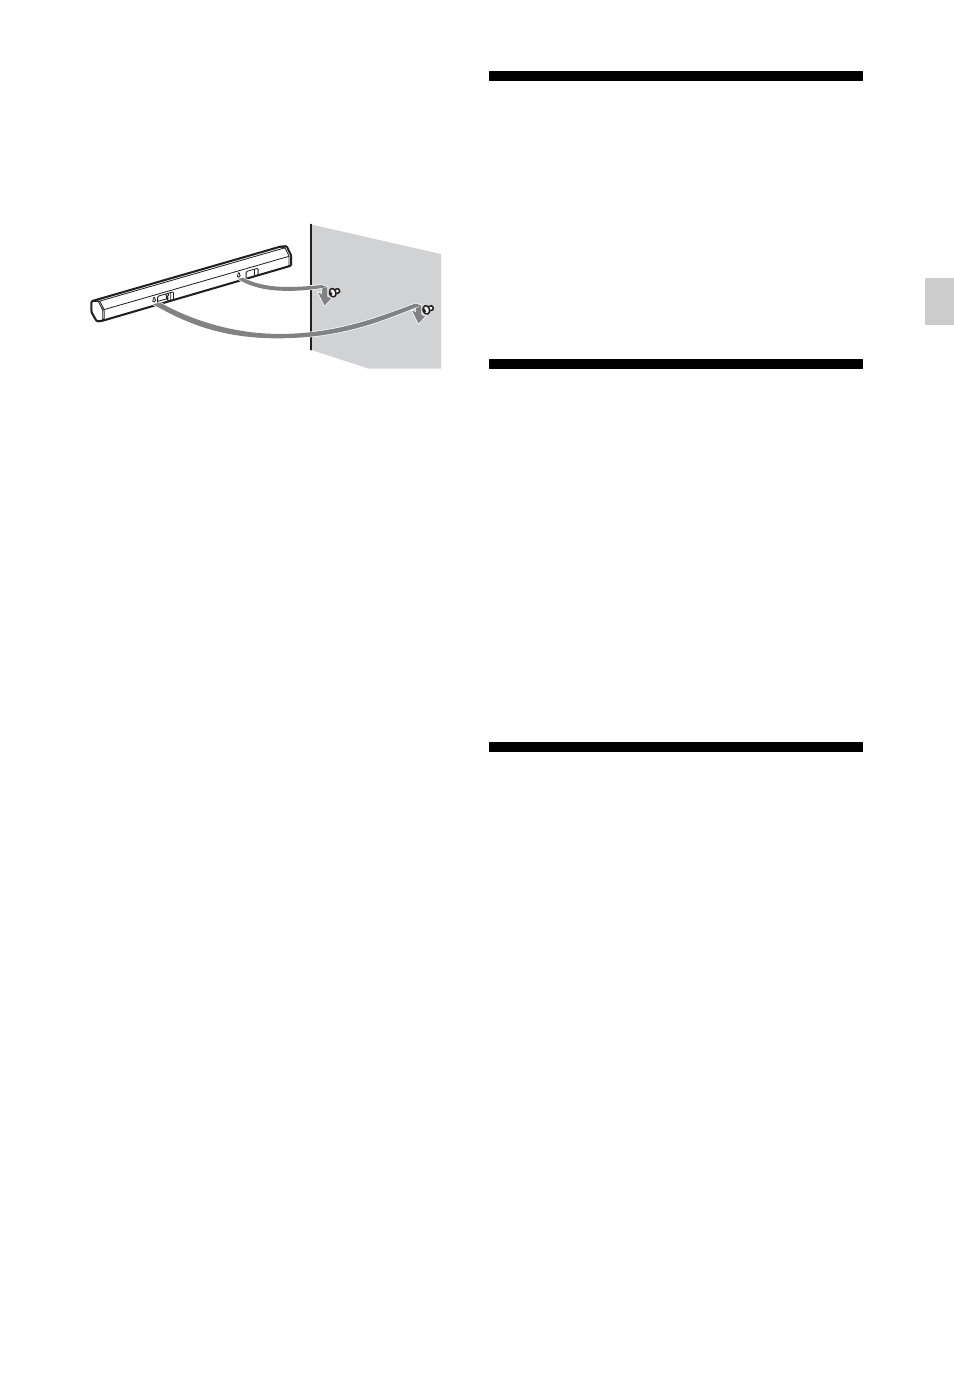
Hang the Sound Bar onto the
screws.
Align the holes on the back of the
Sound Bar to the screws, then hang
the Sound Bar onto the two screws.
Connecting the AC
power cord (mains lead)
Before connecting the AC power cord
(mains lead) of the Sound Bar to a wall
outlet (mains), connect all the other
equipment and TV to the system.
Setting up the sound
output of the connected
equipment
To output multi-channel digital audio,
check the digital audio output setting on
the connected equipment.
For details, refer to the operating
instructions supplied with the connected
equipment.
Auto Standby function
The Sound Bar enters standby mode
automatically when you do not operate
the Sound Bar for about 15 minutes and
the Sound Bar is not receiving an input
signal.
- HT-SL40 (44 pages)
- HT-SF800M (2 pages)
- DHC-FL7D (76 pages)
- DAV-S880 (84 pages)
- DHC-FL5D (224 pages)
- DHC-FL5D (76 pages)
- HT-SL40 (216 pages)
- HT-SL40 (2 pages)
- DAV-S550 (84 pages)
- DAV-LF1 (488 pages)
- DAV-LF1 (2 pages)
- DAV-LF1 (1 page)
- DAV-LF1 (116 pages)
- DAV-FC8 (92 pages)
- DAV-HDZ273 (92 pages)
- DAV-FR8 (1 page)
- DAV-FR8 (2 pages)
- DAV-FR8 (1 page)
- HCD-FR8 (108 pages)
- IZ1000W (88 pages)
- IPELATM PCS-HG90 (2 pages)
- BLU-RAY DISC BDV-T37 (80 pages)
- HT-DDW990 (80 pages)
- HT-DDW990 (2 pages)
- 4-130-029-13(1) (64 pages)
- HT-SS100 (2 pages)
- HDX267W (104 pages)
- RHT-G2000 (12 pages)
- HCD-HDX265 (1 page)
- DAV-DZ660 (116 pages)
- HT-1750DP (48 pages)
- HT-SF1200 (68 pages)
- HT-CT350 (180 pages)
- HT-CT350 (180 pages)
- HT-DDW890 (80 pages)
- HT-DDW790 (64 pages)
- DX255 (100 pages)
- 4-178-247-11(1) (76 pages)
- NHS-130C (3 pages)
- DAV-SR4W (108 pages)
- HT-SF1300 (72 pages)
- HCD-HDX267W (104 pages)
- DAV-DZ171 (76 pages)
- DAV-DZ170 (2 pages)
- DAV-DZ170 (76 pages)