Installation, Powering on/off the projector, Powering on the projector – Acer Projector User Manual
Page 11
11
... English
Installation
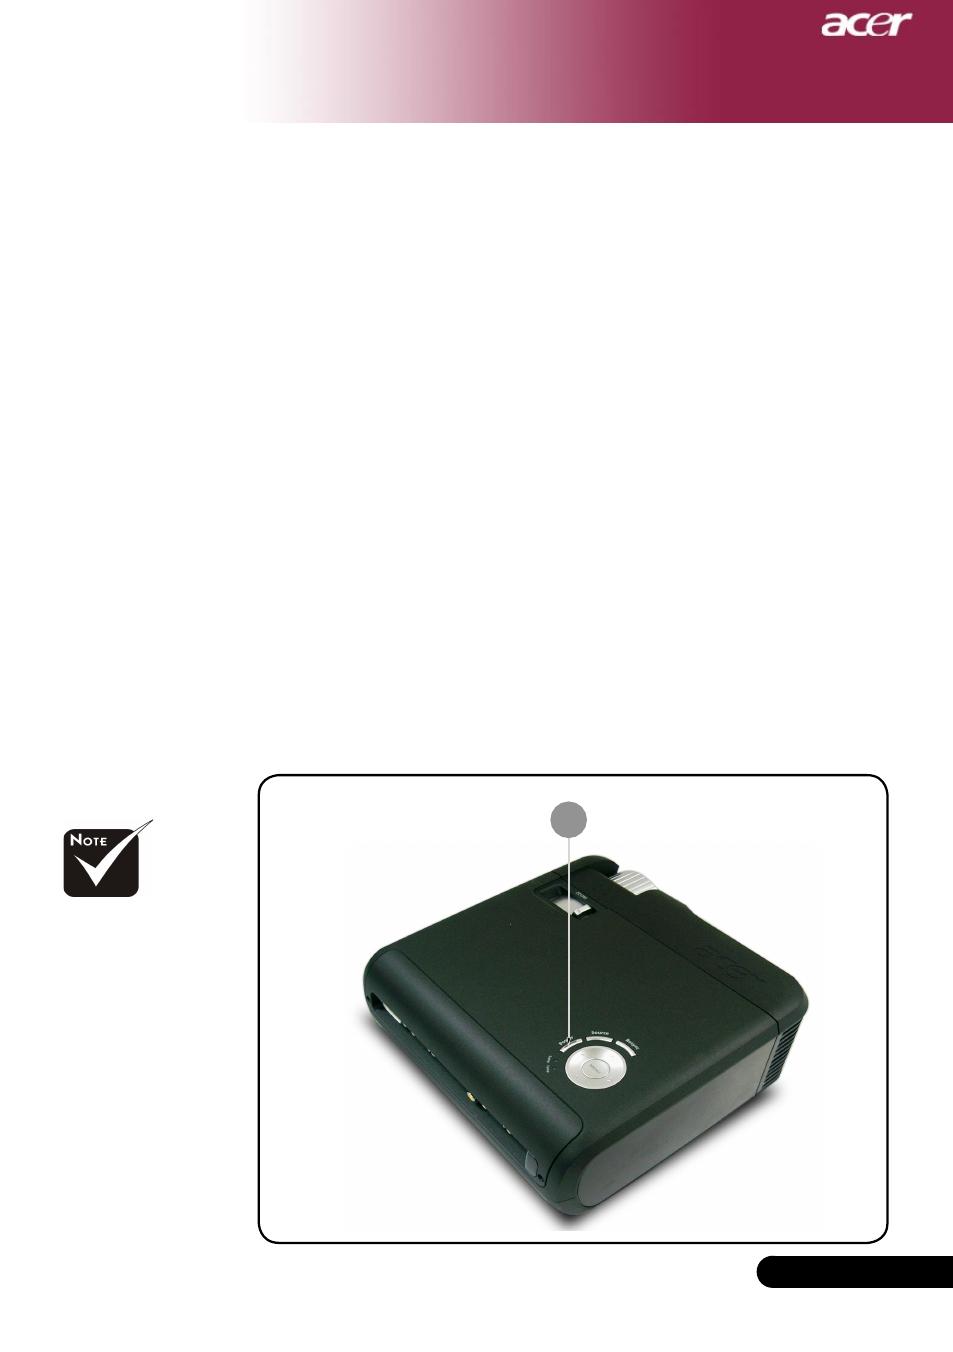
Power/Standby
Powering On the Projector
1. Remove the lens cap.
2. Ensure that the power cord and signal cable are securely
connected. The Power LED will flash red.
3. Turn on the lamp by pressing “Power/Standby” button on
the control panel.And the Power LED will turn blue.
4. Turn on your source (computer, notebook, video player
,etc.). The projector will detect your source automatically.
If the screen displays “No Signal”, please make sure the signal
cables are securely connected.
If you connect multiple sources at the same time, using the
“Source” button on the remote control or control panel to
switch.
Powering On/Off the Projector
Turn on the projector
first and then the signal
sources.
1
See also other documents in the category Acer Projectors:
- H5350 (53 pages)
- P1266i (126 pages)
- P1266i (16 pages)
- PH530 (41 pages)
- PD724W (59 pages)
- P1165P (66 pages)
- PD 321 (1 page)
- XD1270 (47 pages)
- XD1150 (45 pages)
- S5201M (2 pages)
- P5206 (22 pages)
- X1140A (9 pages)
- U5200 (52 pages)
- PD525P (56 pages)
- PROJECTOR P7205 (62 pages)
- PD723P (2 pages)
- X1230K (2 pages)
- PW730 (46 pages)
- X1261N (2 pages)
- P3150 Series (53 pages)
- ALTOS 1100E (161 pages)
- P7270 (2 pages)
- P7280I (61 pages)
- X1260 (2 pages)
- P5281 (2 pages)
- P5271n (70 pages)
- P5271 Series (2 pages)
- P5271i (69 pages)
- X1160 (52 pages)
- X1160P (53 pages)
- S5201 (65 pages)
- S5200 (59 pages)
- S5200 (2 pages)
- DNX0708 (2 pages)
- X1230S (56 pages)
- PD 323 (2 pages)
- H7530D Series (58 pages)
- S5200 (2 pages)
- PD117D series (47 pages)
- P3250 (2 pages)
- RS232 (2 pages)
- S1200 (2 pages)
- H5360 (2 pages)
- H5360 (57 pages)