Installing gallery content – Smart Technologies Education Software Installer 2011 Mac OS User Manual
Page 28
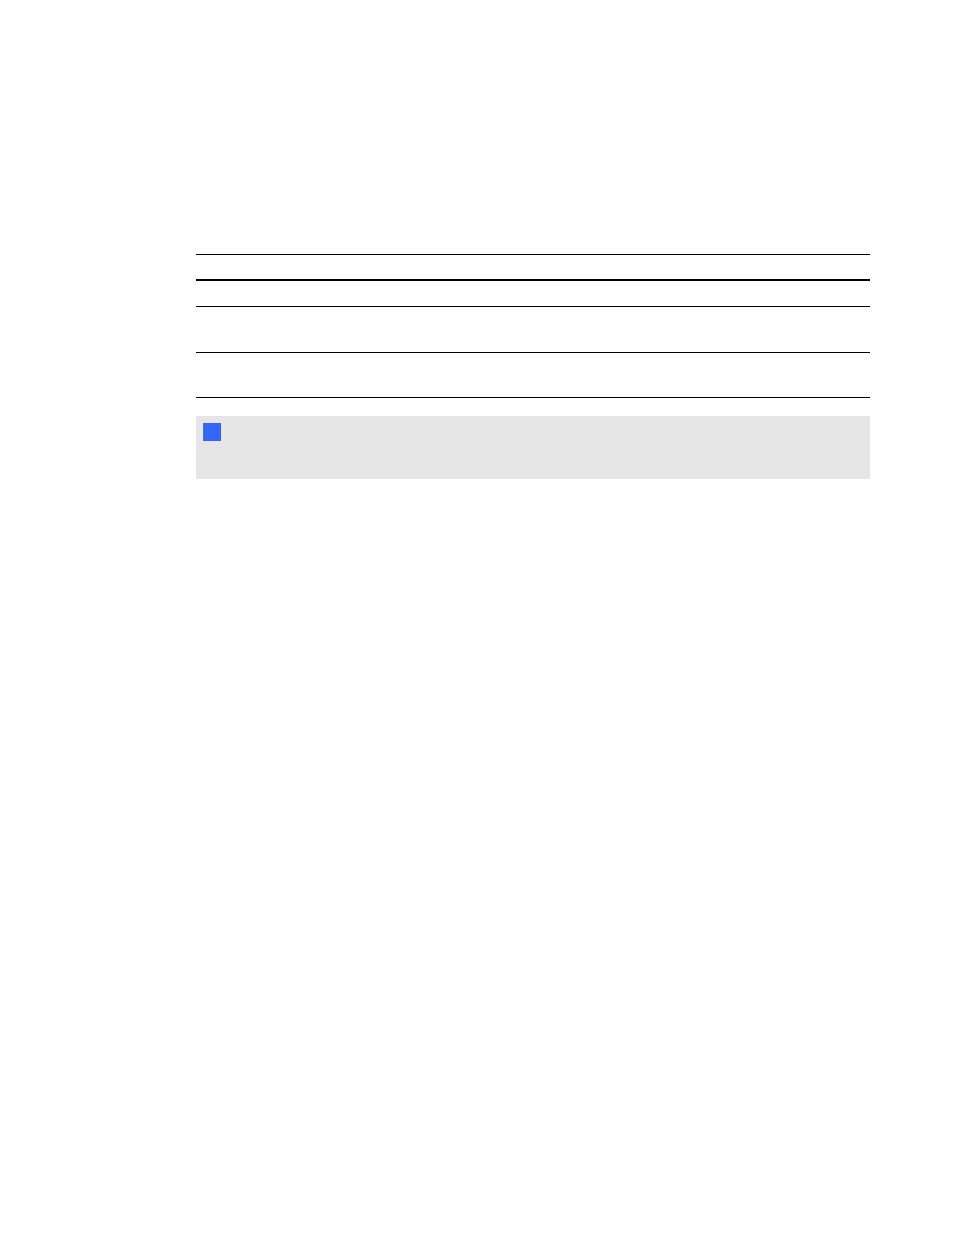
Installing Gallery content
There are three options for installing Gallery content.
Option
Description
1
Install Gallery content on each user’s computer from the SMART website.
2
Install Gallery content on each user’s computer from a folder on your school’s
network.
3
Install Gallery content in a central location, and then configure the software to refer to
that location.
T
T I P
The third option is ideal for environments where hard disk space on computers is limited.
Installing Gallery content on each computer from the SMART website
Configuring Gallery content using SMART Install Manager
Complete the procedure in this section to configure Gallery content.
g
To configure Gallery content using SMART Install Manager
1. Open the software installation package in SMART Install Manager.
2. Click Product Selection.
The Product Selection page appears.
3. Select the SMART Notebook check box (and the check boxes of any other products you want
to install).
4. Click Gallery Content.
The Gallery Content page appears.
5. Click Install the Gallery on each computer.
6. In the Destination location box, type the path to the location on each computer where you want
to install the Gallery collections (if you don’t want to use the default folder
/Library/Application Support/SMART Technologies/
SMART Notebook Galleries/SMART Technologies).
7. Select the check boxes of the Gallery collections you want to install.
8. Publish your changes as an MPKG file, and then deploy the MPKG file.
A P P E N D I X
A
Installing and maintaining Gallery content
22