3 setting up – AKG Acoustics HT 4500 User Manual
Page 28
3 Setting Up
Refer to section 3.4.2.
4. To select the next higher Frequency Group number, turn the setup switch briefly to the
right.
To select the next lower Frequency Group number, turn the setup switch briefly to the left.
5. Having selected the desired Frequency Group, push the setup switch briefly.
"CH" and the number of the currently active Channel start flashing. Each Channel rep-
resents one factory-preset, intermodulation-free carrier frequency.
6. To select the next higher Channel number, turn the setup switch briefly to the right.
To select the next lower Channel number, turn the setup switch briefly to the left.
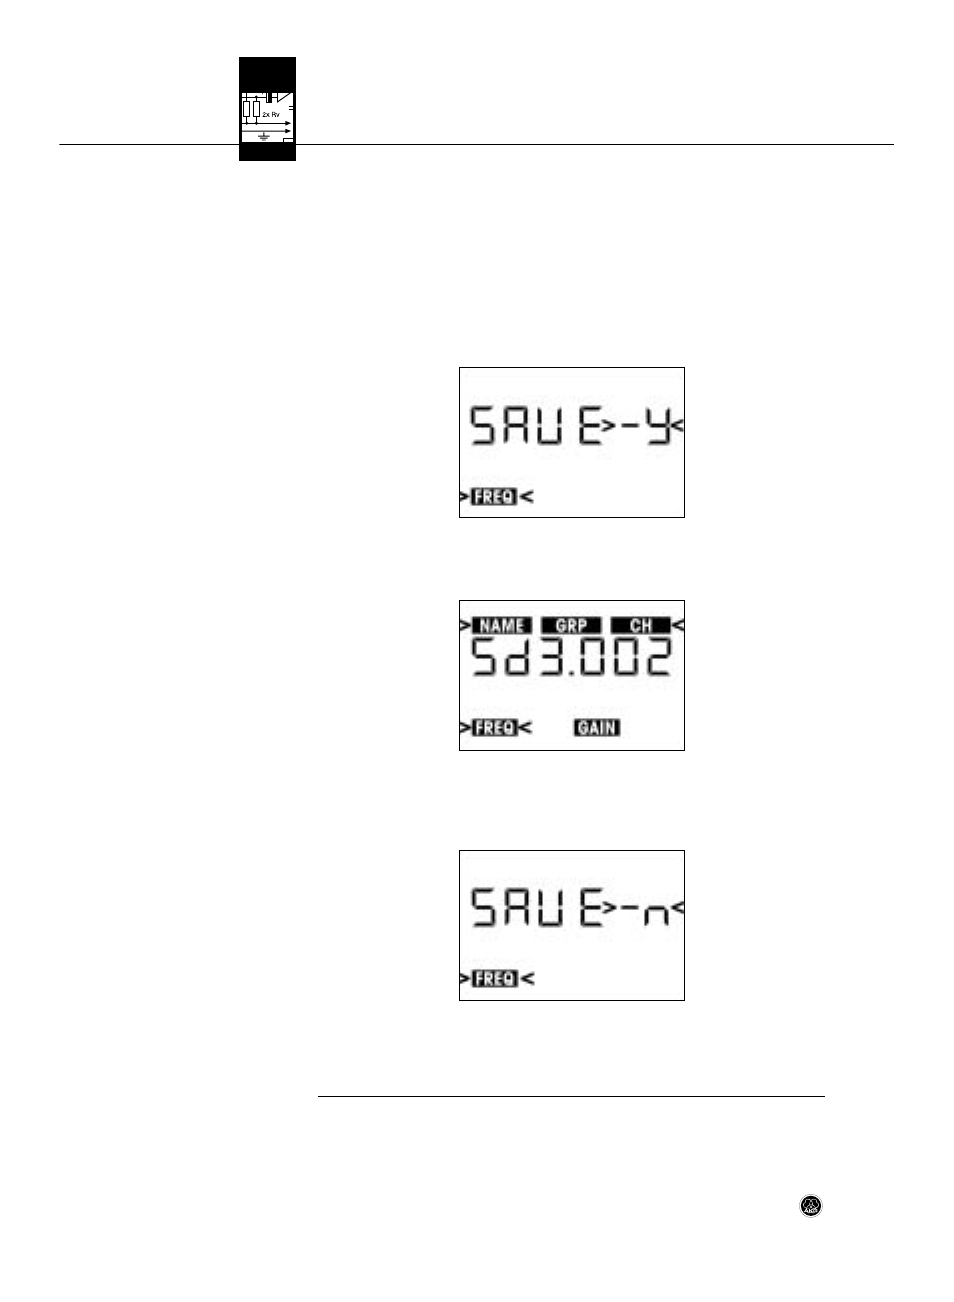
7. Having finished your settings, push the setup switch briefly. This brings up the following
screen:
8a If you want to save the selected carrier frequency, push the setup switch briefly. The
setting will be saved in memory and the display will change as follows:
8b If you'd rather not save the selected frequency, briefly turn the setup switch to the left
or right.
This brings up the following screen:
-
Push the setup switch briefly. The transmitter will stay tuned to the original frequency.
9. To switch the transmitter into LOCK mode, switch the transmitter OFF and back ON in
LOCK mode, referring to section 3.4.2.
28
HT 4500