a.
b.
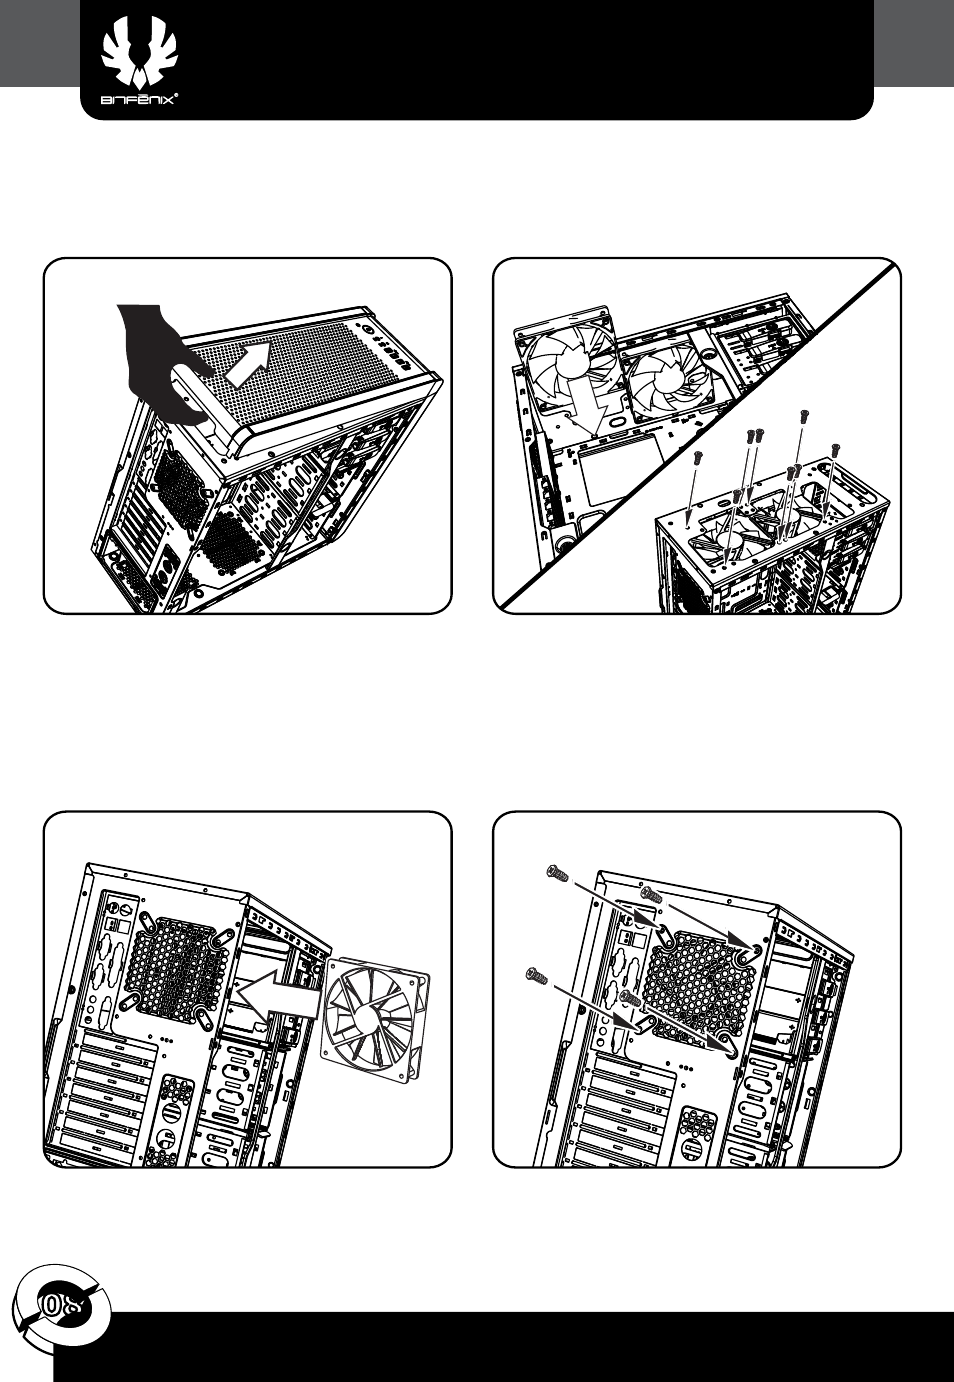
Remove top panel
Install fan and secure with screws
Install fan
Secure with screws
Rear Fan Installation
Top Fan Installation
08