Attaching / removing faceplate, Radio operation, Changing tuning step – Alpine CDA-9847 User Manual
Page 8: Radio, Detaching and attaching the front panel, Changing the radio frequencies for each country
7
-EN
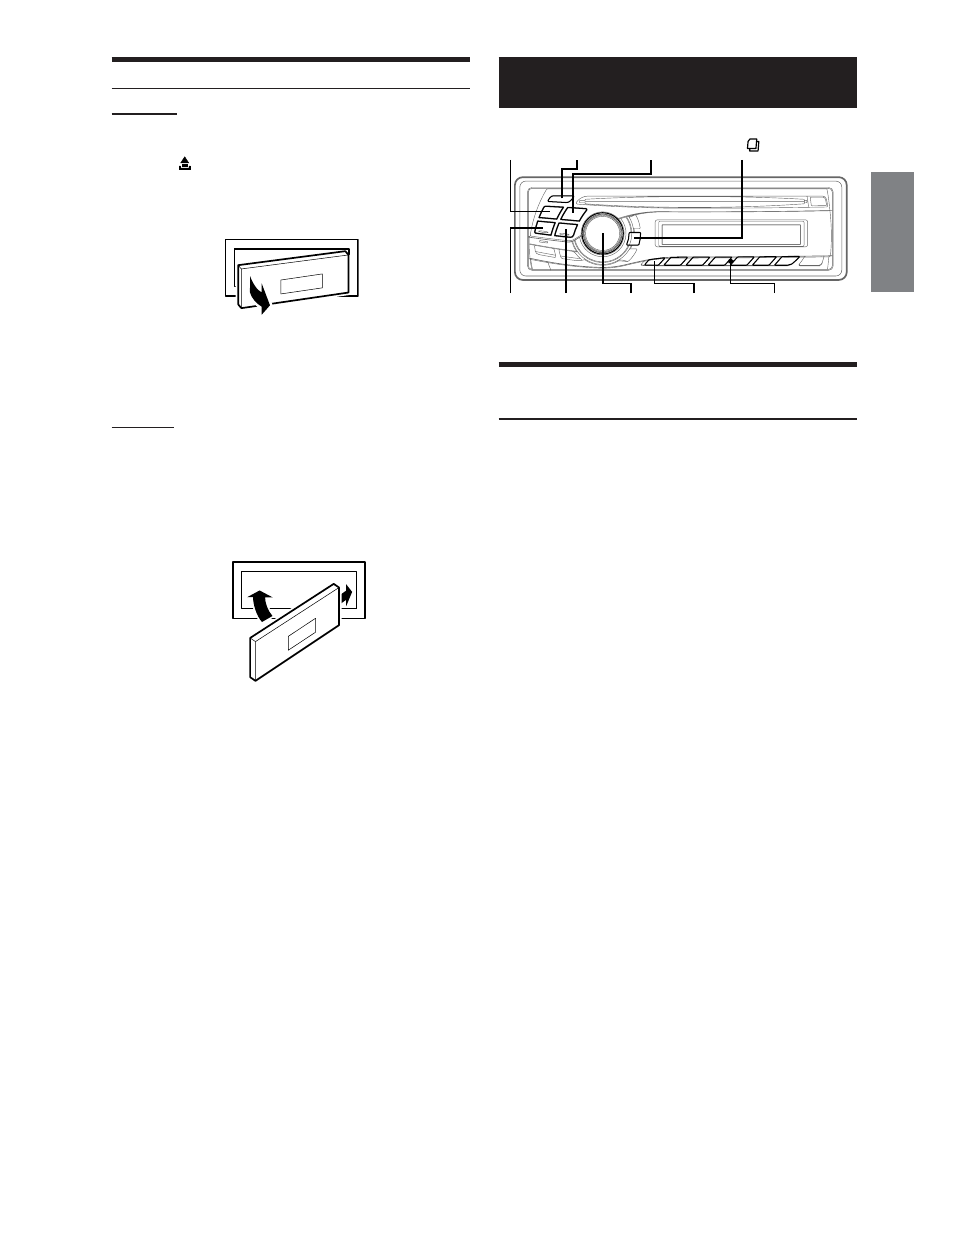
Detaching and Attaching the Front Panel
Detaching
1
Turn off the unit power.
2
Press
(Release) at the lower left side until the
front panel pops out.
3
Grasp the left side of the front panel and pull it out.
• The front panel may become hot in normal usage (especially the
connector terminals on the back of the front panel.) This is not a
malfunction.
• To protect the front panel, place it in the supplied carrying case.
Attaching
1
Insert the right side of the front panel into the main
unit. Align the groove on the front panel with the
projections on the main unit.
2
Push the left side of the front panel until it locks
firmly into the main unit.
• Before attaching the front panel, make sure that there is no dirt or
dust on the connector terminals and no foreign object between the
front panel and the main unit.
• Attach the front panel carefully. Hold the panel by its sides to avoid
pushing any buttons by mistake.
2
1
1
Radio
Changing the Radio Frequencies for each
Country
For customers not living in North America, change the radio
frequencies as follows.
1
Press and hold F/SETUP for at least 2 seconds to
select the SETUP mode.
2
Select the "AREA" mode by pressing g or f.
3
Choose either AREA 1 or AREA 2 by pressing the
BAND.
AREA 1: Radio frequencies for North America
AREA 2: Other Radio frequencies
4
Pressing F/SETUP will return to normal mode.
• The stored radio stations will be cleared every time you change the
setting.
Preset buttons
(1 through 6)
g
f
Rotary
encoder
SEARCH/
Q.S.
F/SETUP
SOURCE/
POWER
TUNE/
A.ME
BAND