Speedtech G Body Rear Coilover User Manual
Page 3
3 |
P a g e
The vehicle should be on a level surface before you start.
1. In a couple short hours you can update your classic car with your new
Speedtech Performance coilover brackets and shocks. We recommend you
inspect all of your car's suspension prior to installation of our parts, such as
bushings and trailing arms which may be worn and could cause adverse effects.
Replace parts as necessary. Now is a great time to upgrade to our Articulink rear
trailing arms and adjustable rear sway bar.
2. Jack up and properly support the vehicle's frame on sturdy jack stands.
Remove the rear wheels if needed for extra room to work. With the rear axle
supported, remove from one side the rear shock and the rearward part of the
lower trailing arm from the axle bracket. Carefully lower the rear axle to the point
that you can remove the coil spring. Note that doing this one side at a time will
keep the axle located in position.
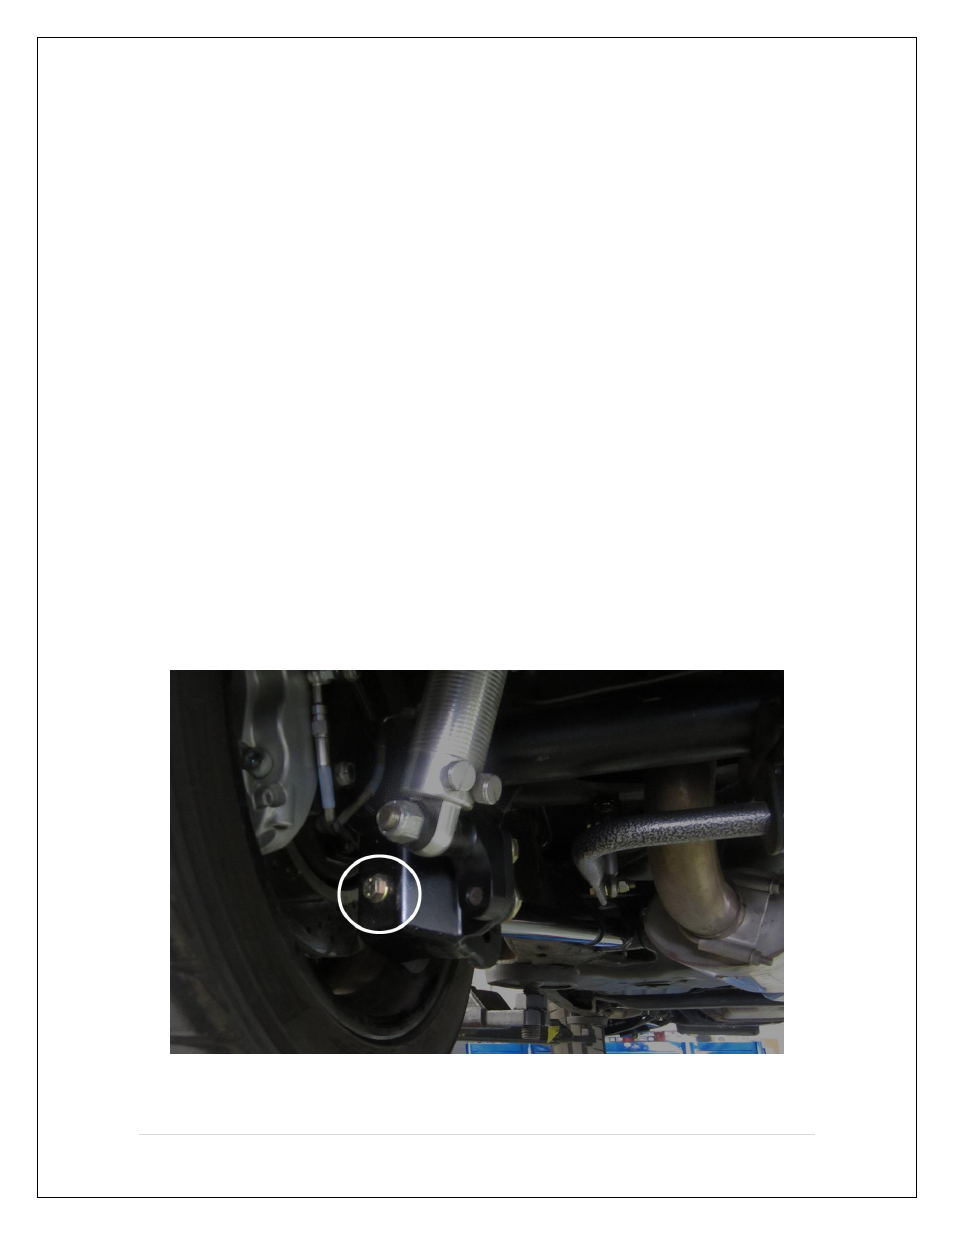
3. The Speedtech coilover bracket is designed to simply slip over and bolt on to
the existing axle bracket. Note that for determining left and right sides, the shock
mount tabs are located inward.
4. Hardware placement:
Bolt the 7/16 x 1 ¼ bolt, 7/16 washer, and 7/16 Nylock nut through the back side
hole where the factory shock bolt used to be. Do not fully tighten at this time.