Removal of stock system, Installation of mbrp inc. performance exhaust – MBRP S6128 User Manual
Page 2
S6128 © 04/09
PAGE 2 OF 3
Removal of Stock System
1. Apply a penetrating lubricant liberally to all exhaust fasteners, hangers and
rubber insulators.
2. Remove the exhaust system from the rubber insulators and remove all of the
clamps from the system.
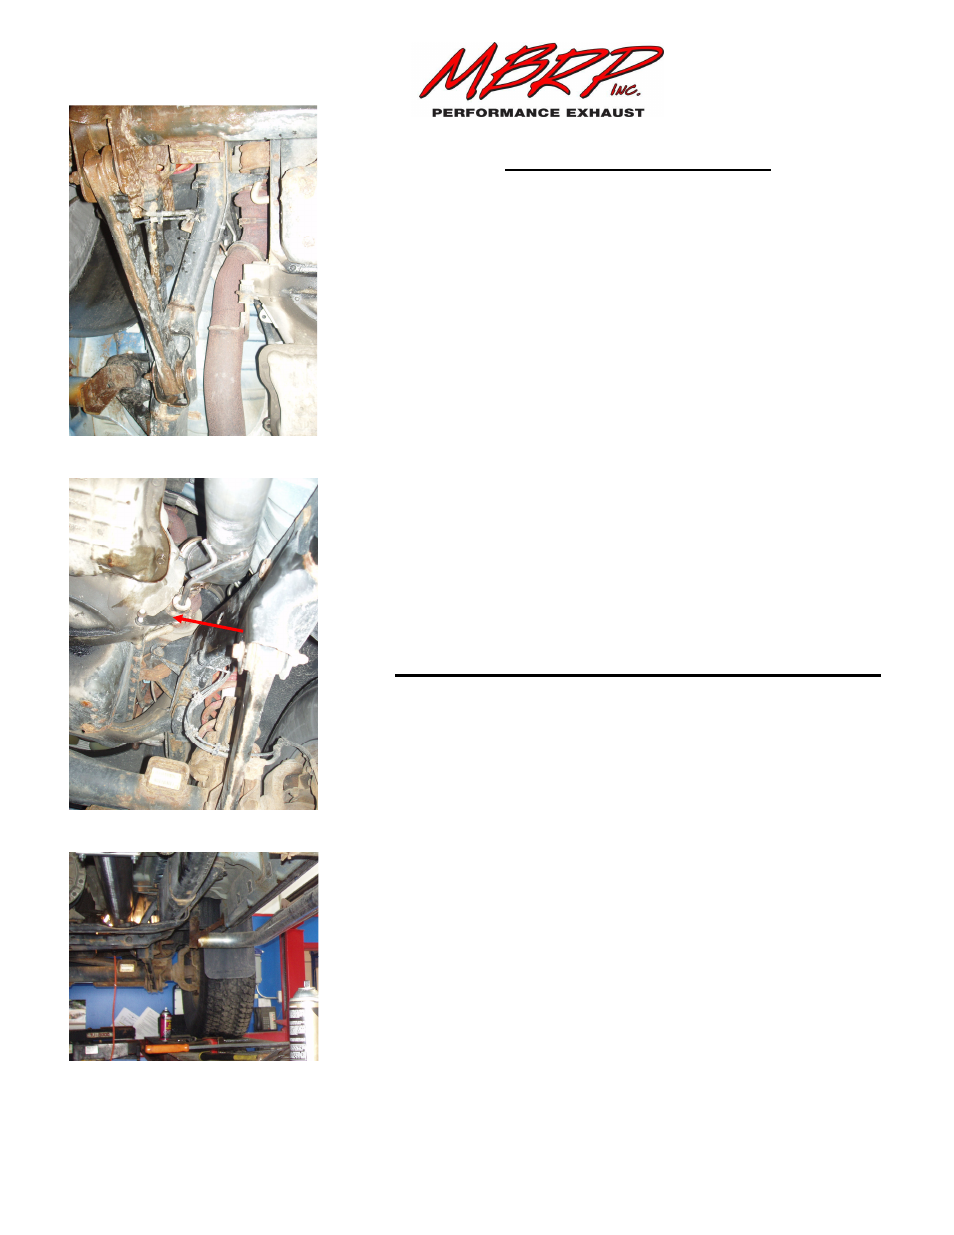
3. Separate the slip joint behind the muffler and remove the tail pipe. Then
separate the slip joint located behind the catalytic converter and remove the
muffler and extension pipe. Remove the catalytic converter by separating the
slip joint located between the down pipe and the catalytic converter. Finally
loosen the band clamp connecting the down pipe to the turbo and remove the
down pipe. Do not discard the band clamp as it is required for the
installation. Refer to Figure 1.
4. Remove the OEM down pipe hanger bracket from the bell-housing. Do not
discard this part and hardware as they are required for the installation.
5. Remove the spare tire. You may not be able to reinstall your spare tire after
the installation of this exhaust system.
Installation of MBRP Inc. Performance Exhaust
1. Slide the OEM down pipe hanger bracket onto the Down Pipe hanger.
Install the Down Pipe in the same position as the stock down pipe by
reattaching the hanger bracket to the bell-housing and then attaching the flared
end to the turbo using the stock band clamp. Do not fully tighten until all
components are in place. Refer to Figure 2.
2. Install the 23” Extension Pipe onto the Down Pipe and then the 44”
Extension Pipe onto the 23” Extension Pipe The combination of the Mid
Pipe and Extension Pipe provides the required length to fit a Quad Cab Long
Bed truck or Mega Cab. The 23” Extension Pipe can be left out on some of
the shorter wheel based vehicles.
Installation Tip: Temporarily install the Muffler and Tail Pipe using the
factory rubber insulators and the Hanger Clamp. Measure from the Muffler
to the rear most Extension Pipe to determine the length required. Cut that pipe
to the required length. Refer to Figure 3.
Figure 1
Figure 2
Figure 3
OEM
Hanger