MBRP GM8424 User Manual
Page 2
GM8424 © 08/09
PAGE 2 OF 2
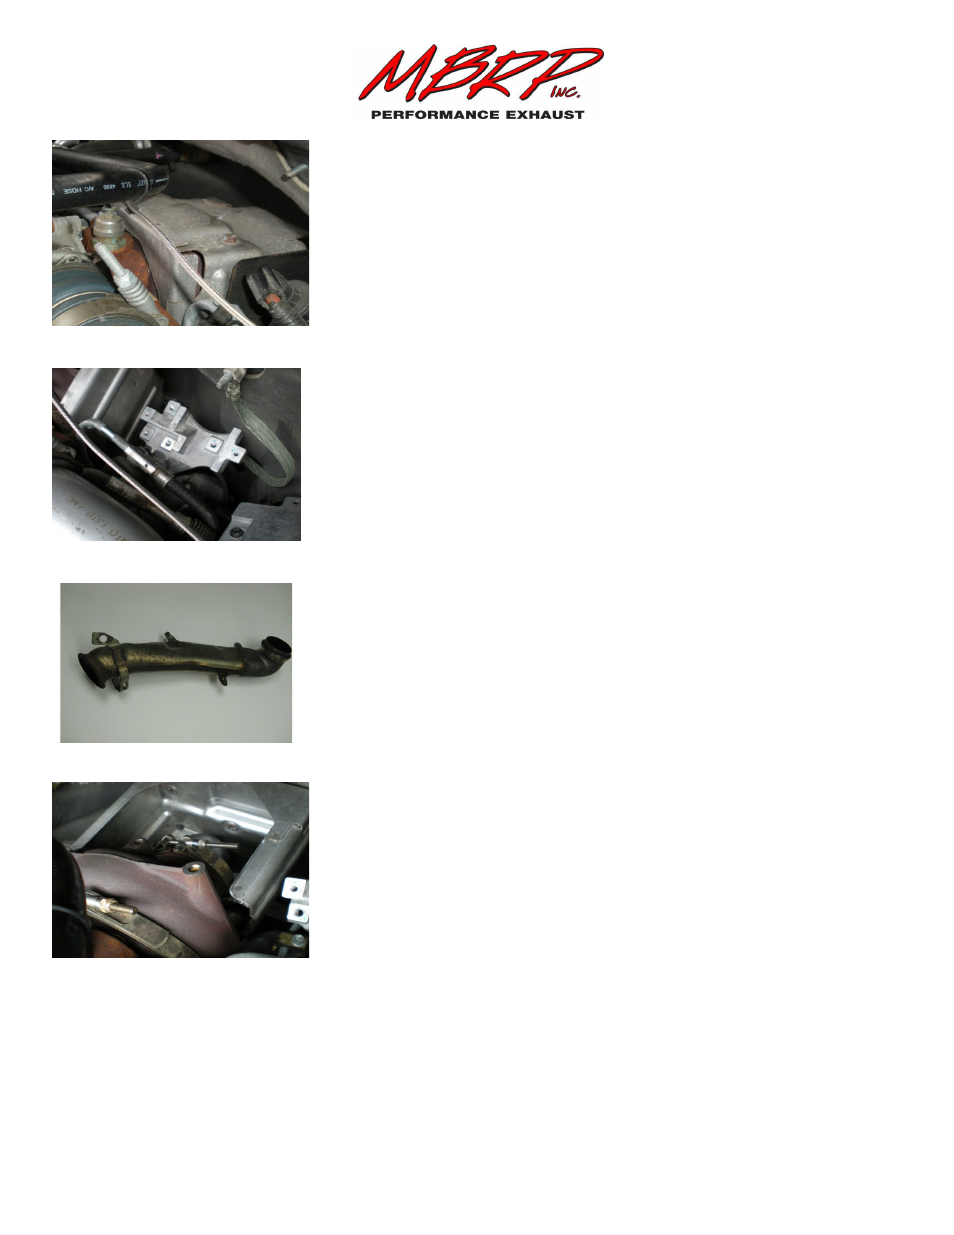
10. Remove the three bolts at the top of the turbo heat shield and rotate to rear.
This will allow access to the top band clamp of the down pipe. If the clamp is
rotated to the bottom you may need to remove the bolts from the computer
module located to the driver side of turbo to allow access to the upper band
clamp. Retain the fasteners for installation. Refer to Figure 4 & 5.
11. Loosen the upper band clamp on the down pipe.
12. With the band clamp removed apply slight pressure to the down pipe pushing
from the turbo exhaust housing.
13. Remove the factory down pipe from underside of the vehicle between the frame and
transmission. Figure 6 shows the stock down pipe removed.
14. Feed the MBRP Down Pipe into area between the Transmission and the Frame.
15. Insert the Down Pipe into the exhaust housing of turbo completely until the flange
on the turbo and Down Pipe are flush.
16. Loosely fit the band clamp on the upper turbo and down pipe connection to keep the
Down Pipe from falling out but allowing it to rotate slightly. Refer to Figure 7.
17. Reinstall the transmission dipstick into the transmission and the two nuts to the back
of the bell housing.
18. Secure the Down Pipe to the bracket on the exhaust manifold using the original bolt.
Reinstall the front pipe to the rear exhaust.
19. Reinstall the band clamp securing the front pipe to the Down Pipe.
20. Tighten the upper band clamp securing the Down Pipe to the turbo housing.
21. Replace the upper heat shield and secure it using the original bolts and reinstall the
electronic module if needed.
22. Start the vehicle to check for exhaust leaks.
23. Reinstall the inner fender liner and wheel.
Congratulations! Thank you for making MBRP Inc. your choice. We know you will enjoy your purchase.
Figure 4
Figure 5
Stock Down Pipe Figure 6
Figure 7