MBRP GM8425 User Manual
Page 3
GM8425 © 07/10
PAGE 3 OF 3
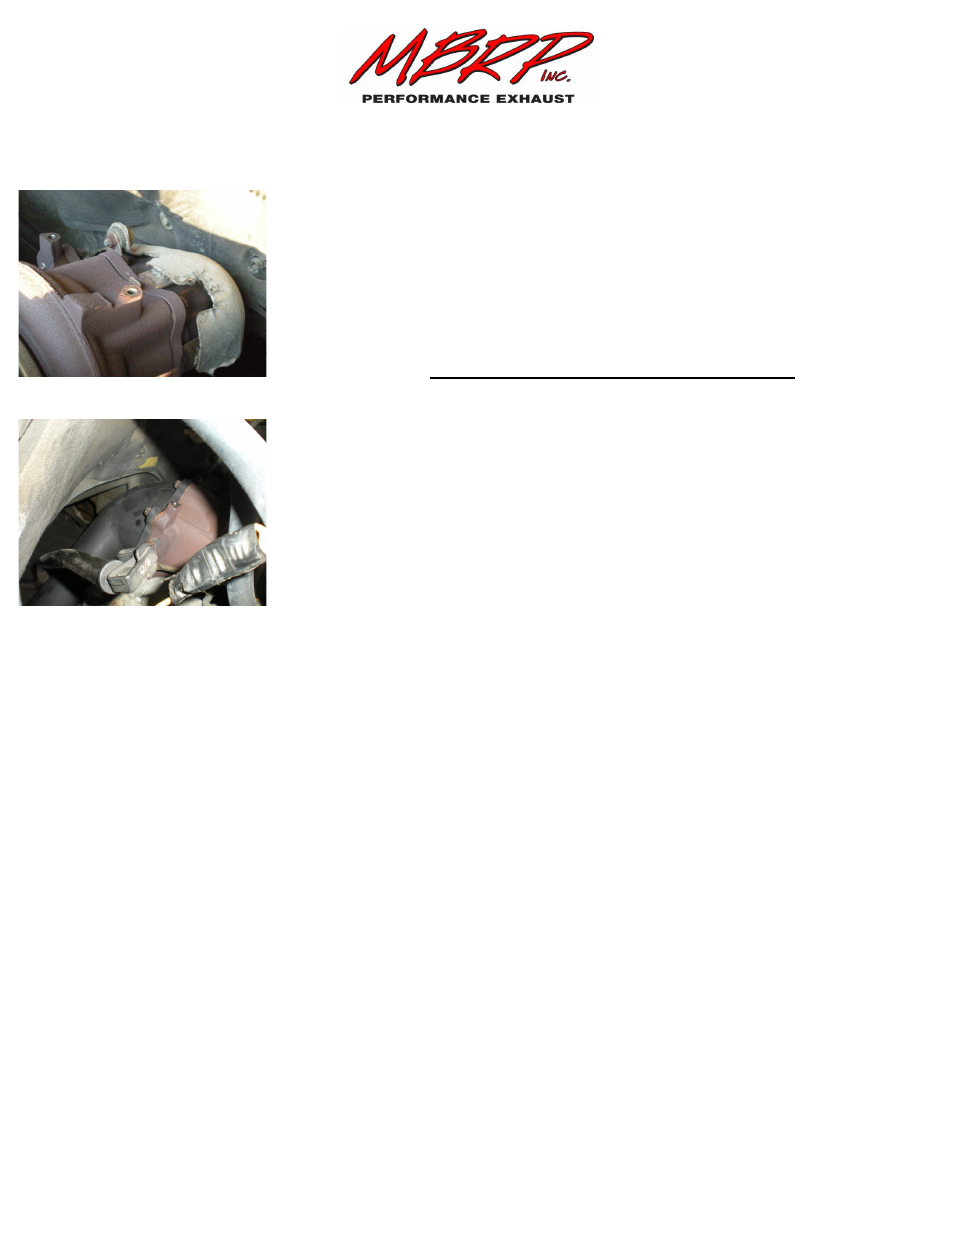
6. Remove the six [6] fasteners connecting the OEM Down Pipe to the Turbo
Outlet Flange. These fasteners are very tight and may require heating and/or
significant leverage to break free.
See Figure 5.
7. Remove the OEM Down Pipe through the opening above the frame rail in the
passenger side wheel well.
Installation of MBRP Down Pipe Kit
1. Install the MBRP Down Pipe through the passenger wheel well. You may require
assistance to guide the Down Pipe into position. A replacement Gasket is supplied
in case the original is damaged. Reuse the original steel gasket if it is intact. Reinstall
the previously removed fasteners.
See Figure 6.
2. Reinstall the Transmission Dipstick. It may be required to shim the mounting
bracket rearward with washers to provide clearance from the Down Pipe.
3. Reconnect the Front Pipe to the Down Pipe with the previously removed V Band
Clamp.
4. Reinstall the OEM Turbo Heat Shield, plastic inner fender, and reinstall the
passenger tire.
Congratulations! You are ready to begin experiencing the improved power, sound and driving excitement of
your MBRP Inc. performance exhaust Down Pipe. We know you will enjoy your purchase.
Figure 5
Figure 6