Acroprint ATR120 User Manual
Page 15
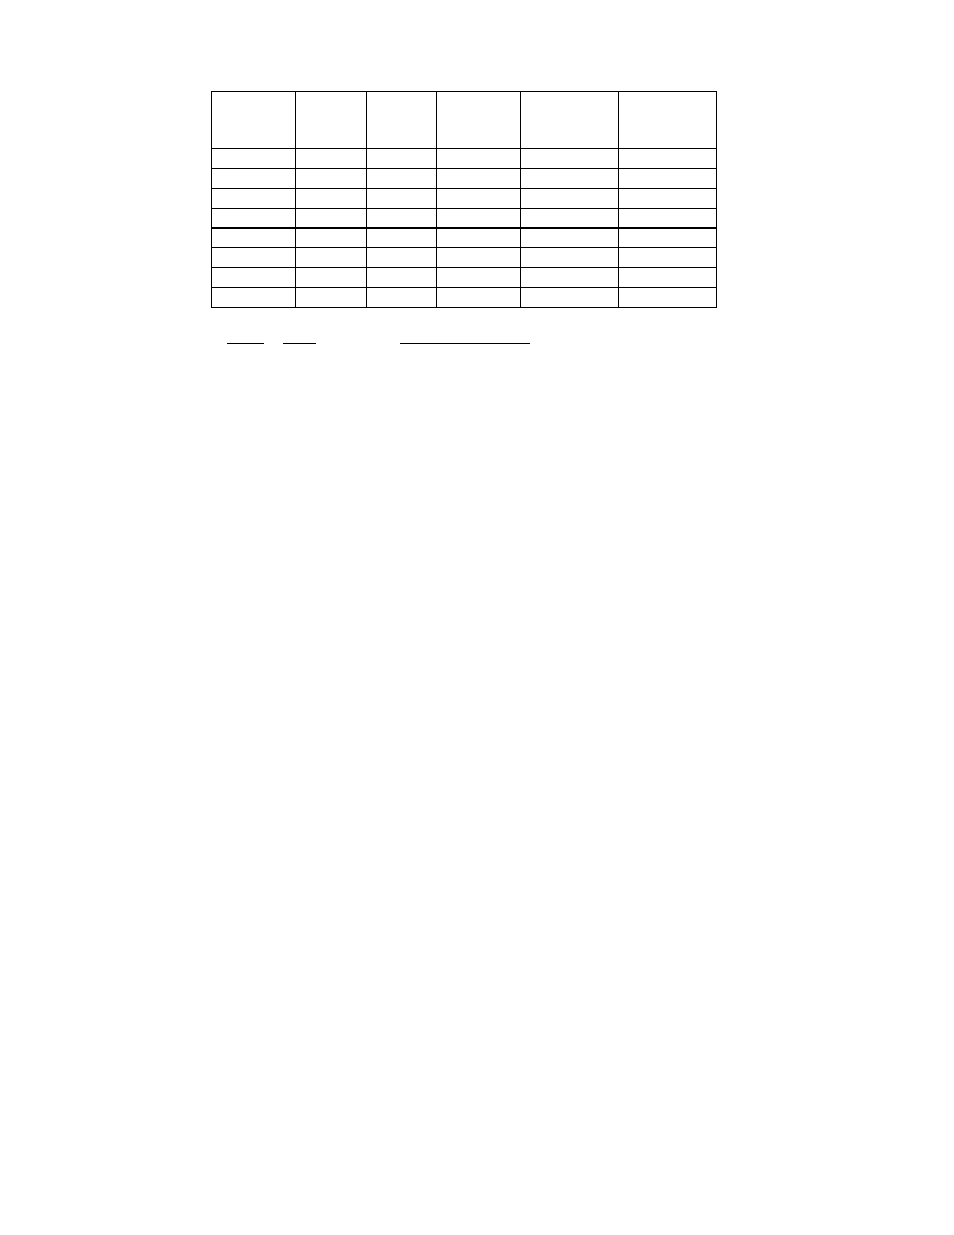
11
Event
Max 32
Print in
Red
IN1
Print in
Black
OUT1
Signal
Only
IN2
Print Red &
Signal
IN1 IN2
Print Black
& Signal
OUT1 IN2
1
08:00
2 08:01
3
12:00
4
13:00
5 13:01
6
17:00
7 17:30
8
07:30
Event Time
Description of Event
1
8:00
SIGNAL
Only to denote start of work schedule
2
8:01
Color changes to RED to denote late or early lunch punches
3
12:00 SIGNAL noting start of lunch period and color change to
BLACK SIGNAL
4
13:00 SIGNAL Only to denote end of lunch period
5
13:01
Color change to RED to show late in punches or early end of
day
out
punches
6
17:00
SIGNAL to denote end of work schedule and color change to
BLACK
7
17:30
Color change to RED to indicate possible overtime
8
07:30
Color change to BLACK to allow morning in punches
When the display shows 01 5:00
Press button two to select the event (IN1, print in red or OUT1, print in black, etc.)
Press button three to confirm the event (OUT3 will continue to flash).
Press button four to select the hour of the event.
Press button five to select the minute the event will occur.
To have the event occur each day (Recommended), press button six to save the
event and advance to the next scheduled event, 02 5:00.
If you do not want an event to occur each day, you may select the day(s) of the week
you want the event to occur. After selecting the minute the event will occur, press
button two. At the bottom of the display, the event indicator will be displayed and
OUT 3 will be flashing. As the top of the display, SUN will be flashing. To select
SUN, press button three or to advance to MON, press button two. Remember to use
button three to save the day of the week. Cycle between buttons two and three as