Parts diagram, Restoring factory calibration, Troubleshooting – UEi Test Instruments DMG200 User Manual
Page 11: Low temperature operation
DMG200 User’s Guide
2
Parts Diagram
DMG200 User’s Guide
11
Restoring Factory Calibration
The original factory calibration can be restored at any time by the following procedure:
1.
Turn the DMG200 power off.
2.
Hold
while pressing
. As soon as the power turns on, release
and then press it
quickly at least three times. The CAL indicator should illuminate, and
should show on
the Main Numeric Display. If not, turn the power off again and repeat.
3.
Press
five times followed by
.
4.
The gauge will beep 5 times and return to normal operation. The DMG200 is now reset to the
original factory calibration.
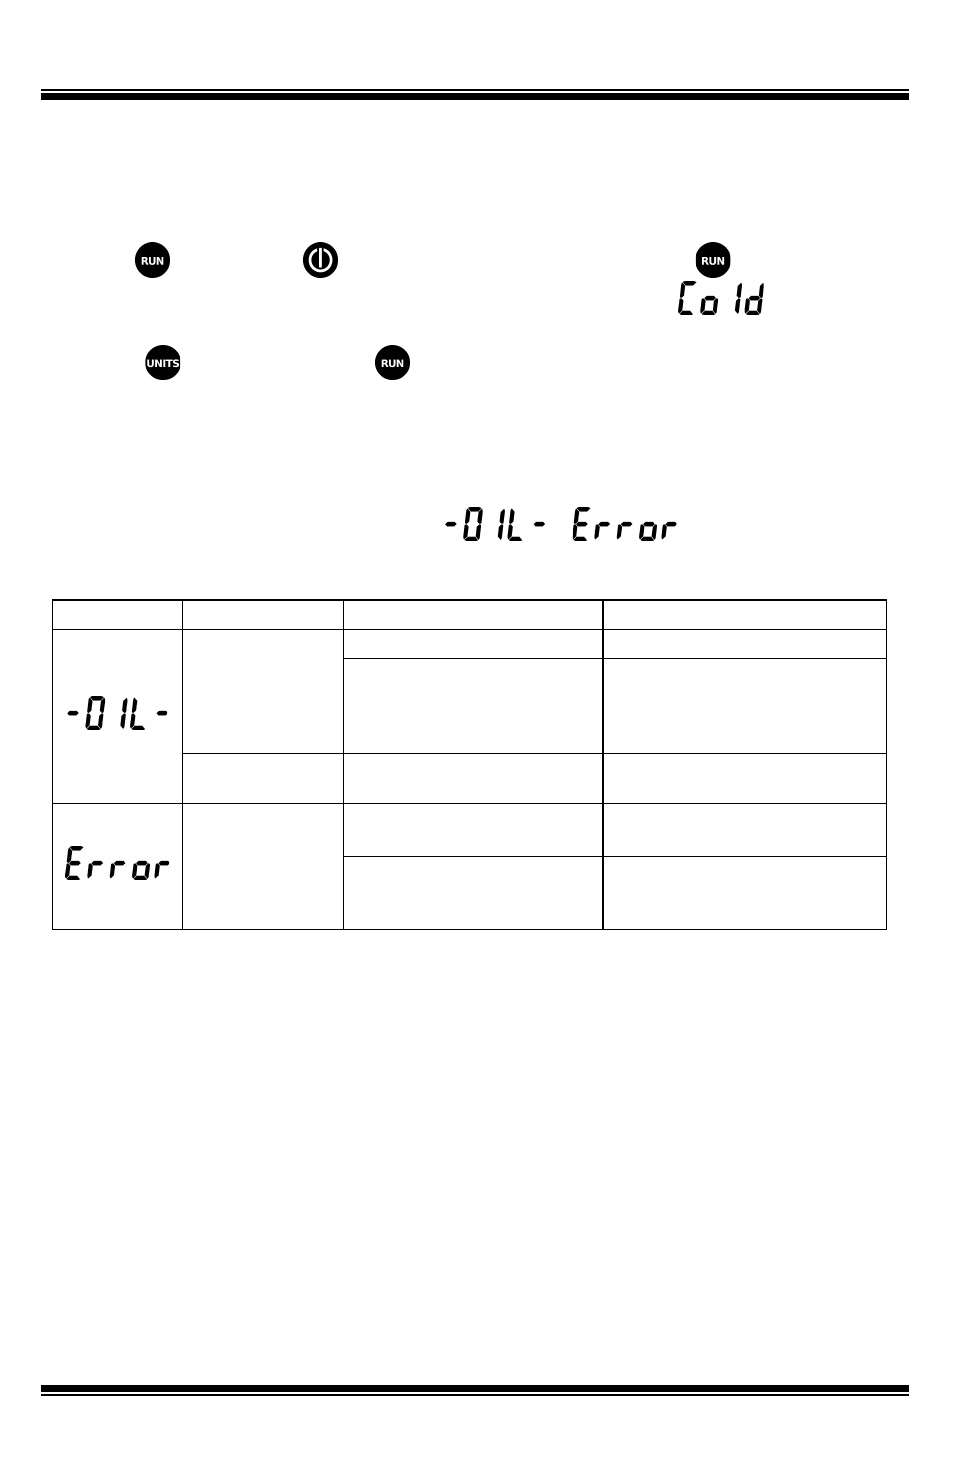
Troubleshooting
Under certain conditions, the display may read
or
. Please use the table
below to determine and fix the problem:
Display
Mode
Possible Problem
Solution
Sensor Contaminated
Clean the Vacuum Sensor
Normal
Operation or
Run Mode
Ambient Temperature too
Low
Turn the DMG200 off, warm
the vacuum port with your
hand, turn the DMG200 back
on.
Calibration
Sensor Contaminated
Clean the Vacuum Sensor
and Restart Calibration
Gauged Warmed too
Quickly
Restart Calibration. Allow the
Gauge to Warm Slowly
Calibration
Gauge Disturbed During
Calibration
Restart Calibration. Leave
the Gauge Undisturbed
During Warming Phase.
Low Temperature Operation
The DMG200 can operate accurately at temperatures as low as 10°F (-12°C). While operating below
freezing (32°F/0°C), the display update rate will slow from 3.5 readings every second to one reading
every two seconds.
For satisfactory battery life at low temperatures, a 9V Lithium battery is recommended.