Shockmount, Microphone cables, Accessories – MXL Genesis FET User Manual
Page 4
The front of the microphone is always indicated by the position of the
cardioid pattern symbol.
3
capsule will cause the microphone to short circuit - resulting in the
microphone cutting in and out of operation. Should this occur, you can
leave the microphone uncovered, out in the open for approximately two
weeks to thoroughly dry. This will likely rectify the problem. Afterward,
you should always use a pop filter.
Shockmount
The Genesis FET comes
with a custom shockmount
specifically designed to handle
its large size. Shockmounts
de-couple the microphone
from the mic stand and the
environment. The shockmount
will minimize floor noise as well
as any noise induced by people
handling the microphone
stand. Shockmounts should be considered “standard equipment” for all
recording applications. The shockmount can shift in shipment. Simply
shift the nylon bands to center the microphone in the assembly. Be sure
that the wire clamp does not rest on the chassis of the mount, as this
impairs mechanical isolation. Slide the mount all the way to the rim of the
microphone for the most secure hold.
Microphone Cables
The microphone cable can have
a profound effect on the sound of
any microphone. Even the finest
microphones will sound poor if the
interconnect cable allows noise to
enter, or causes distortion and loss
of information. We highly recommend
exclusively using Mogami® cable.
Continued from page 2
Accessories
8
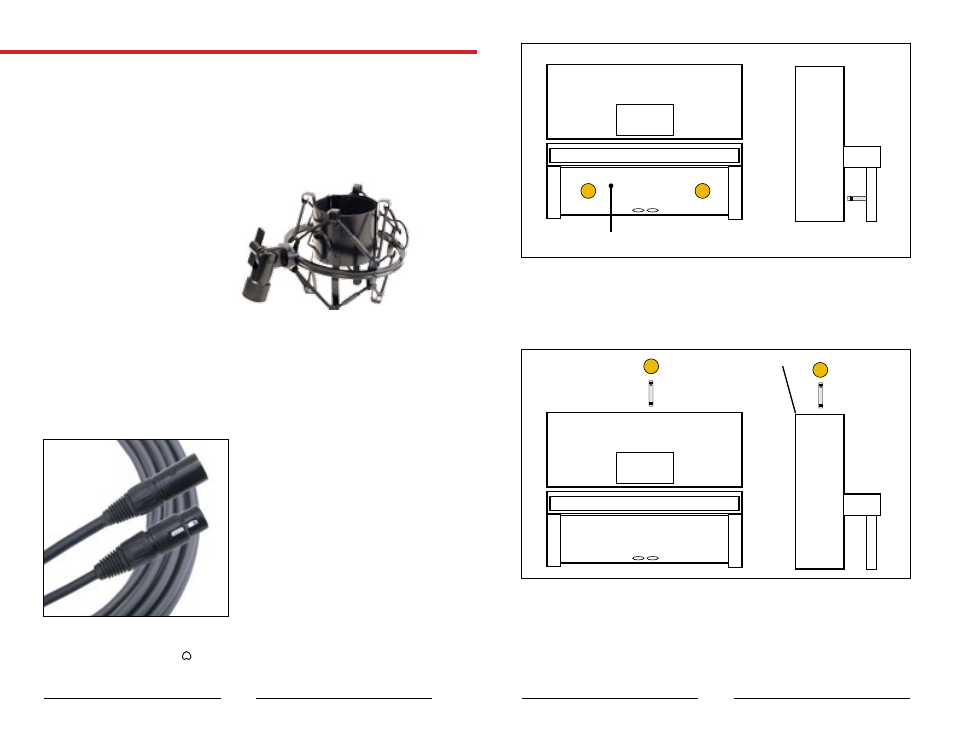
Front Panel Placement: For the upper strings, position the microphone
approximately 8 - 11 inches away from the strings, with the Pan position set to
left of center. For the lower strings, position the microphone 8 - 11 inches away
from the strings, with the Pan position set to right of center. (see Fig. 4B)
Single Microphone / Open Top: If you are using a single microphone, it is
generally recommended that you record from above, as placement of the mi-
crophone in the lower center may interfere with the performer’s ability to access
the pedals and the microphone will likely pick up excessive pedal and other
mechanical noise. Position the microphone just over the open top, centered over
the instrument. (see Fig. 4C)
2
1
1
1
Fig. 4B
Front Panel Removed
Front View
Mics positioned
8-11” away from strings
Side View
Fig. 4C
Side View
Front View