Step 6, Step 7 – Catskill Craftsmen 64238 User Manual
Page 8
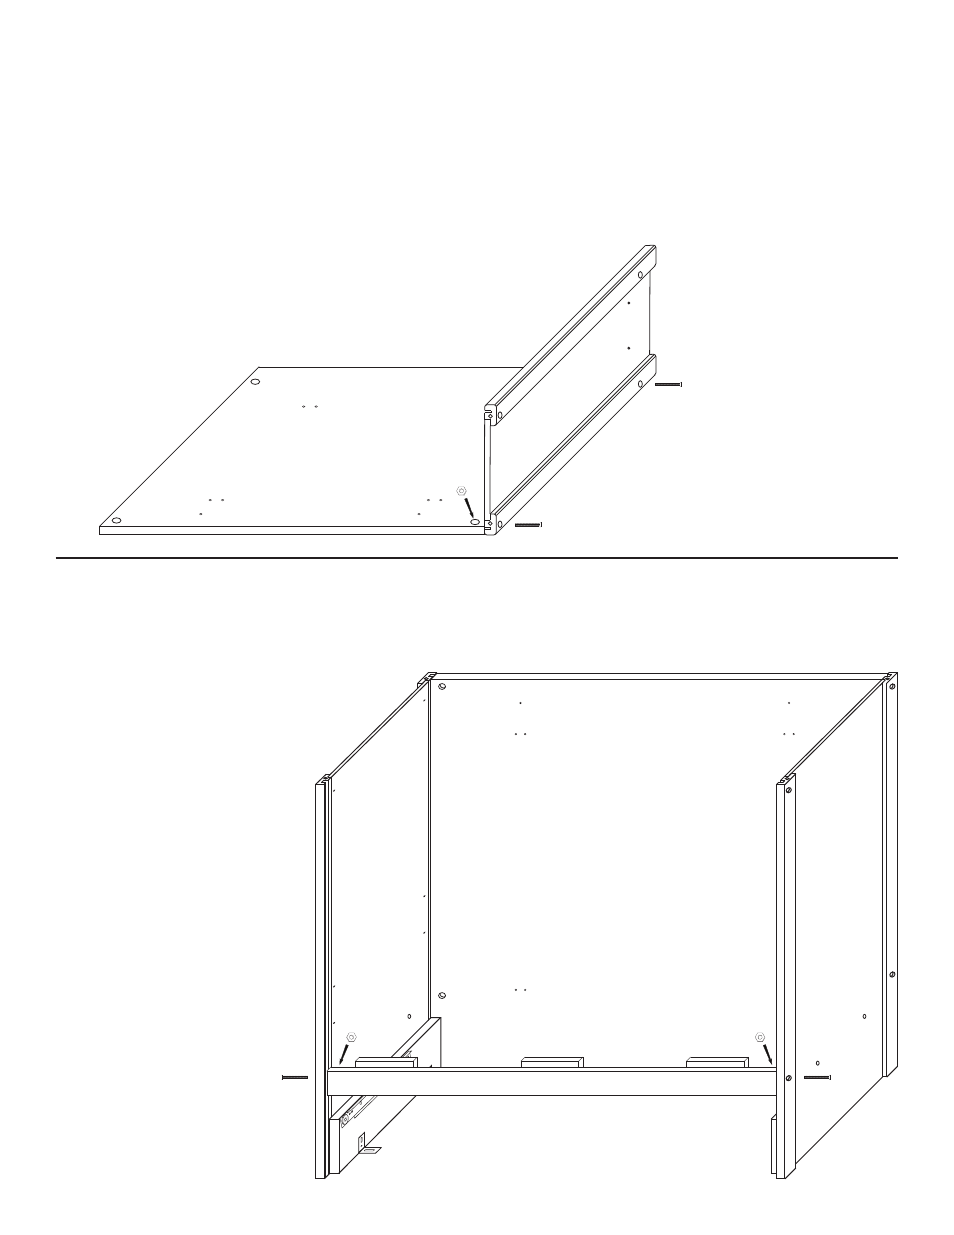
STEP 6
A. Lay Back Panel flat on a smooth surface with holes up.
B. Attach Side Panels with 1 3/4” machine screws (bolts) and hex nuts. After inserting bolts(s) thru the
holes in the Side Panels, thru the holes in the long edges of the Back Panel, place a hex nut on the tip
of your finger, align nut with bolt and tighten.
C. Look ahead to step 7 which shows side panels attached to back panel.
NOTE: Back panel is flush with bottom of side panels. On the 64238 the back panel is 1 1/4”
shorter than side panels which leaves room at the top for drop leaf supports and hinges.
ILLUSTRATION 6
STEP 7
A. Invert cabinet assembly from step 6.
B. Take the Top Front Brace ( with magnet blocks ), insert the pins in the brace ends into the slots on
the inside of the front legs of the Side
Panel and slide down until the brace
is aligned with the set of holes in
the Side Panel as illustrated.
C. Secure brace with 1 3/4”
machine screws and hex
nuts as in step 6.
ILLUSTRATION 7