Step 4 – Catskill Craftsmen 7237 User Manual
Page 7
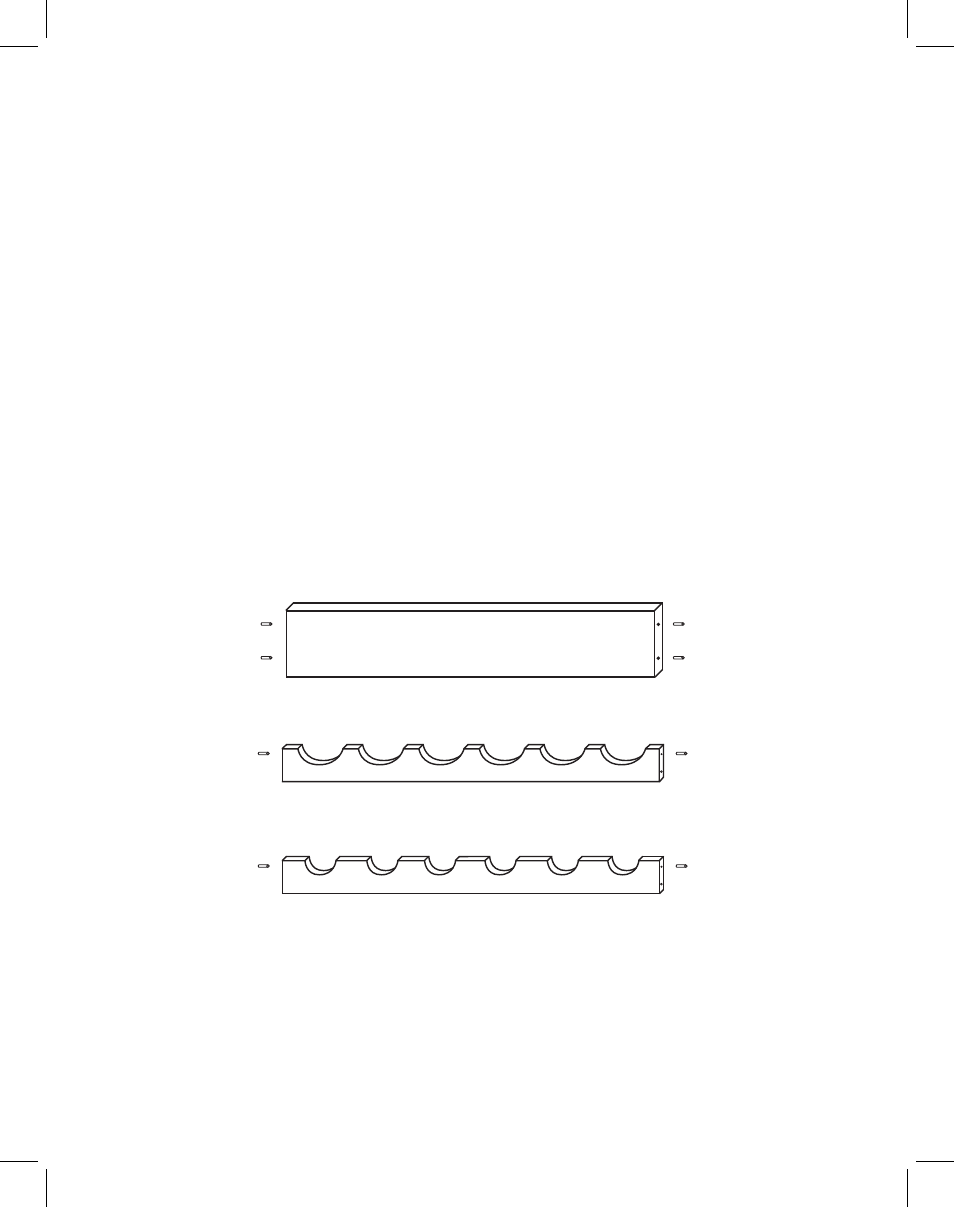
BRACE PREP: Insert/tap 3/4” pins into both ends of the Top Back Brace, Bottle Neck, and
Bottle Bottom Support Braces until seated. See illustration 4A. Look at the Rack Sides/Illustrations to
determine left & right Sides. Sides are mirror images of each other. The Bottle Neck Support Braces
go toward the front, and their pilot holes on the inside of the Rack Legs start 8 5/8” down from the top.
The Bottom Support Braces are toward the back and their holes start at 9 5/8”, or 1” down from the
Bottle Neck holes. Yes, the Bottle Neck Braces are HIGHER then the Bottle Bottom Braces because
the bottle bottoms are 3-4 times greater diameter. Corks will be wet. Align pins and attach all Bottle
Support Braces to the right side using 1 1/4” #8 Screws. Bottleneck Braces toward the front, Bottle
Bottom Braces toward the back. Tighten down. TIP: Dip the screwthreads in vegetable oil to ease
instillation. See Illustration 4B. Mack sure the rounded edges face the front. Attach the Top Back
Brace to this side by inserting the pins the pins in one end of the Brace into the top back holes of the
Side (above Bottle Bottom Braces). Make sure the long rounded edges of the Brace face outward
toward the back of the unit. See illustration ?. Lay the unit so that the ends of the Braces are in the
air. Attach the left side by aligning the pins and securing with 1 1/4” #8 screws. TIP: Start with the
bottom braces and work toward the top, aligning pins as you go.
STEP 4
MAIN ASSEMBLY
ILLUSTRATION 4A