6 internal 2.5” device installation – Antec P280 User Manual
Page 14
14
2.6
Internal 2.5” Device Installation
There are two dedicated 2.5” drive bays in the P280. To install a 2.5” drive:
1. With the side panel open, slide your 2.5” drive into the drive bay so that the drive’s holes align
with the drive bay holes.
2. Secure your drive with the 2.5” screws provided (D in Section 1.3).
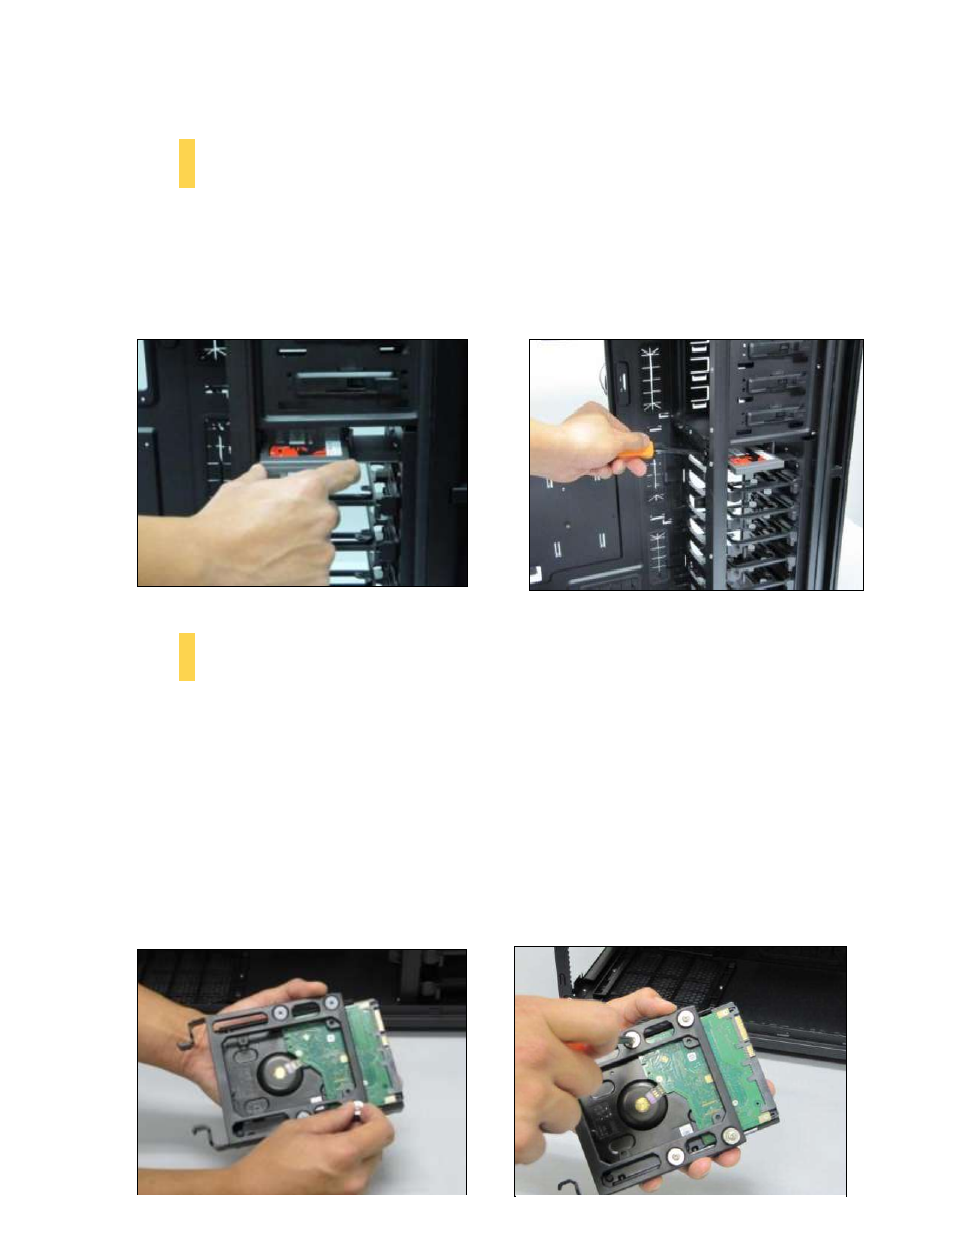
2.7
Internal 3.5” / 2.5” Device Installation
The P280 has six drive bays that are compatible with both 3.5” and 2.5” drives.
To install a 3.5” drive:
1. Remove one of the drive trays by pinching the ends of the tray inward and pulling the drive tray
out.
2. Place your 3.5” drive on the tray so that the holes line up with the silicone grommets.
3. Using the 3.5” drive screws (E in Section 1.3), secure your 3.5” drive to the tray. We recommend
using your hand to find the exact threading of the drive’s holes then using a screwdriver to
completely secure your drive. Do not over-tighten the screws as this will minimize the
grommets’ ability to reduce vibration.
Slide your 2.5” drive into the drive bay so that the
drive’s holes align with the drive bay holes.
Secure your drive with the provided 2.5” screws.
Use your hand to find the drive’s holes.
Screw in the holes to secure your drive.