Finish Thompson CQC-HD User Manual
Page 11
Coolant Exchange Operation
Coolant Exchange Operation
Coolant Exchange Operation
Coolant Exchange Operation
Coolant Exchange Operation
WARNING:
Keep clothing, hair, hands, etc. away from all moving parts of the vehicle.
CAUTION:
Continuous monitoring of the quick-change process is required. Leaving the vehicle unattended
while operating this equipment can result in damage to the engine, vehicle, and/or equipment.
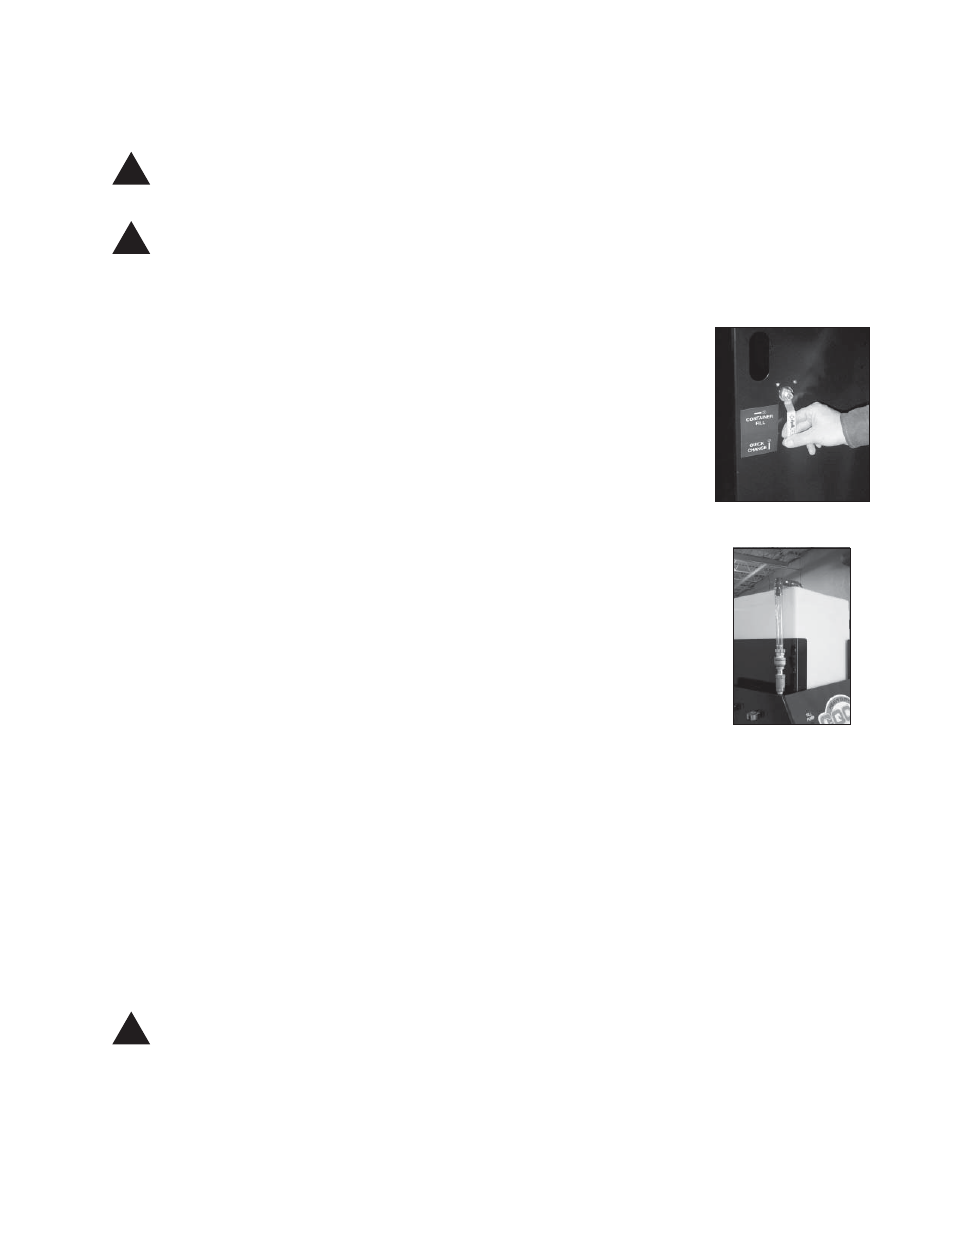
1. Verify that the 3-way valve located on the side of the unit is in the quick-
change position (Figure 5).
2. Open the fill valve on the green fill hose and turn the fill pump on. The level
in the fill container will begin to drop, then stop. Close the fill valve on the
green fill hose and turn the pump off. Keep the drain valve on the
black drain hose closed at this time.
3. Start the engine of the vehicle.
4. The coolant change can occur only if the vehicle’s thermostat is open. To get
the vehicle up to normal operating temperature, it will be necessary to raise the
RPMs of the engine to running speed. Do this for approximately 3 to 5 min-
utes, or until engine reaches normal operating temperature.
5. Open both, the drain hose valve on the black drain hose and the fill valve on
the green fill hose, turn on the fill pump. Watch the level in the fill container
(Fig. 6). The level in the fill container should drop and used coolant should
drain into the waste coolant drum.
If new coolant level does NOT drop or stops dropping, close both valves and stop fill pump.
Repeat step 4. Continue steps 4 and 5 until level in the fill container reaches approximately 2 gallons.
6. Close the fill valve on the green fill hose and turn off the fill pump when the two gallons remain
in the fill container
7. Allow the engine to run for 10 seconds after closing the fill valve; then turn the engine off. This
lowers the coolant level in the radiator to help prevent coolant spilling when re-attaching the
upper radiator hose.
!
!
CAUTION:
Failure to turn vehicle’s engine off ten seconds after closing fill valve can result in damage
to the vehicle.
!
9.
Figure 5
Figure 6