Chromaflux_p01, I. roller-type instructions – Elite Screens ChromaFlux (Standard) User Manual
Page 3
www.elitescreens.com/chromaflux
- 1 -
I. Roller-type Instructions
1. Uses
A. Allows theater-level 3D to be enjoyed in the comfort of your own home
2. Applications
A. DIY
home-theaters
B. Professional/commercial
3. Instructions for the Roller-type paint
A. Prepare the following items:
B. Make sure the area is well ventilated. Keep windows open if present.
C. Check to see that the surface is not deteriorating and that cracks are not present.
(This will drastically affect the image quality)
D. If the surface is not uniformly smooth, apply dry-wall mud and smoothen it with a dry-wall
knife.
E. Sand the surface with 500-grit sandpaper.
F. A clean, free-of-dust surface is desired, so, using a clean, damp cloth, wipe the sanded
area until dust is completely removed.
(Wait for the surface to dry completely)
G. While waiting for the surface to dry, you can use this time to cover nearby furniture and
belongings with cardboard, newspaper or masking film to avoid unwanted spills.
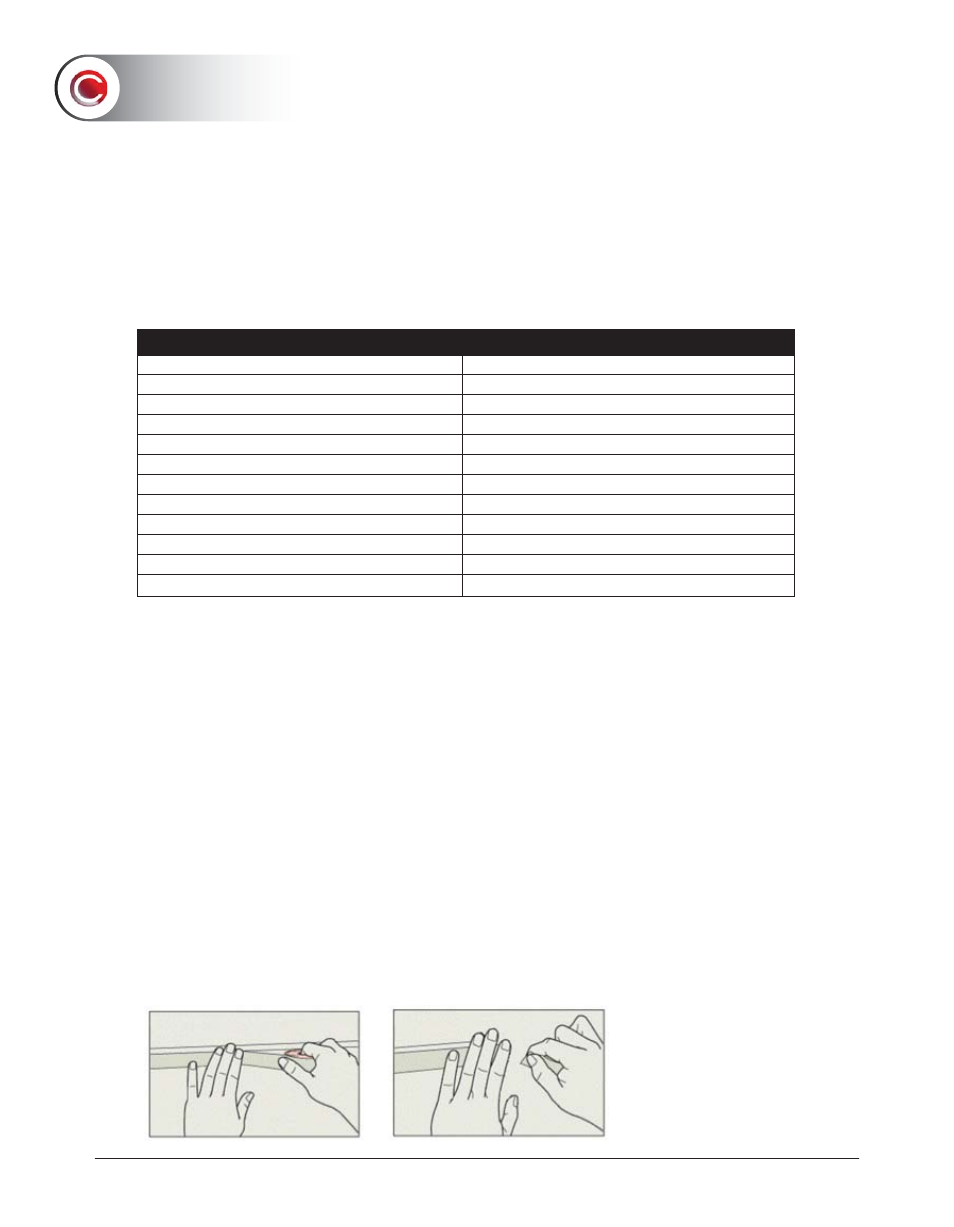
H. Using masking tape, tape off the border of the desired size and shape of your projection
screen.
(Suggestion: Using your projector, project an image onto the surface. Aim, zoom and
focus the image until the desired size and location is obtained. Mask the outside
perimeter of this image.)
I. Apply appropriate primer and let dry
Item
Article
Notes
1.
Paint stirring stick
2.
Roller
We recommend using synthetic covers
3. Paint
tray
4. Linen
gloves
5. Masks
6.
Low-adhesive painters tape
For borders and details
7.
Masking film
Use liberally to avoid spills and drips
8.
Long-sleeve protective clothing
Unwanted clothing in case of stains
9.
Dry-wall putty
if the wall is not flat when preparing
10.
Dry-wall knife
If the wall is not flat when preparing
11. Latex-primer
12. Sandpaper
500
grit