Hudson Valley Lighting JEFFERSON 5219 User Manual
Page 2
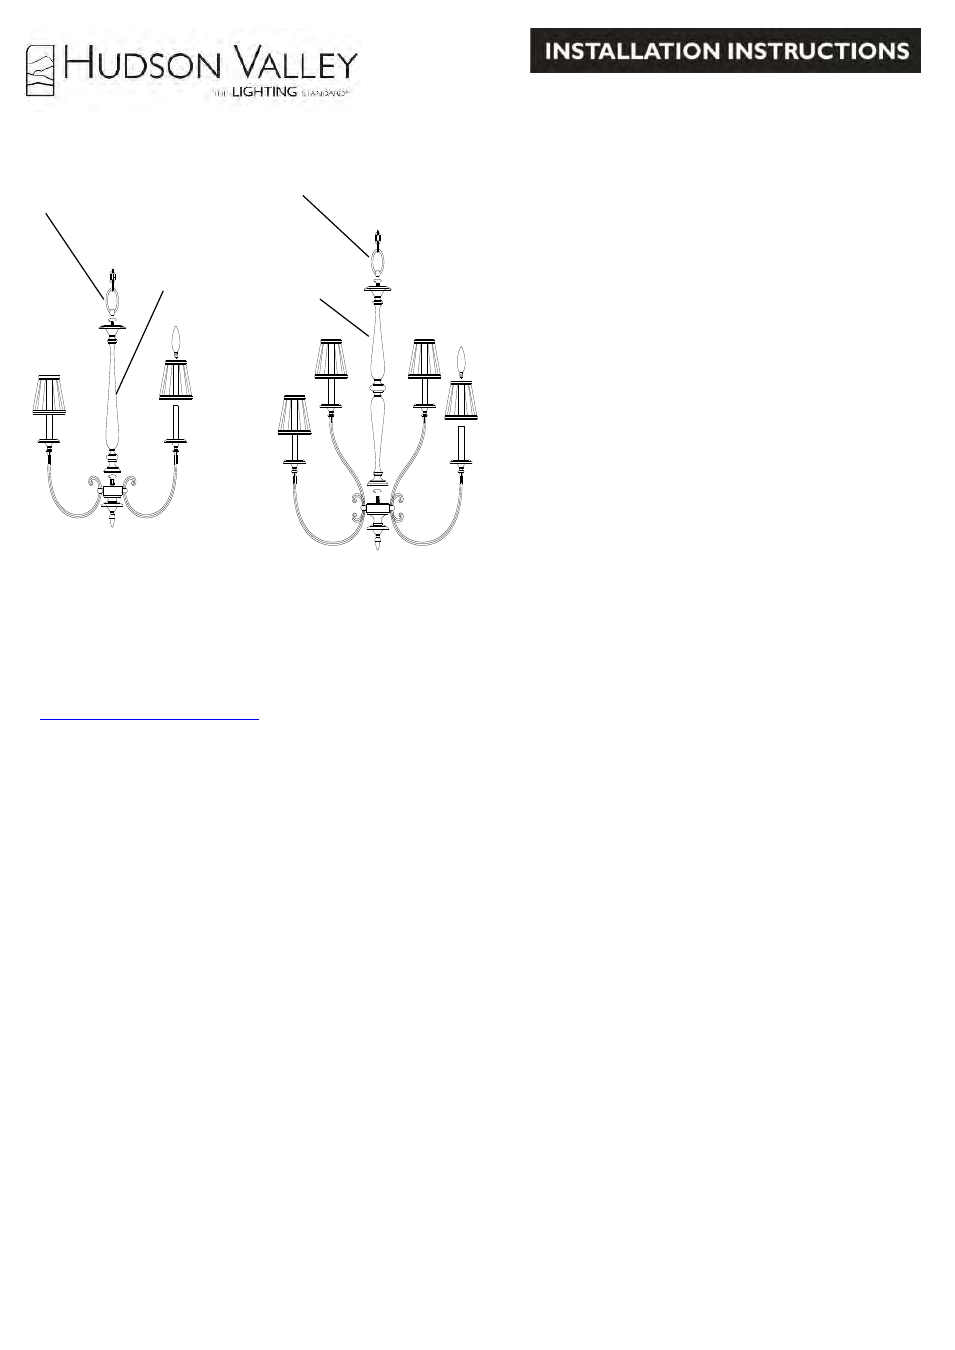
5206
5209
Hudson Valley Lighting, Inc.
P.O. Box 7459
106 Pierces Road
Newburgh, NY 12550
(800) 814-3993
5216 & 5219
(Continued)
4. Unscrew the ring from the screwcollar loop. Let the ring and
canopy slide down the chain to the top of the fixture. Thread the
lead wires and ground wire (first) through the ring and then the
canopy. Thread the wires up through alternating links of the chain to the outlet
box.
5. Measure 6” of lead wire beyond the end of the chain. Cut off
excess wire. Strip the insulation off the ends of the leads exposing
approx. ½” of wire. Twist the strands of wire together. Push the
leads and ground wire up through the screwcollar loop and nippke and into the
outlet box.
6. Fasten the green fixture wire to the green or bare copper wire
in the box or fasten it to the mounting plate with green screw
provided.
NEVER FASTEN THE GROUND WIRE TO THE
BLACK OR “HOT” WIRE! FAILURE TO FOLLOW THIS
INSTRUCTION COULD RESULT IN SERIOUS INJURY OR
DEATH!
7. Fasten the white fixture wire to the white wire in the outlet box.
Fasten the wires to together with an approved fastener (wire nut).
Starting about 1” below the fastener, tightly wrap connection with
electrical tape so that the tape seals the end of the fastener.
Make sure that there is no exposed wire or strands that could cause a
dangerous short circuit !
8. Connect the smooth fixture wires to the black wire in the outlet
box. Fasten the joined wires as in step 7.
9. Slide the canopy and screwcollar ring up the chain and secure
the canopy to the ceiling.
10.Thread the fixture loop onto the fixture.
11.Twist the fixture body onto the nipple on the wire box.
12. Place the shades into the socket sleeves.
.
13. Install the lamp(s).
NOTE: This fixture is rated for 60 watt type B, BA, C or CA lamp(s).
DO NOT EXCEED RECOMMENDED WATTAGE !
14. Restore power to circuit at breaker or fuse box.
Fixture loop
Fixture body
Fixture loop
Fixture body